


DIY Librem 14 hinge fix
Librem 14
I bought a Librem 14 laptop from Purism in 2021, so 4 years ago. And recently the right hinge broke.
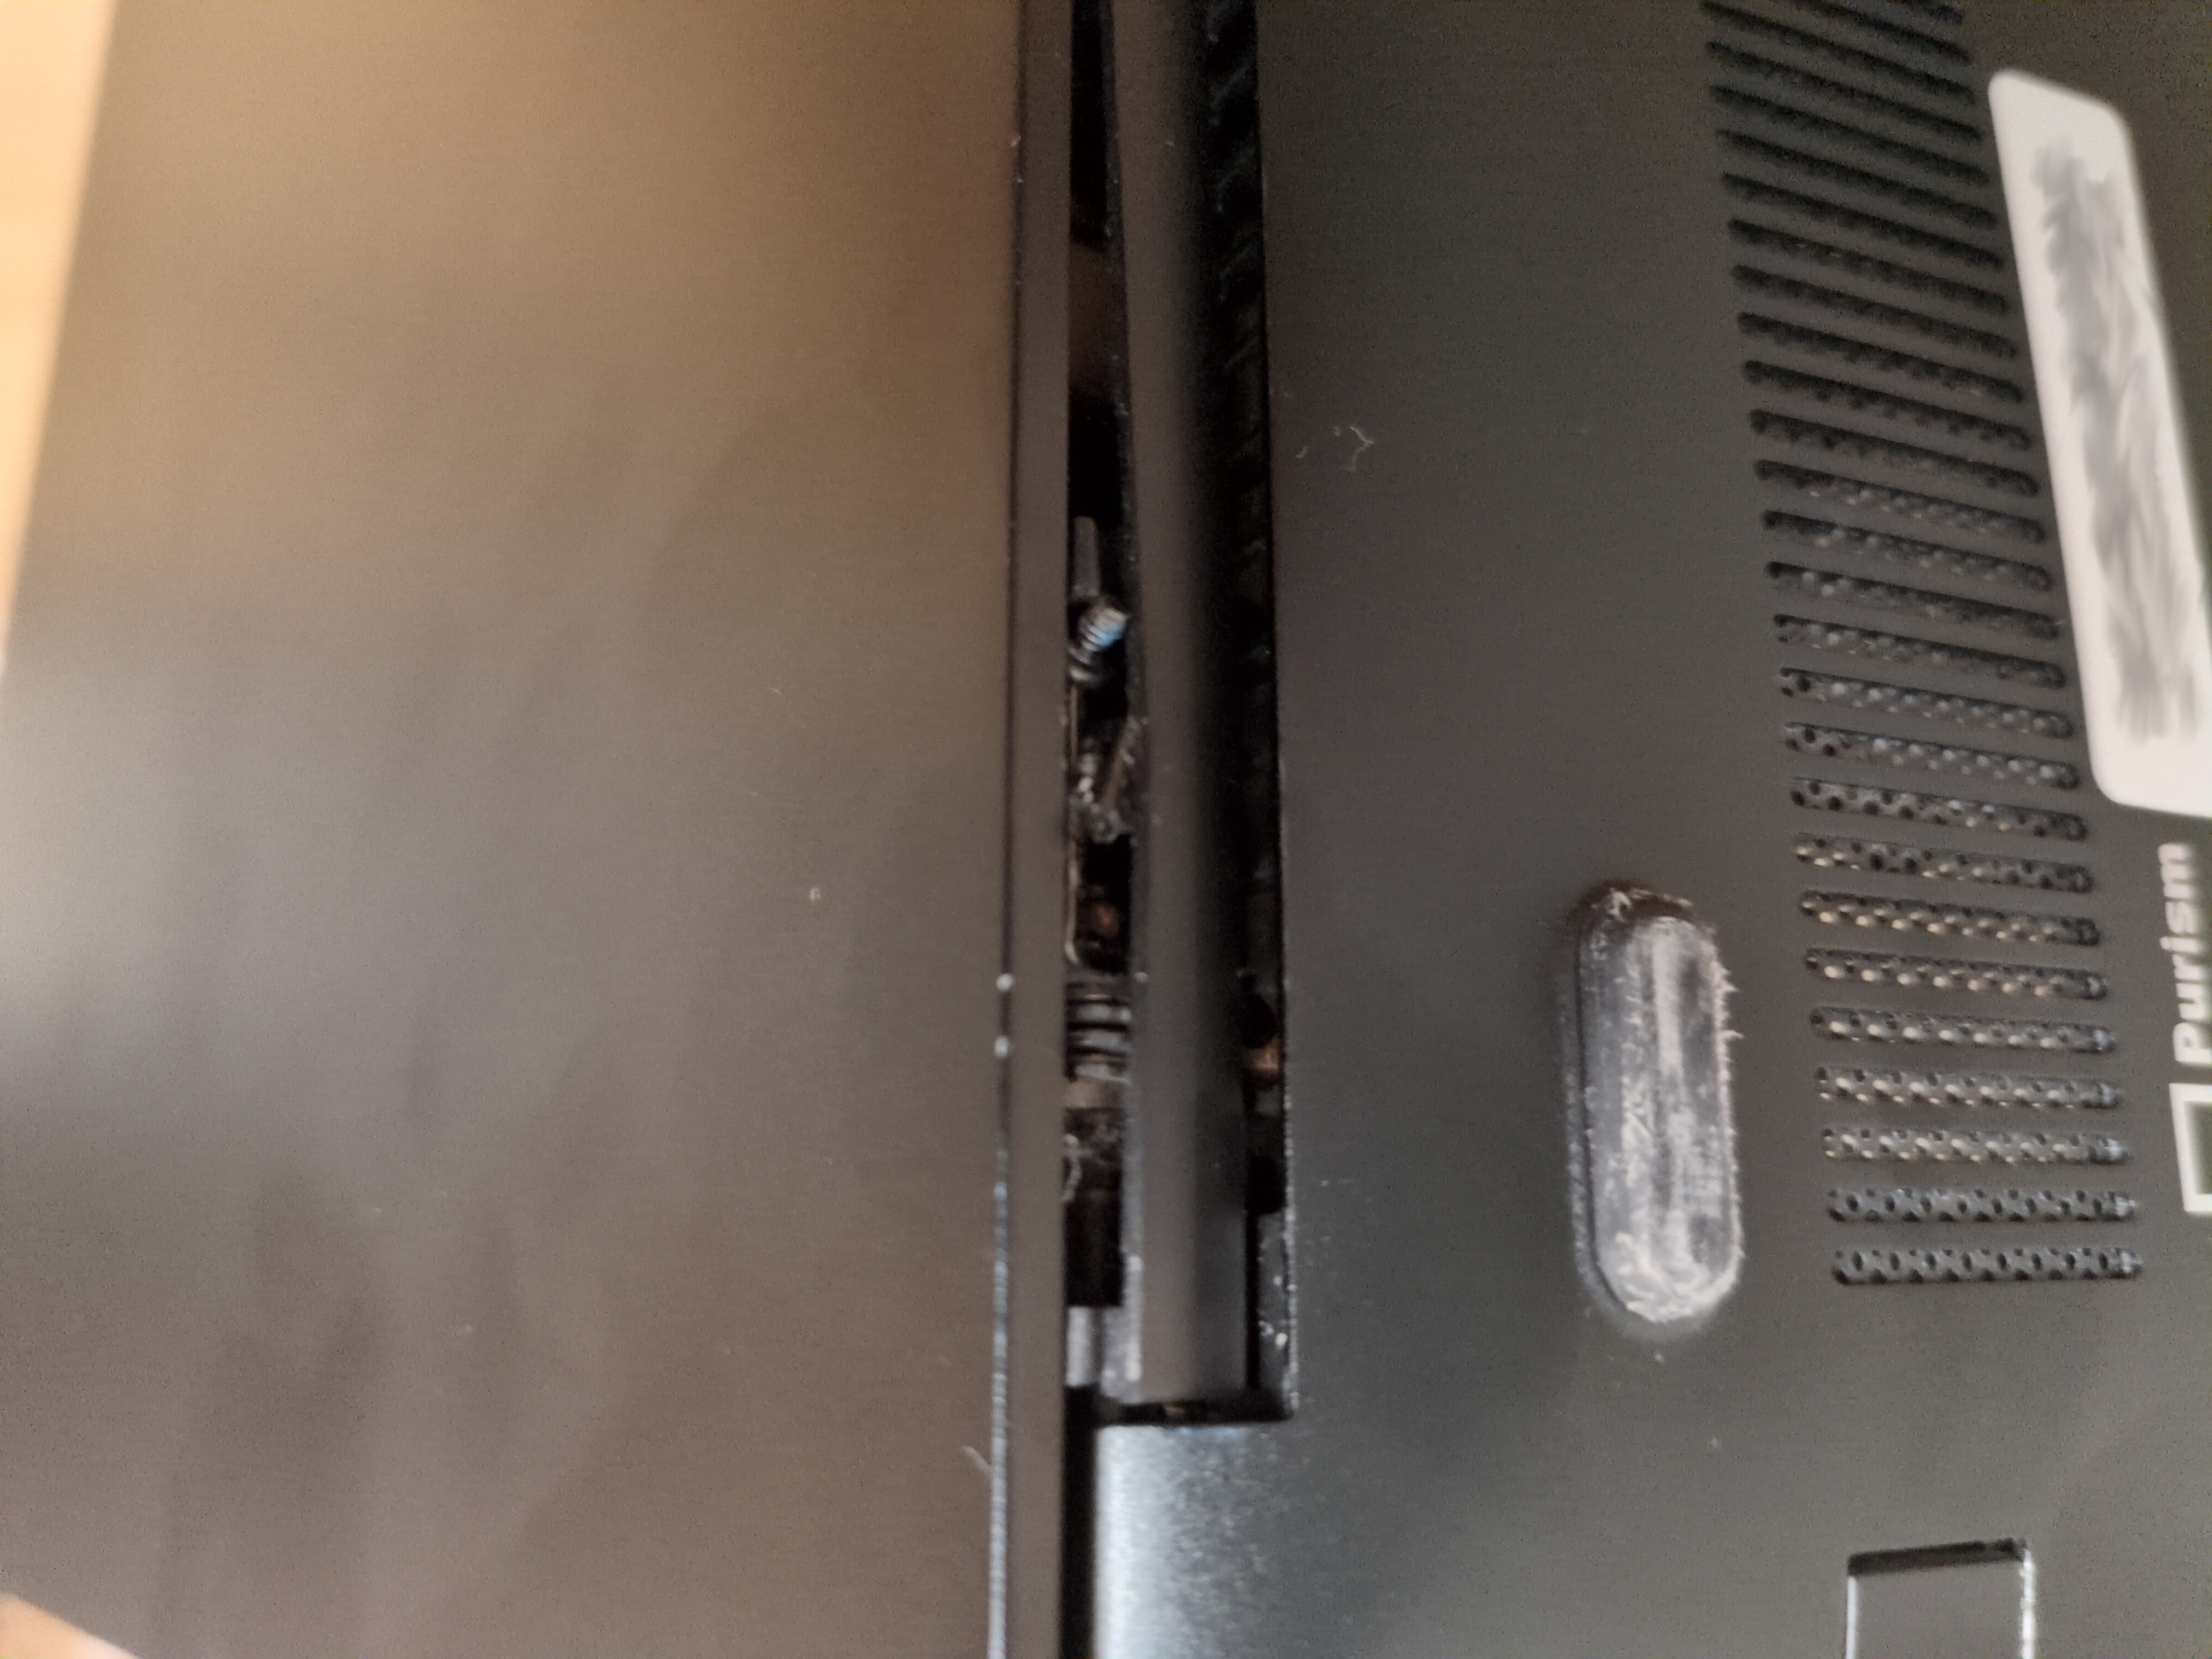
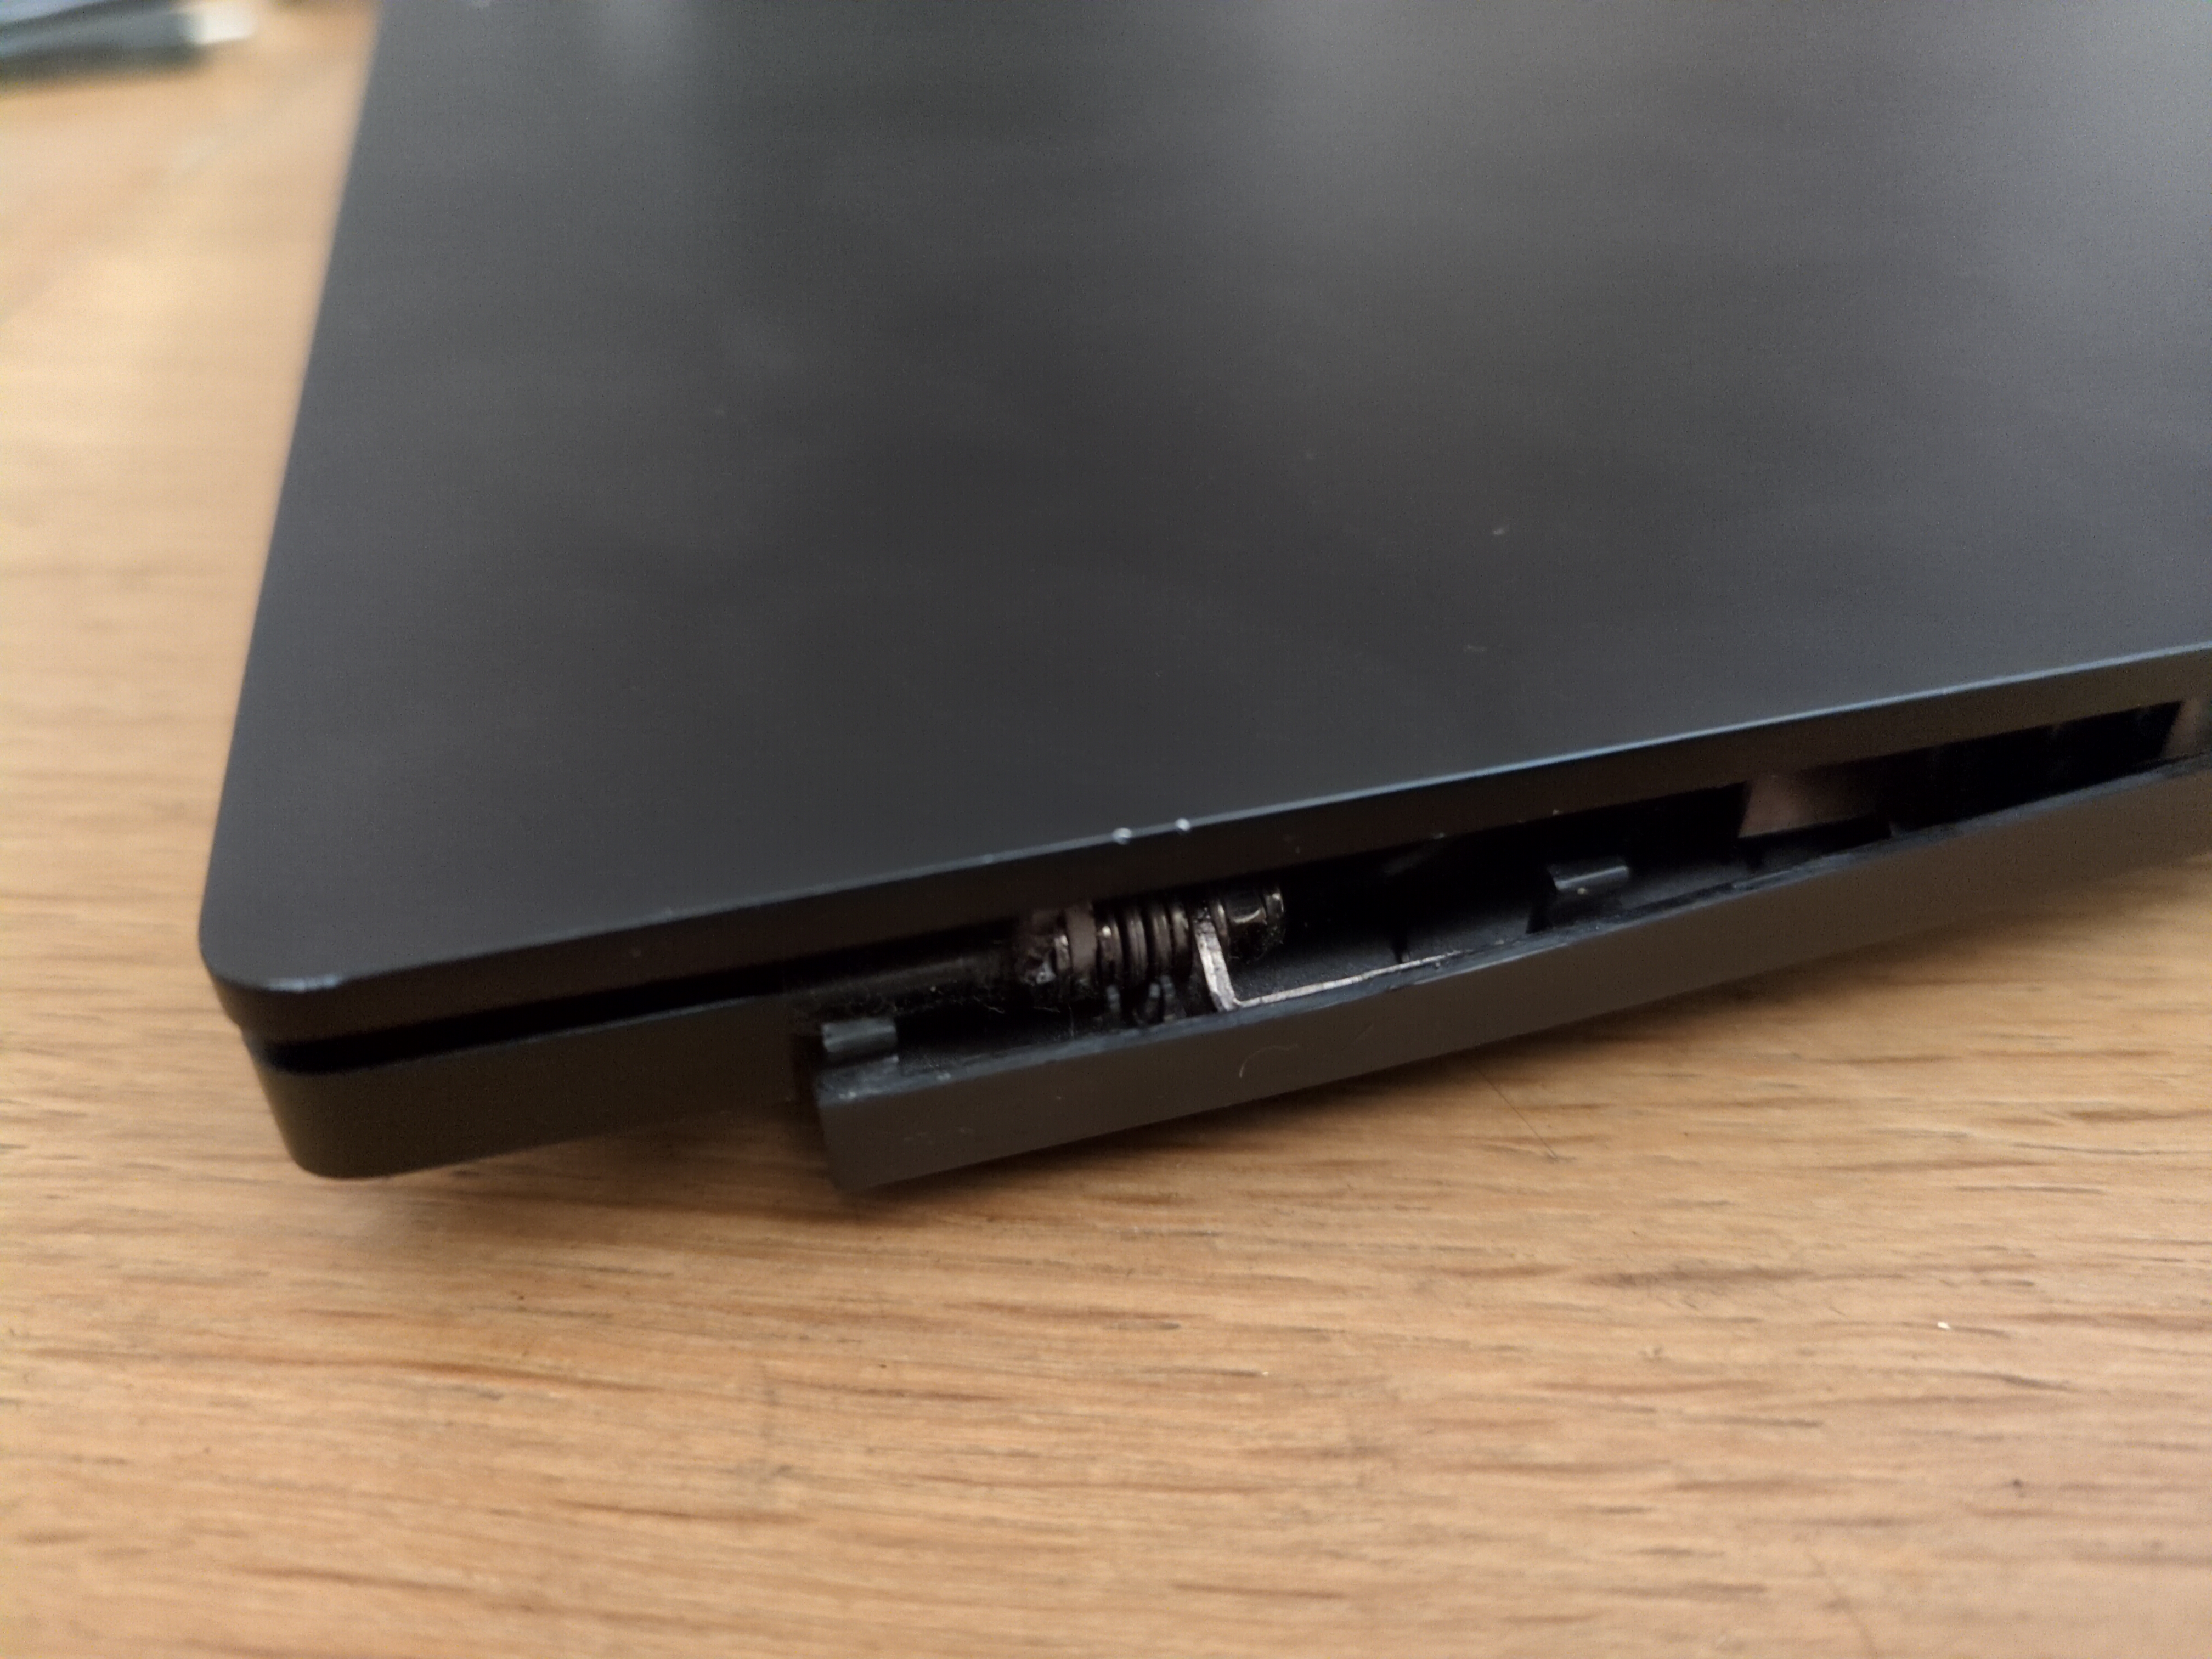
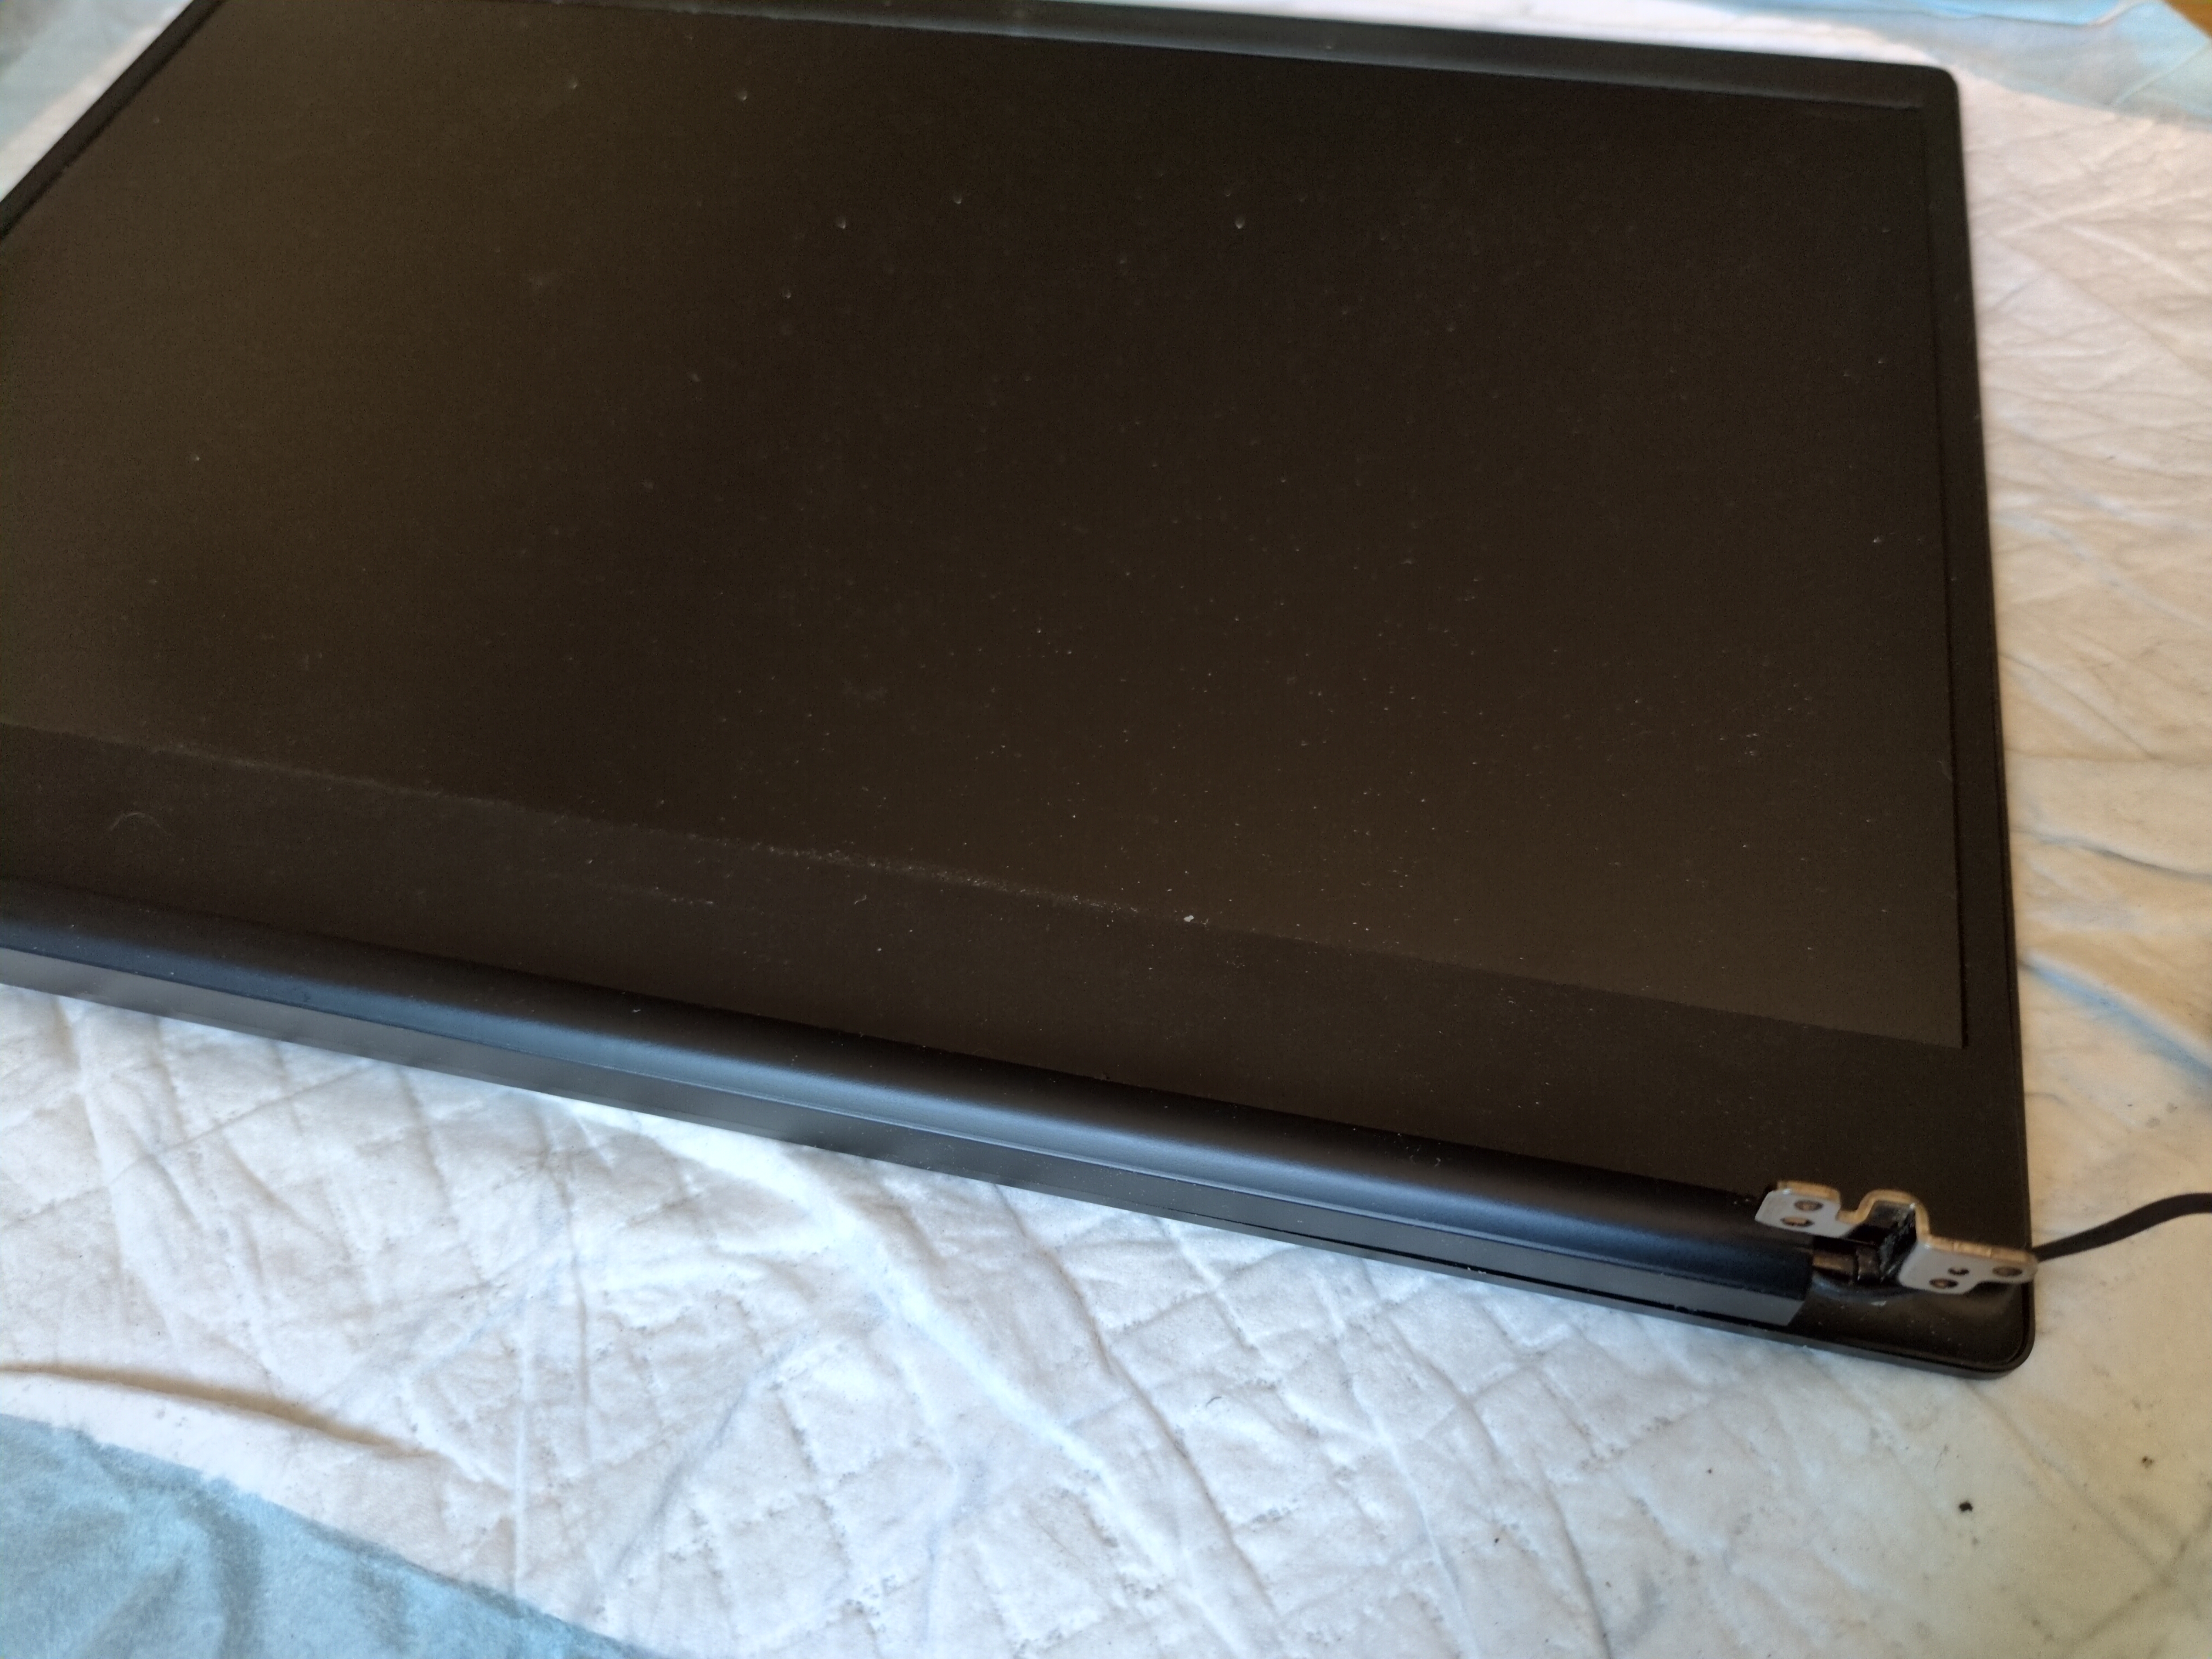
The hinge is attached to the computer on one side, and to the screen on the other side. On the screen side, the hinge is attached with three screws, each screw being screwed in a metal insert that’s inserted in plastic… And the plastic broke.
I don’t like plastic, for plenty or reasons, and in the present case, because it breaks easily. At least they have put metal inserts and not screwed directly in plastic.
As far as I remember, Purism had similar issues with previous laptop models, and they said the hinges in the Librem 14 were sturdier… Well… not enough, obviously.
I have to say, I never had this issue with any of my previous laptops, but it seems quite common. A quick search on the internet provides plenty of similar issues in plenty of different brands and models.
But given the price tag of the Librem 14, that’s a bit annoying. Especially when the screen’s frame is in metal. I guess it’s only a metal sheet with raised borders, not a molded or extruded piece. In which case, it would have been easy to screw the hinge directly in the screen’s frame.
Fix
From what I saw on the internet, the recommended solution is to glue the metal inserts back in the screen frame (with strong glue). That’s all…
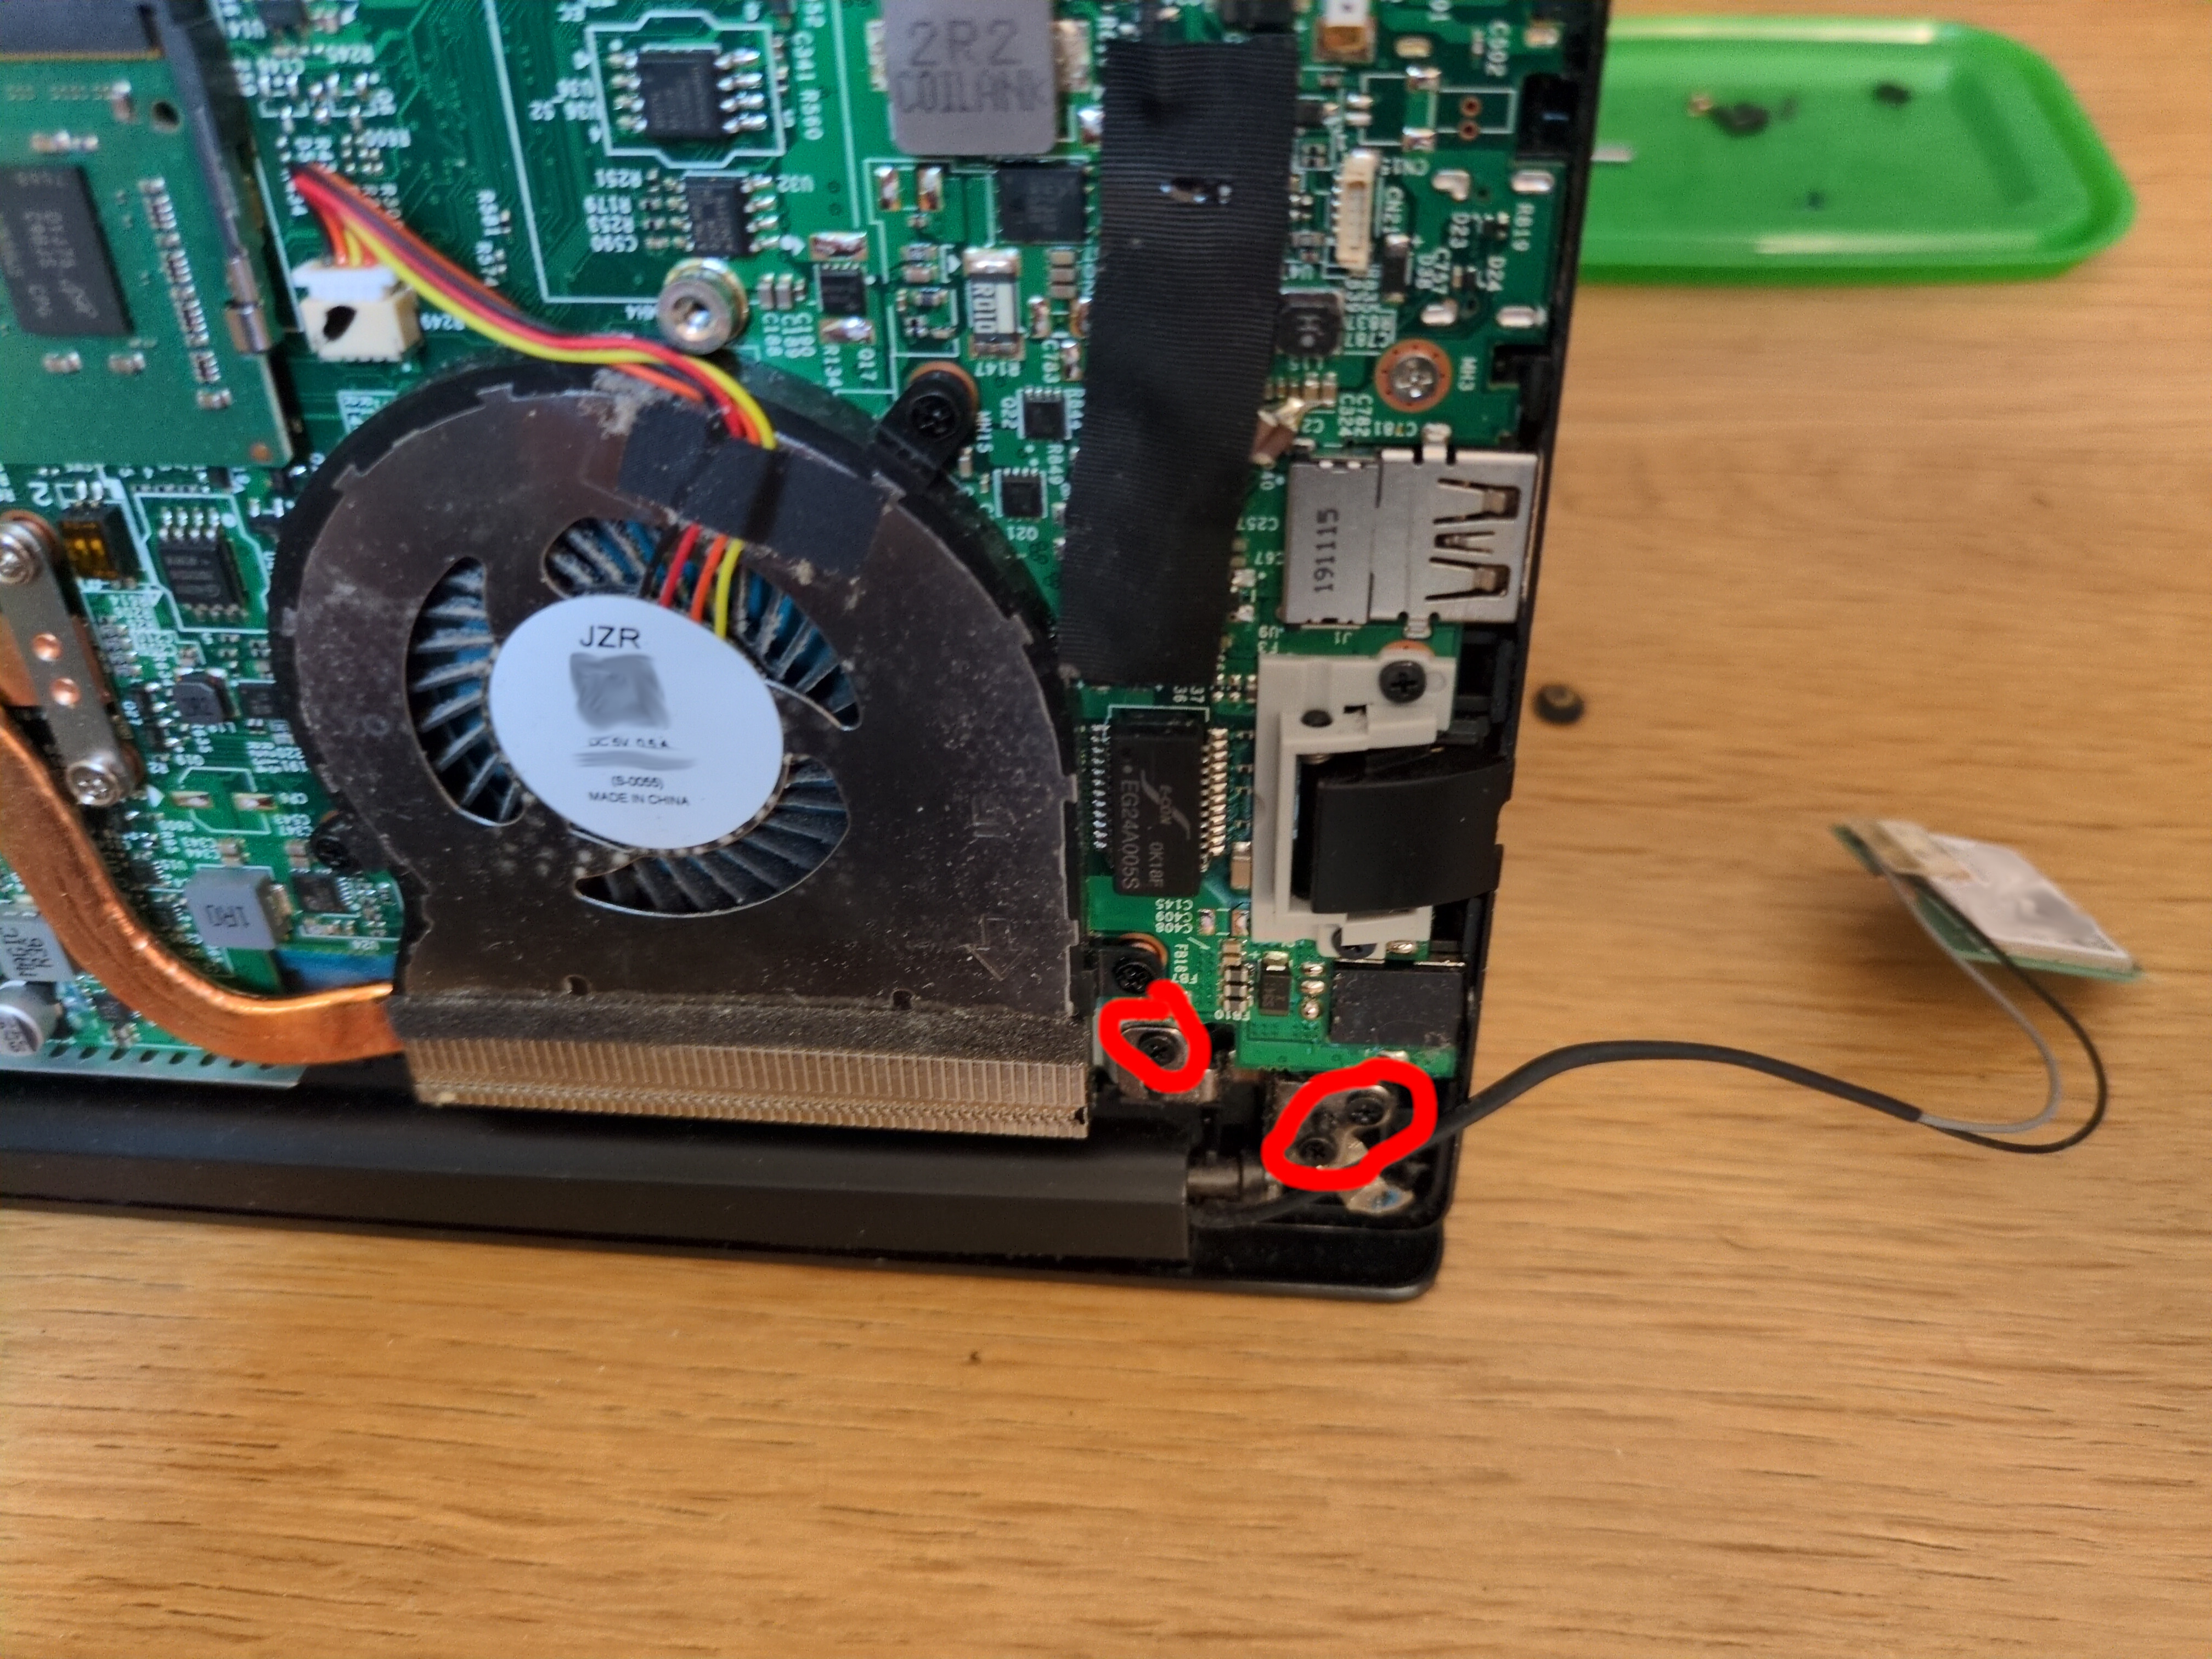
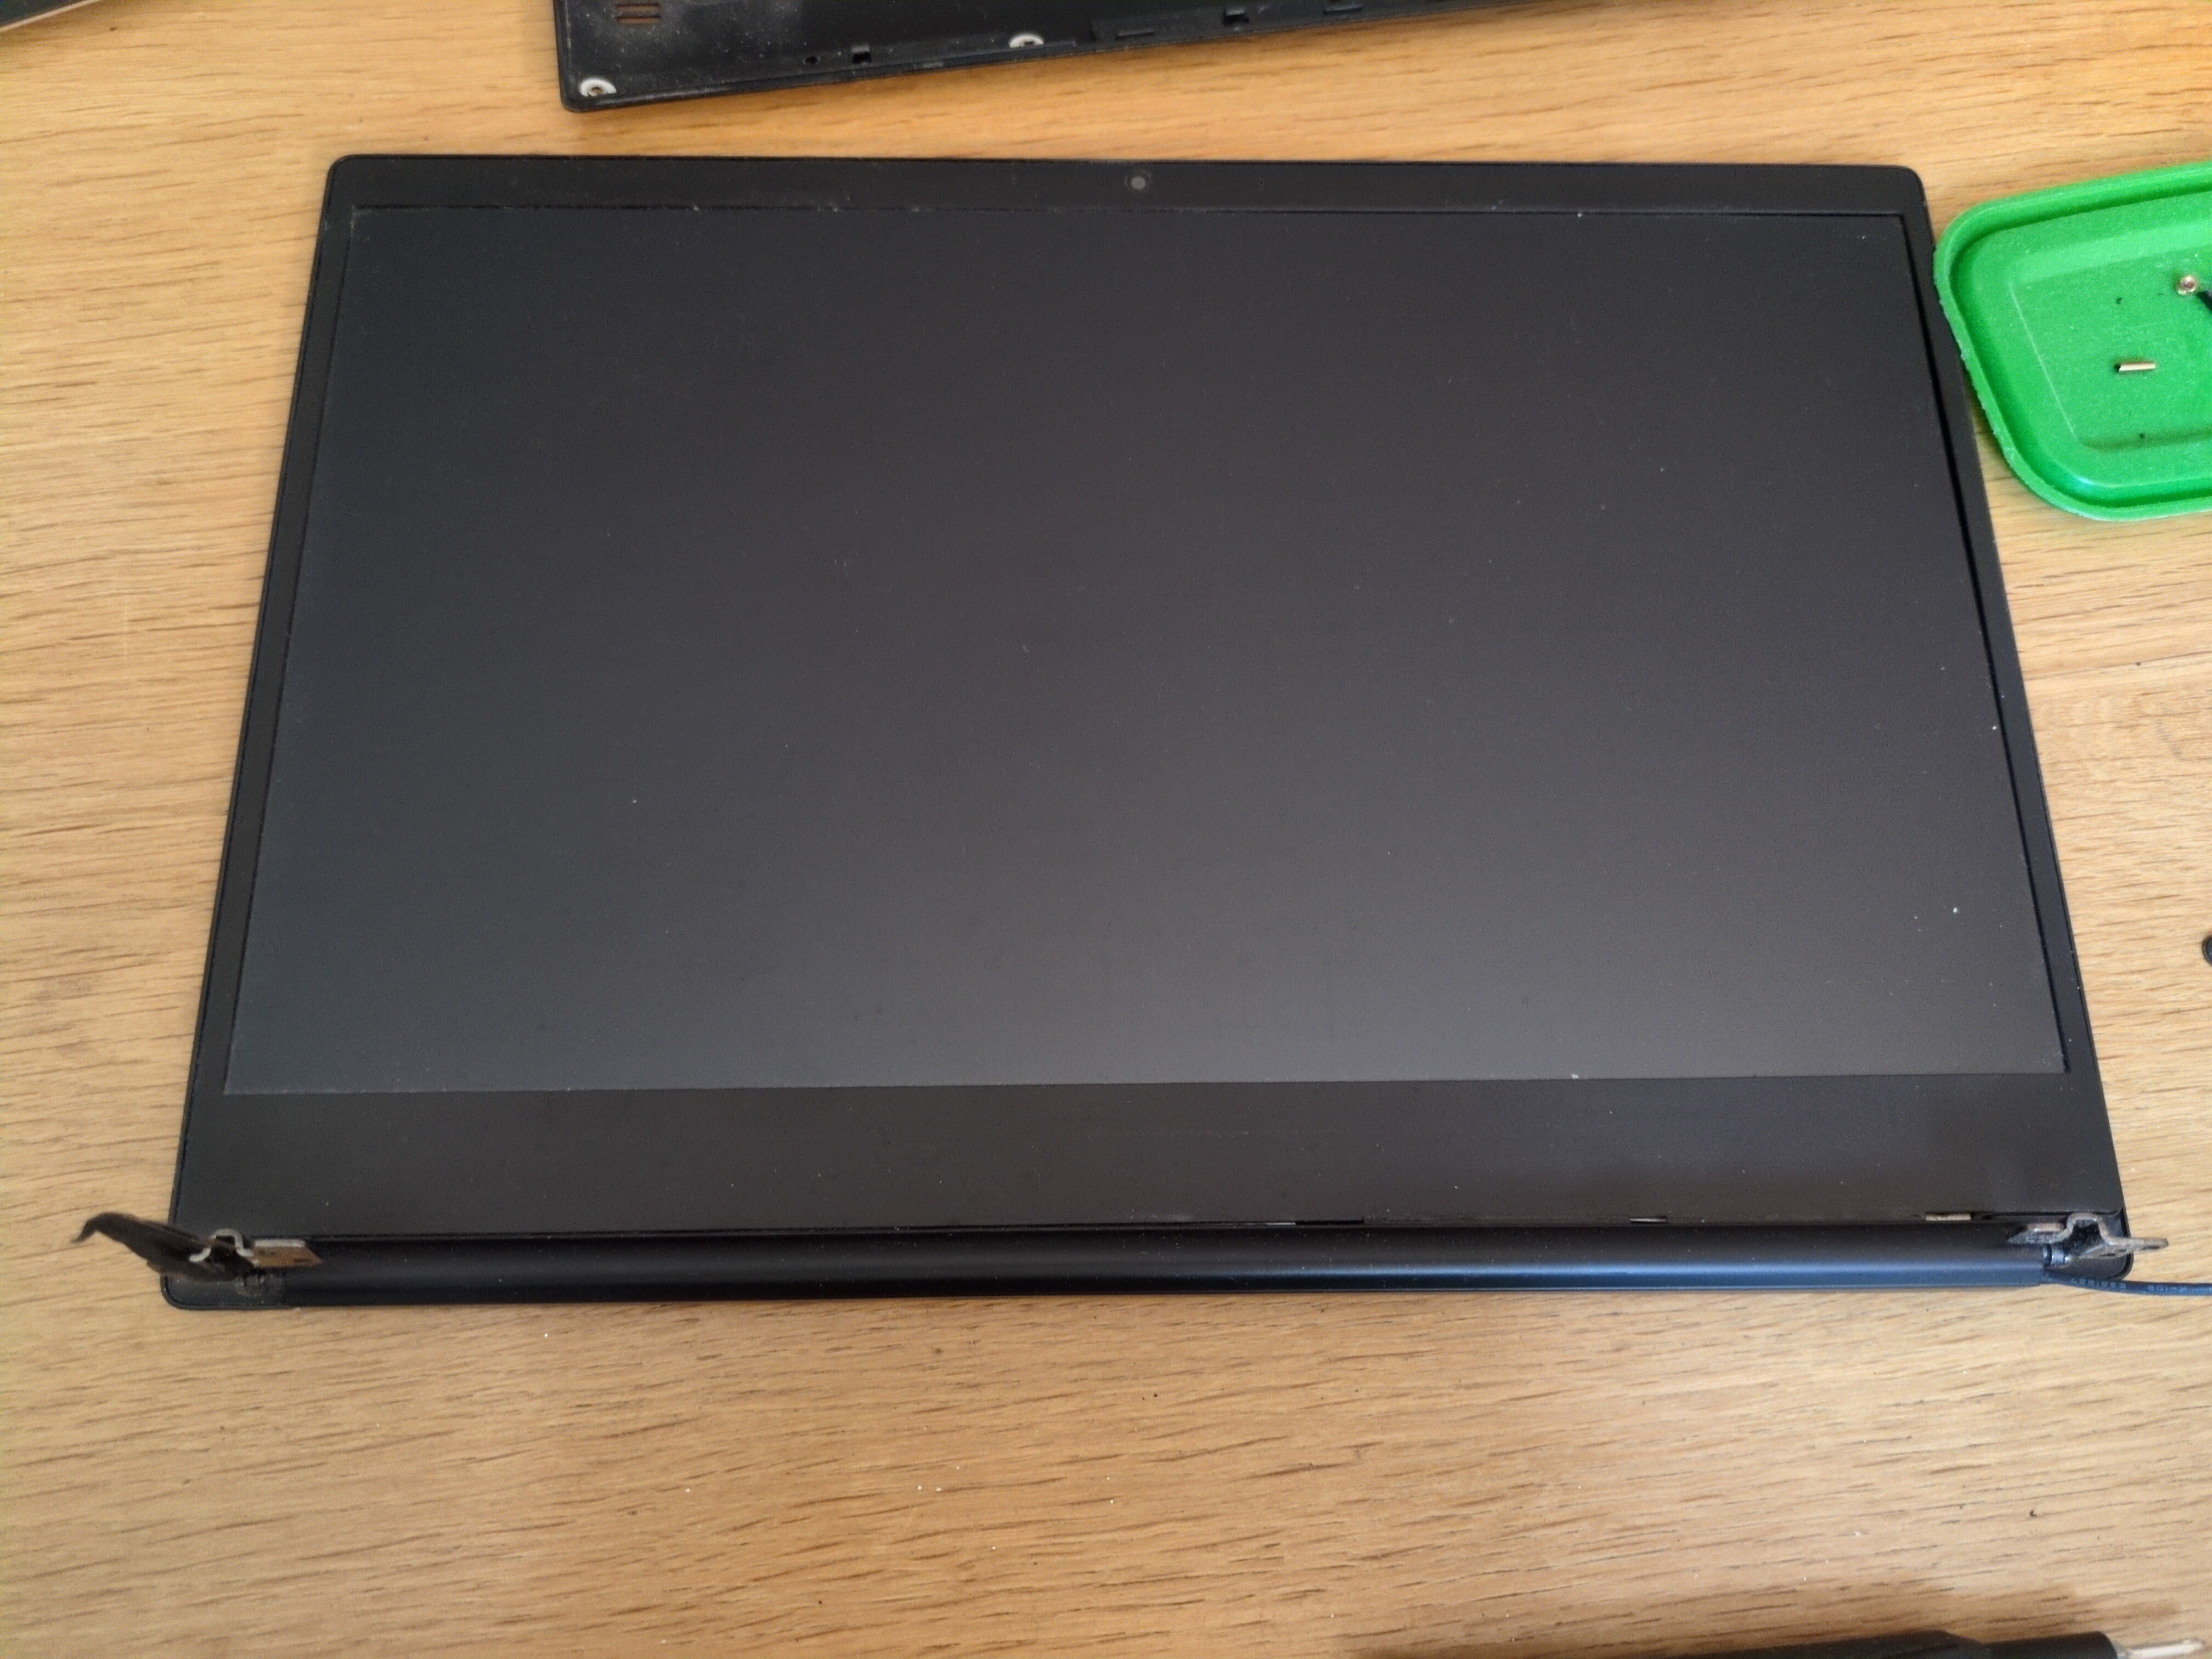
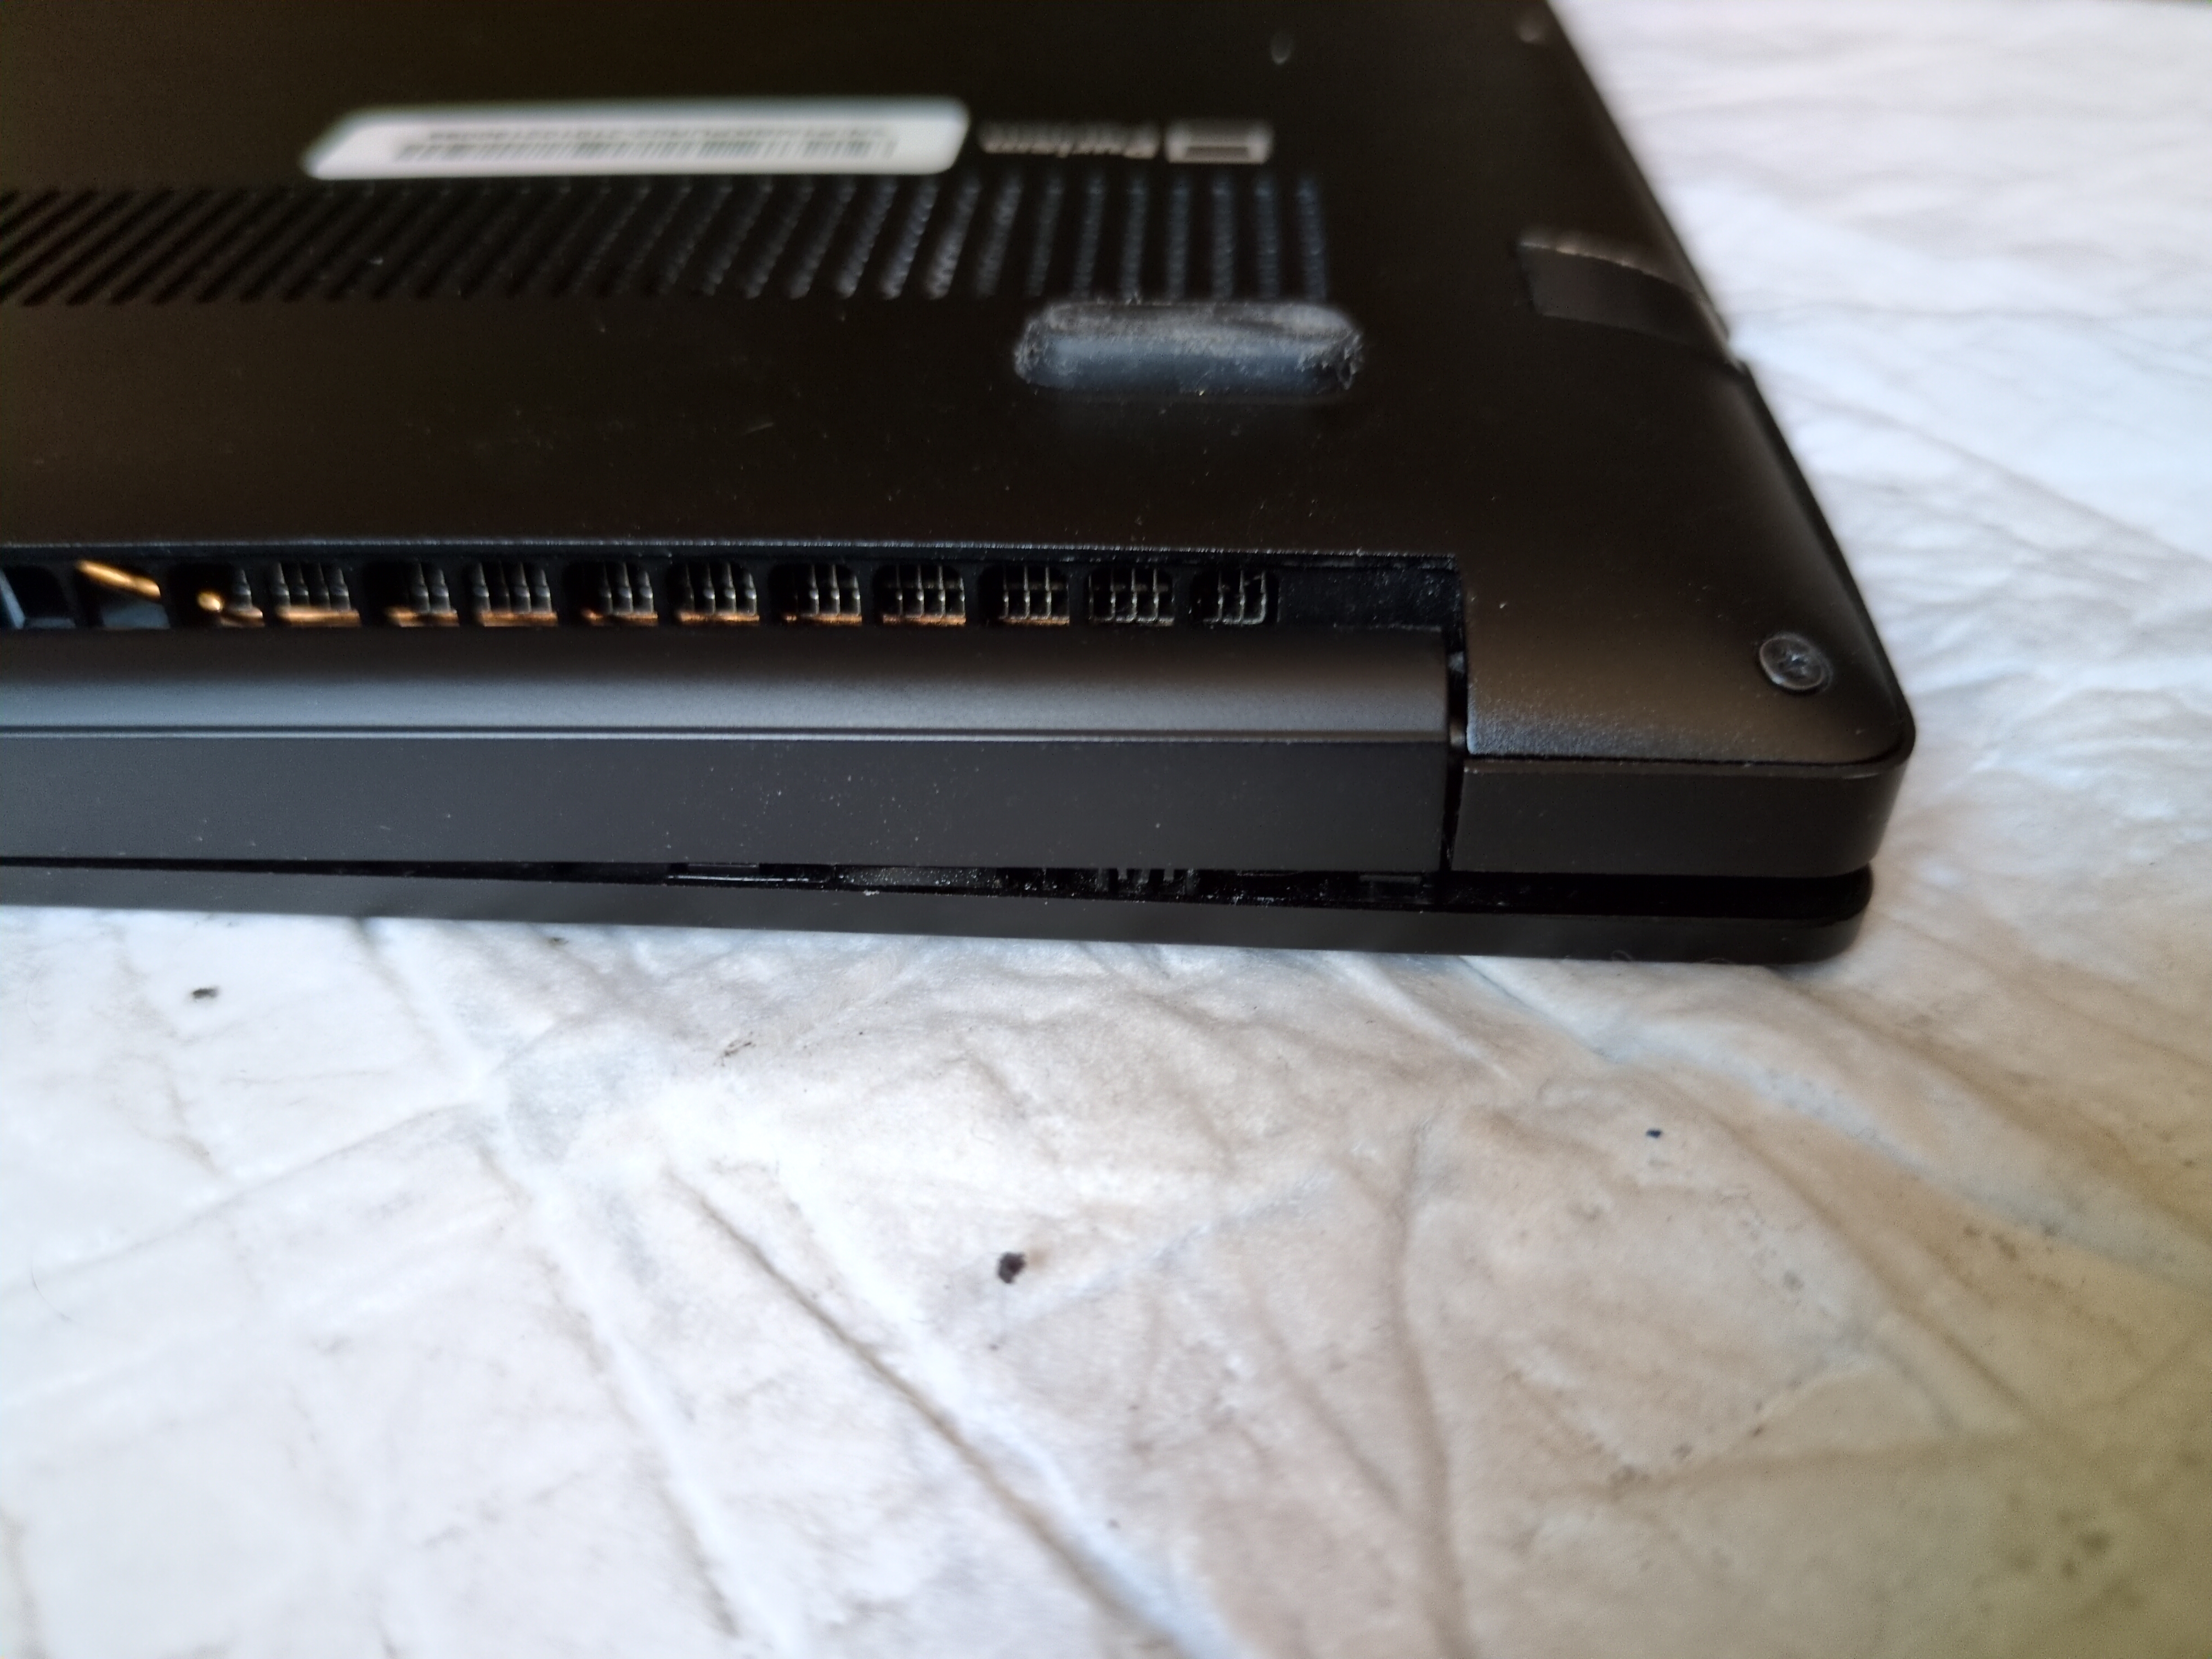
First, remove the screen
To remove the screen:
- put the laptop upside-down;
- remove the cover;
- disconnect the battery;
- press the power button to make sure there’s no residual electricity (the next step could make short circuits otherwise);
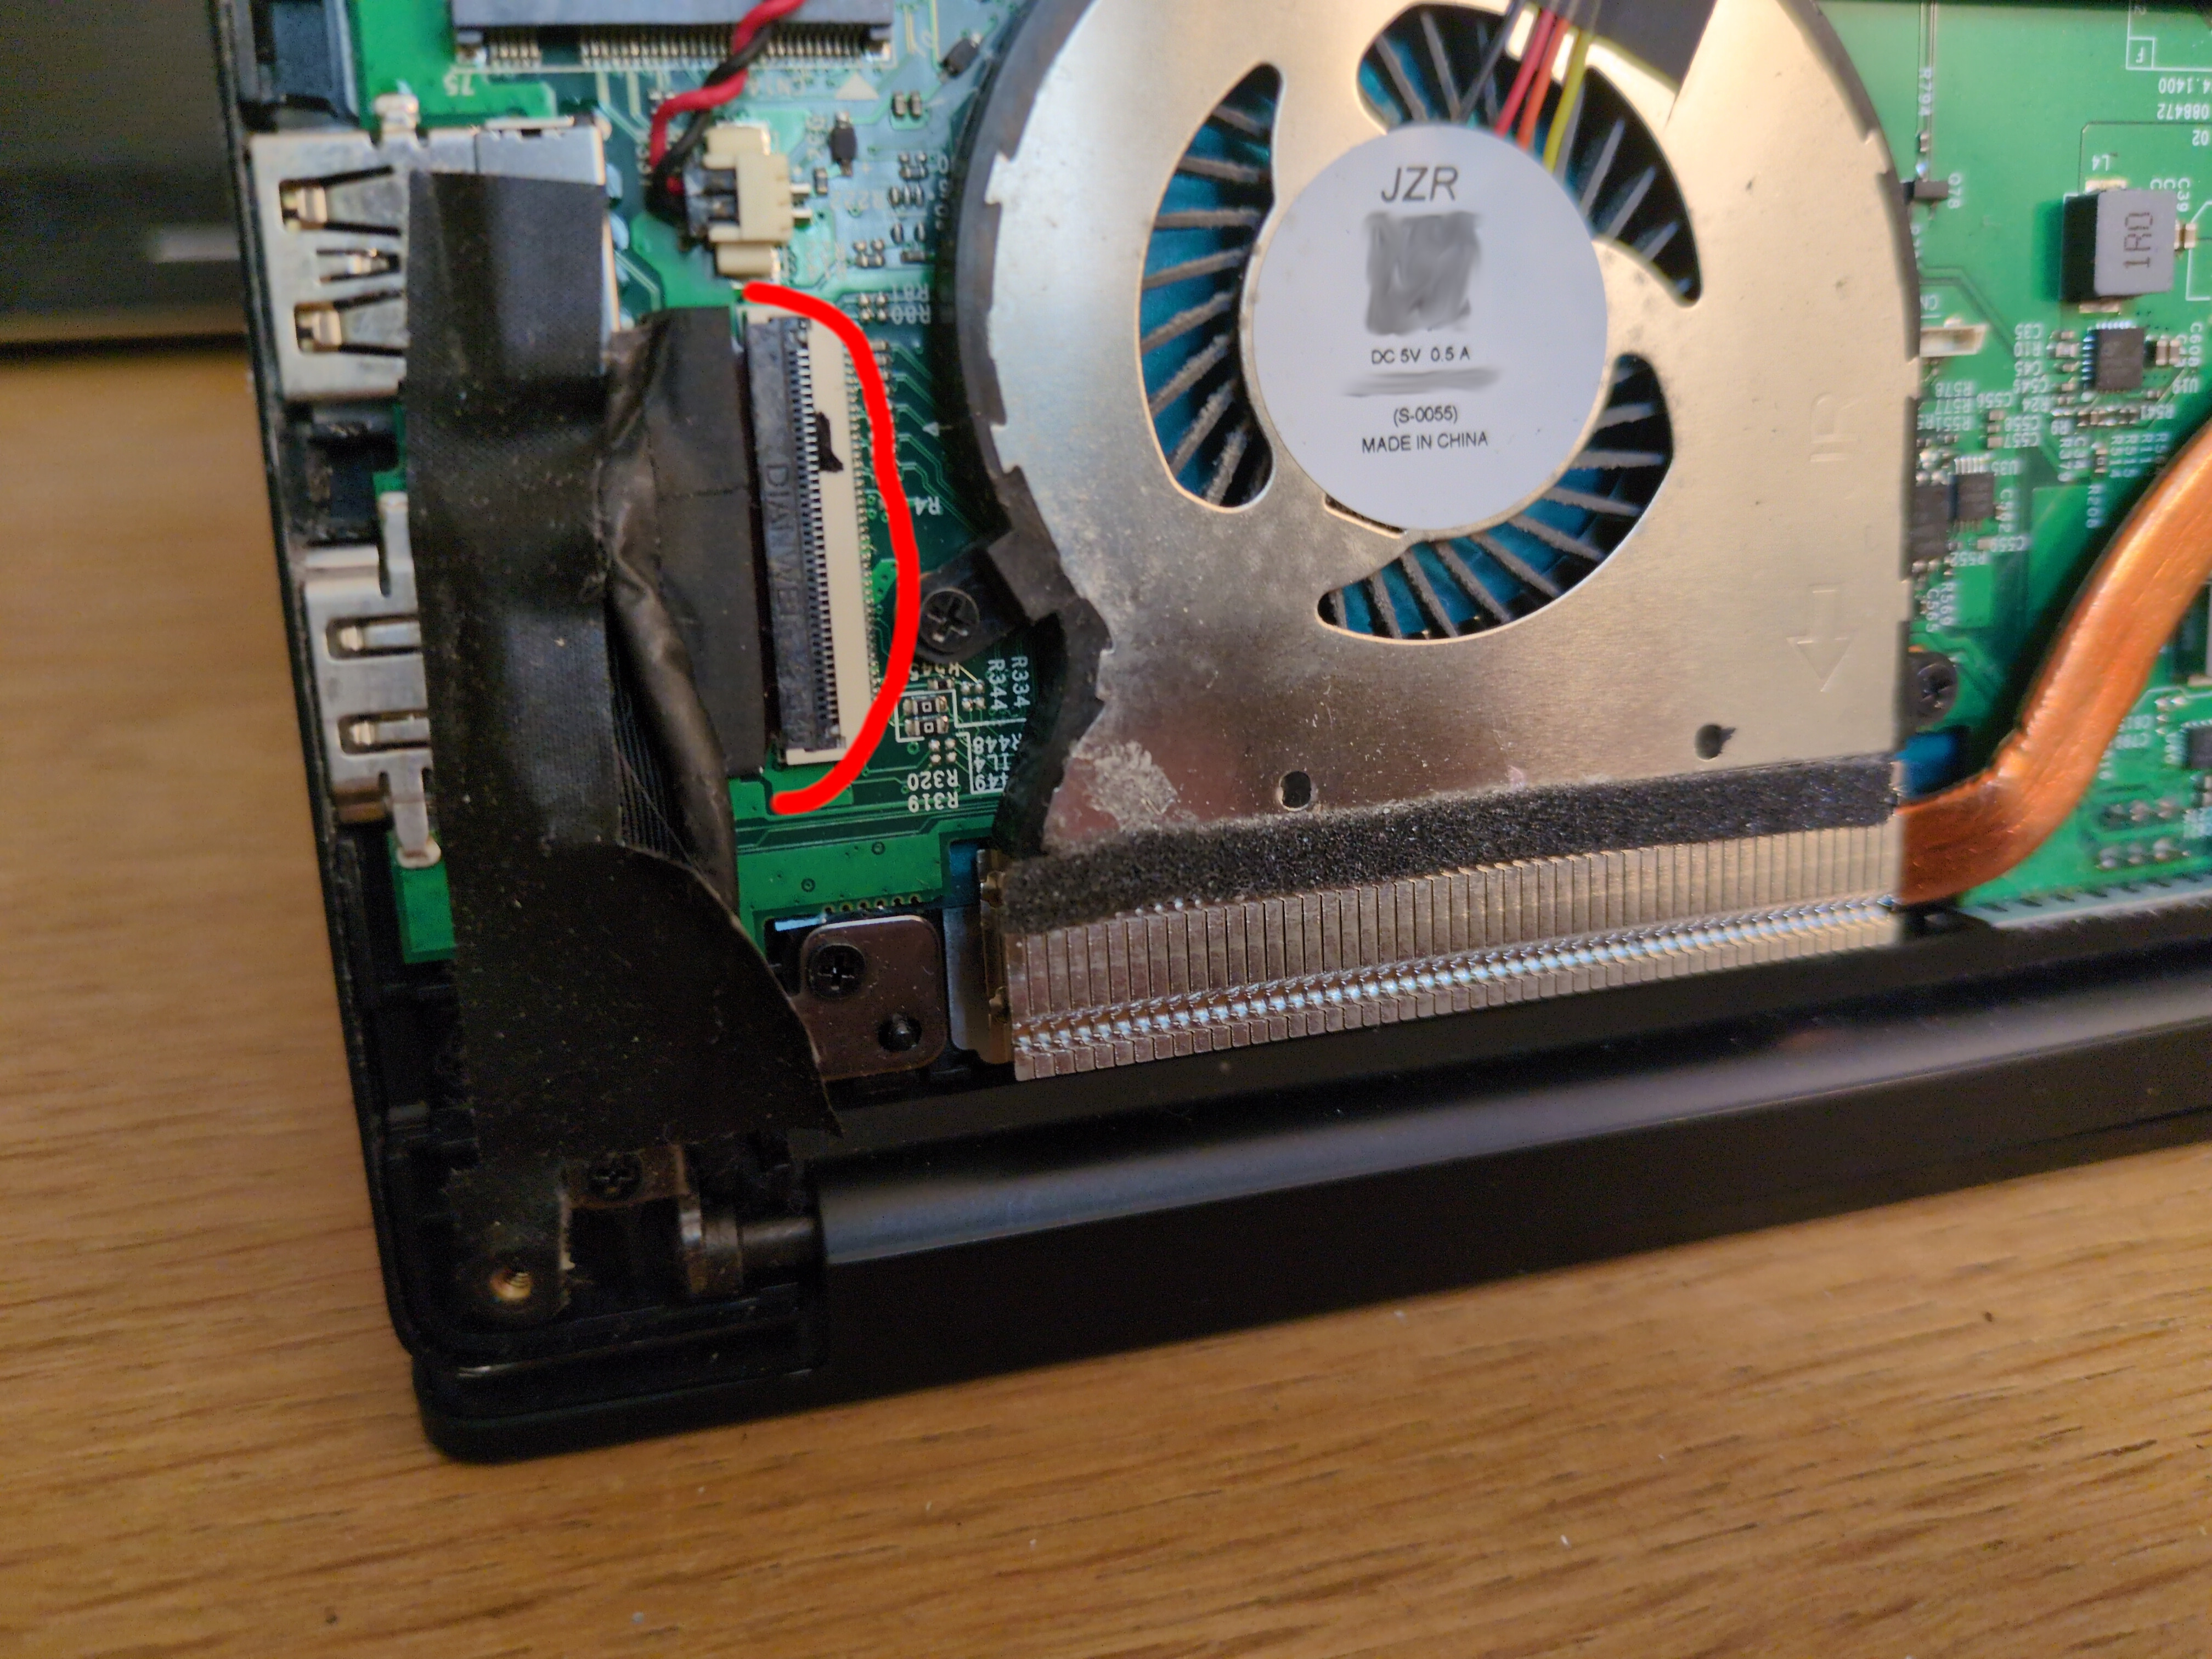
- unplug the screen ribbon (pull up the black bit of the connector to free the ribbon);
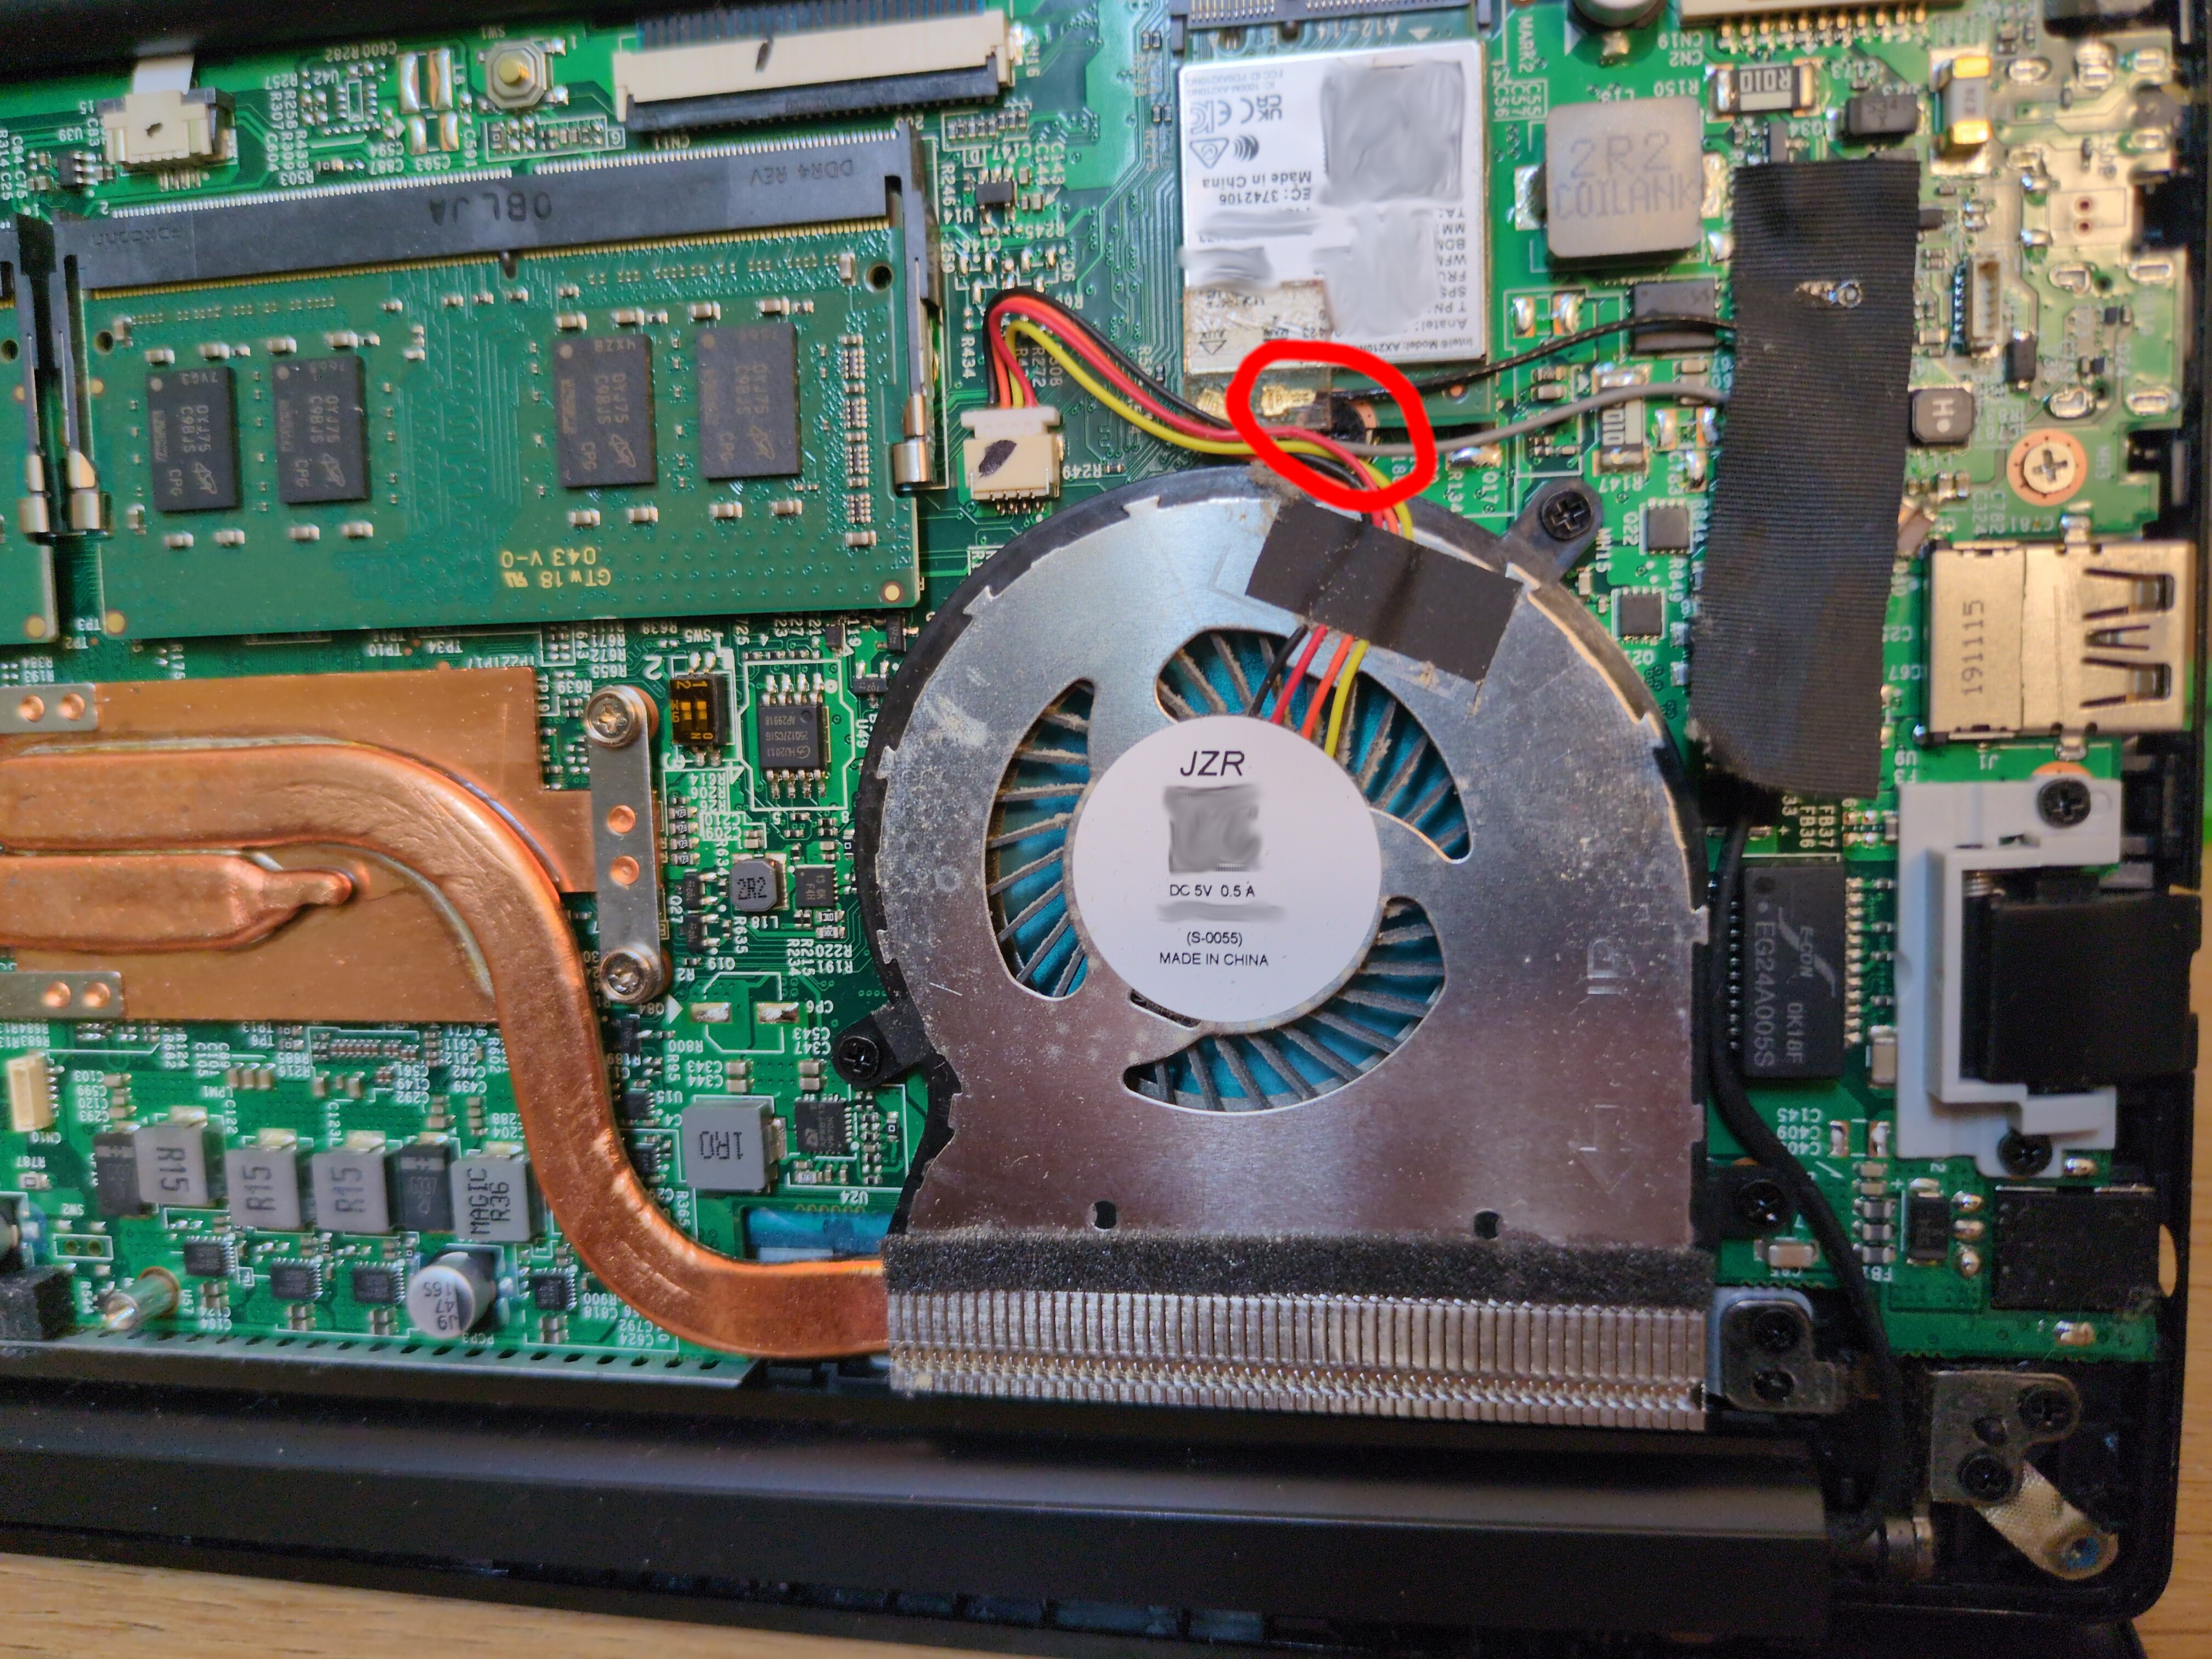
- remove the Wi-Fi/Bluetooth card;
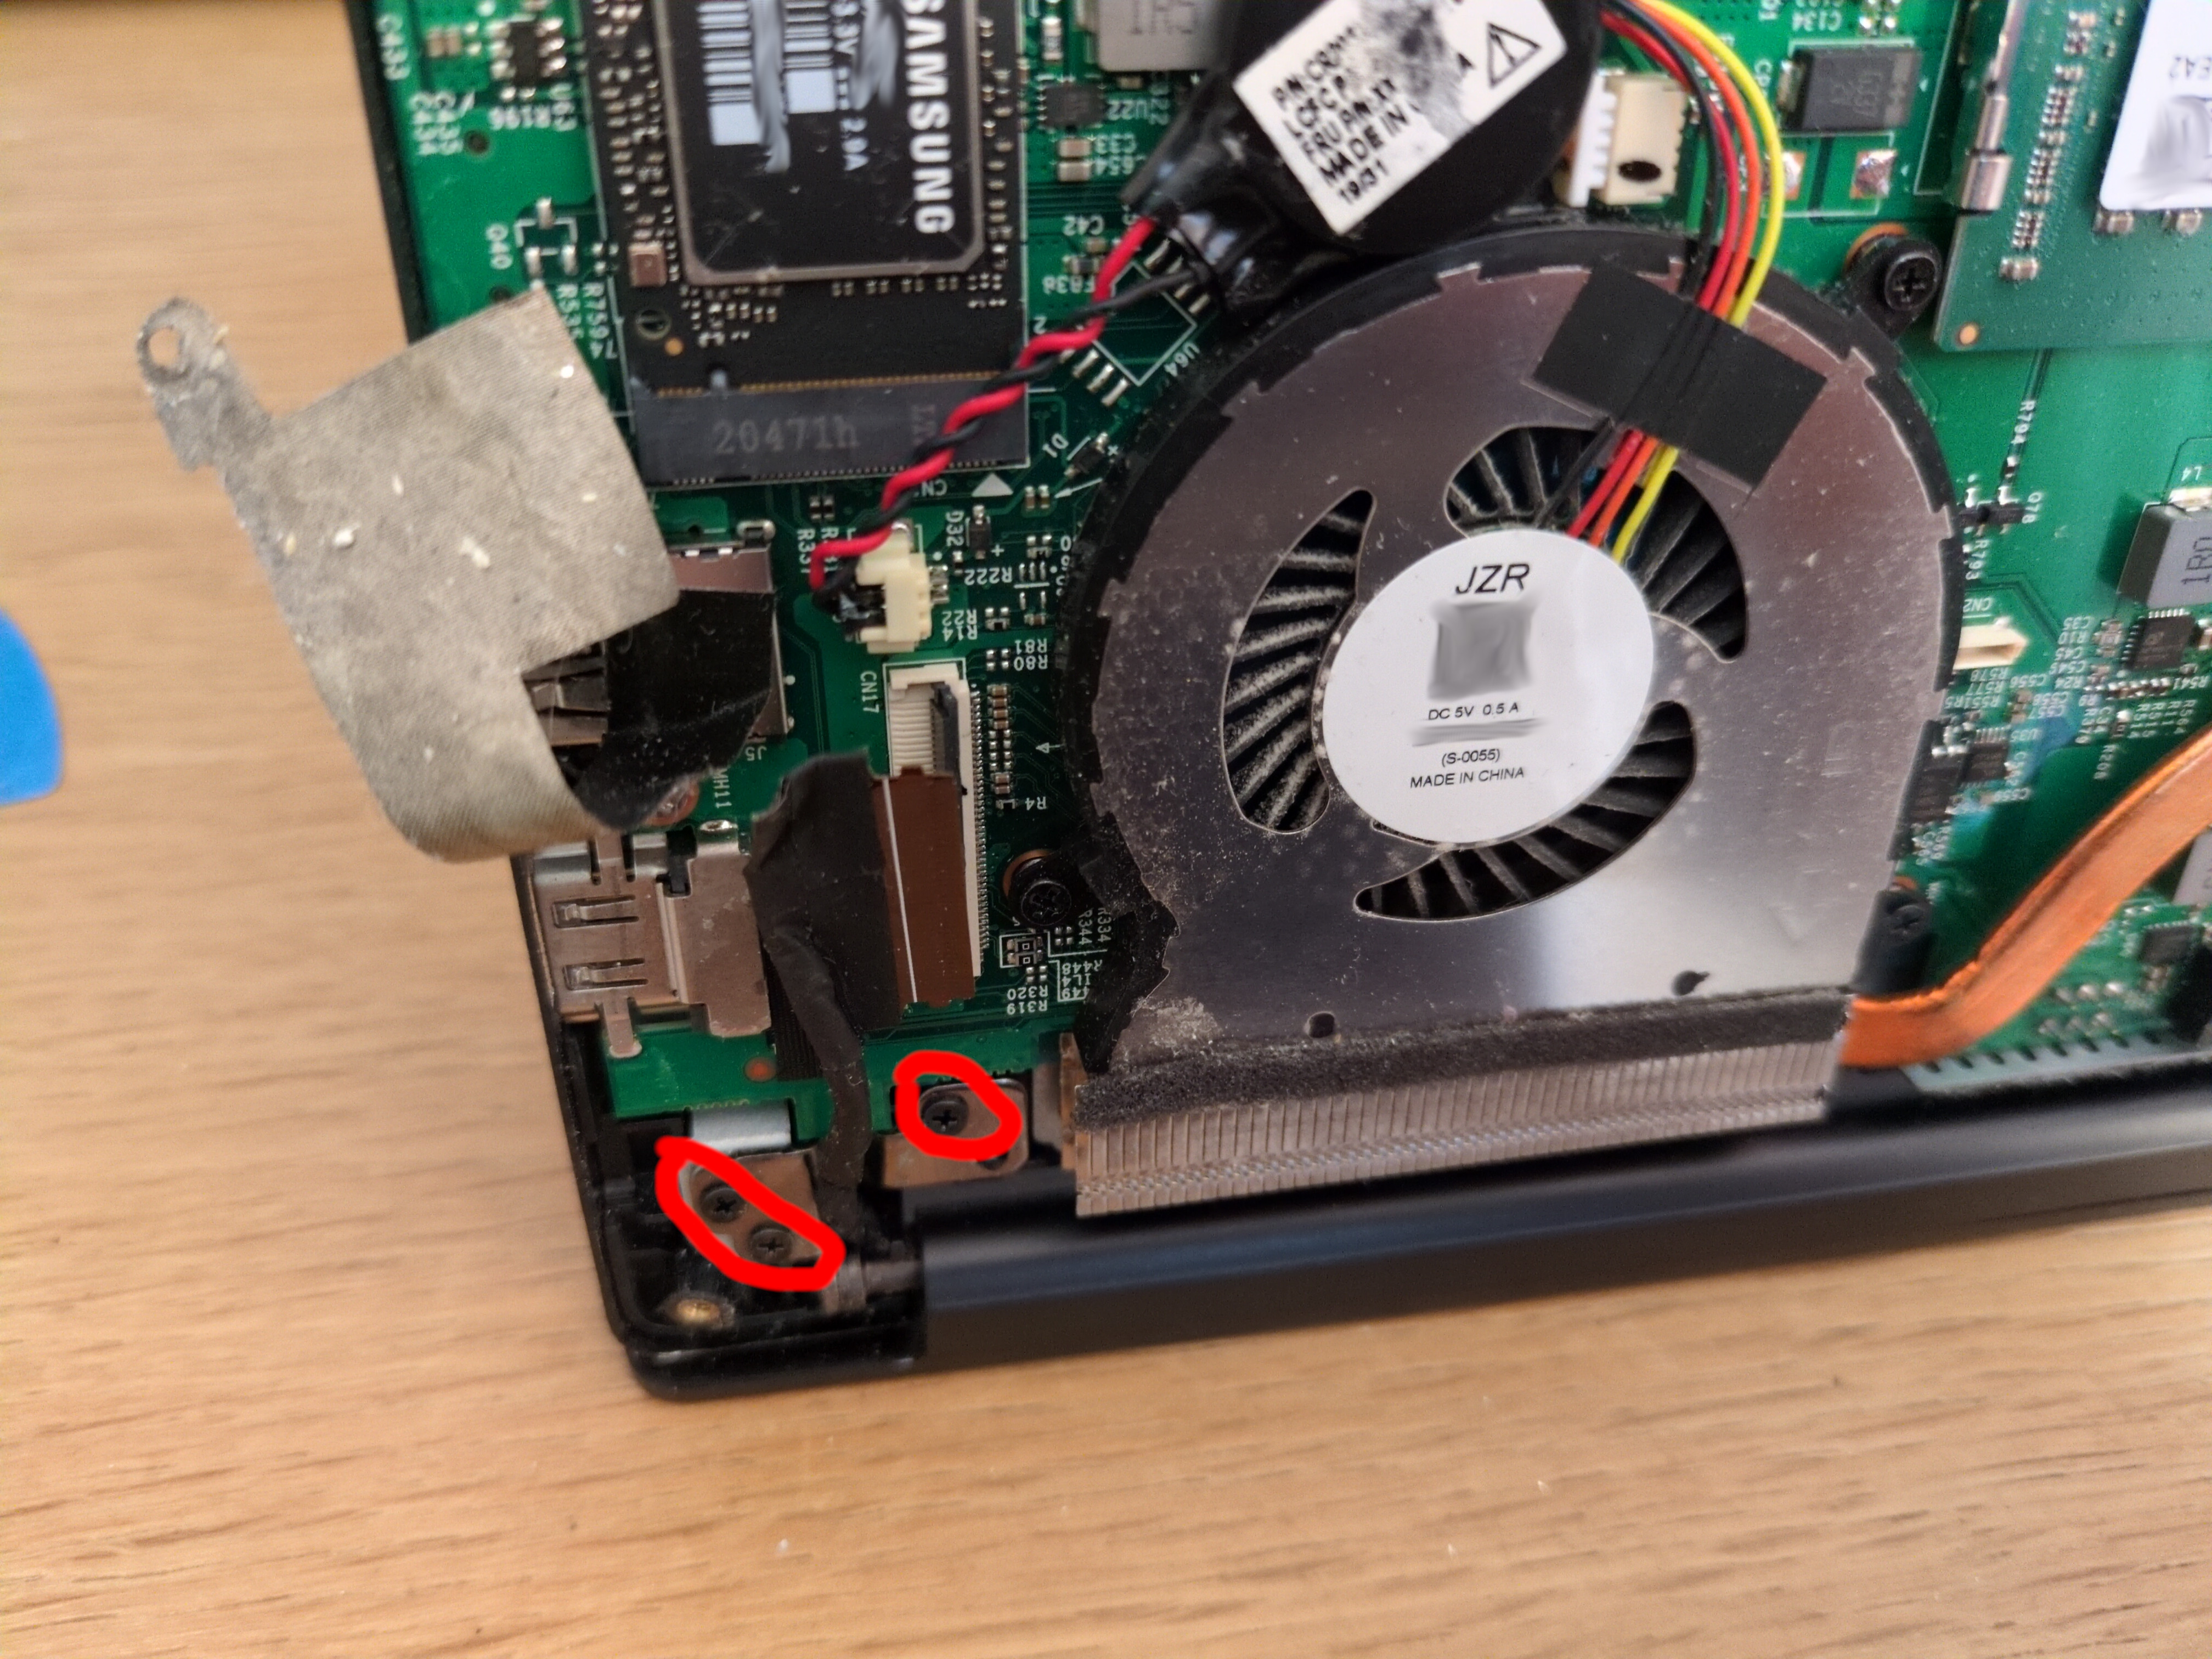
- unscrew both hinges (three screws on each side).
You can see the official video on how to open the Librem 14.
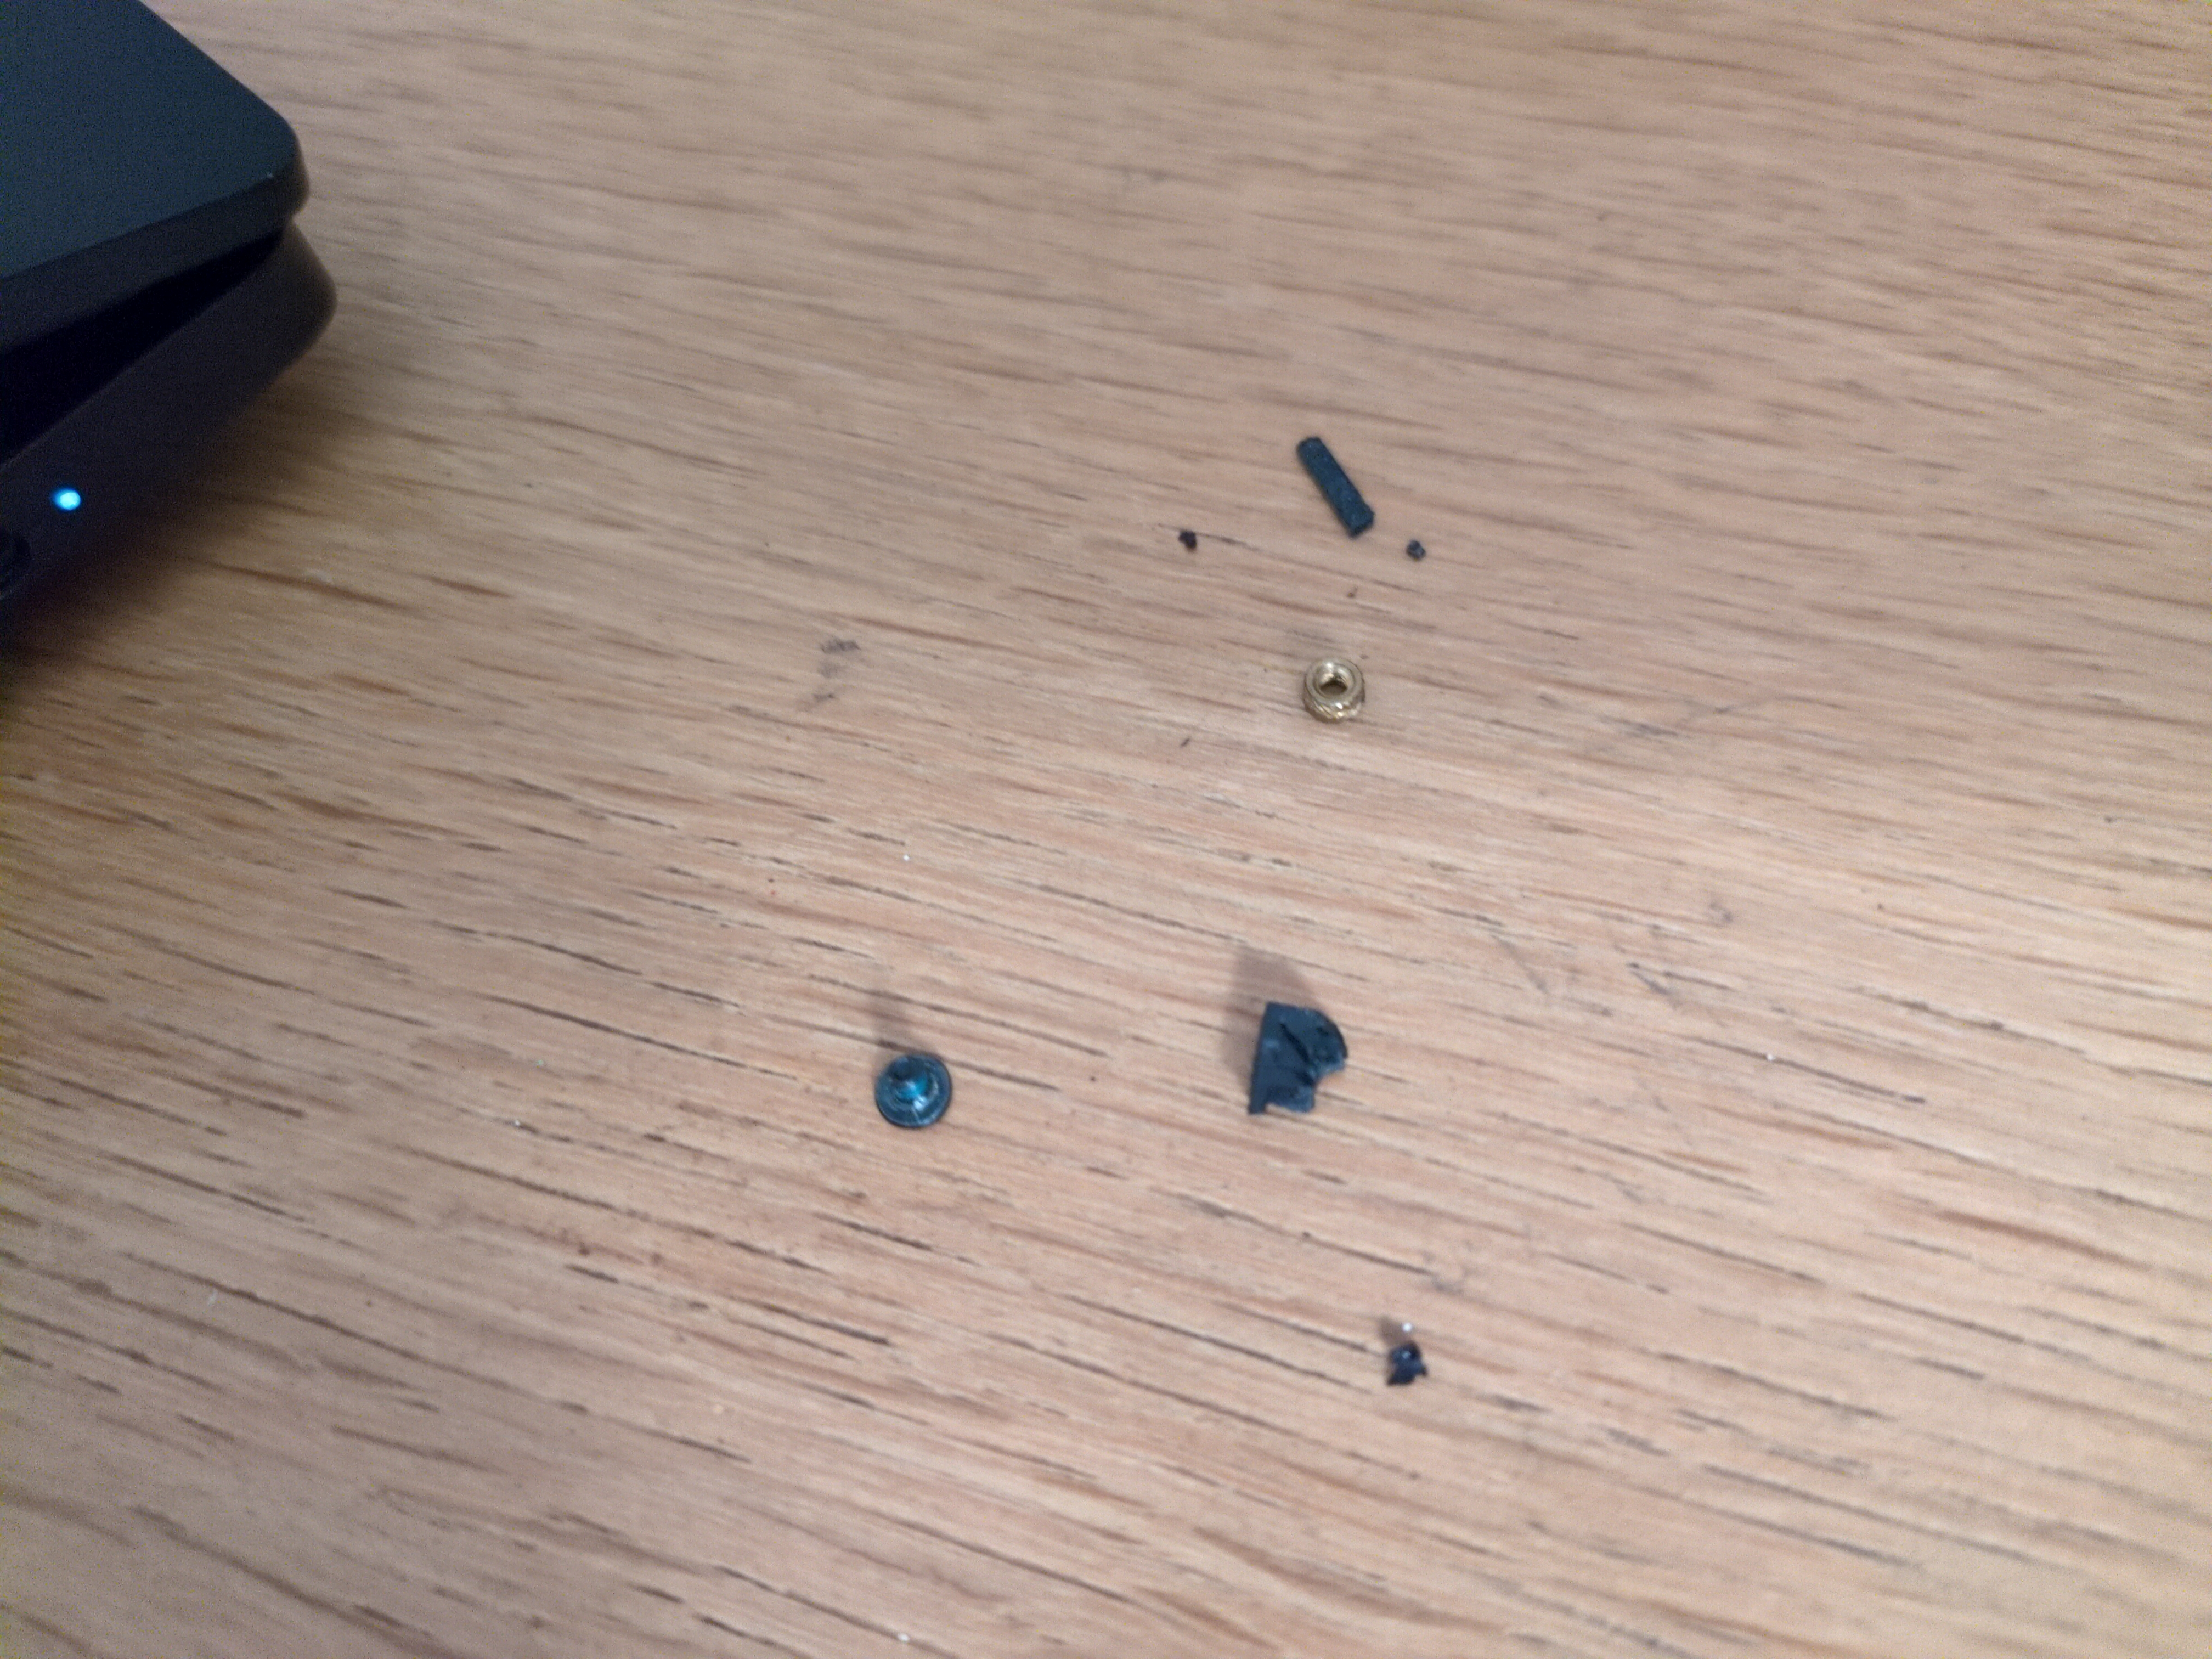
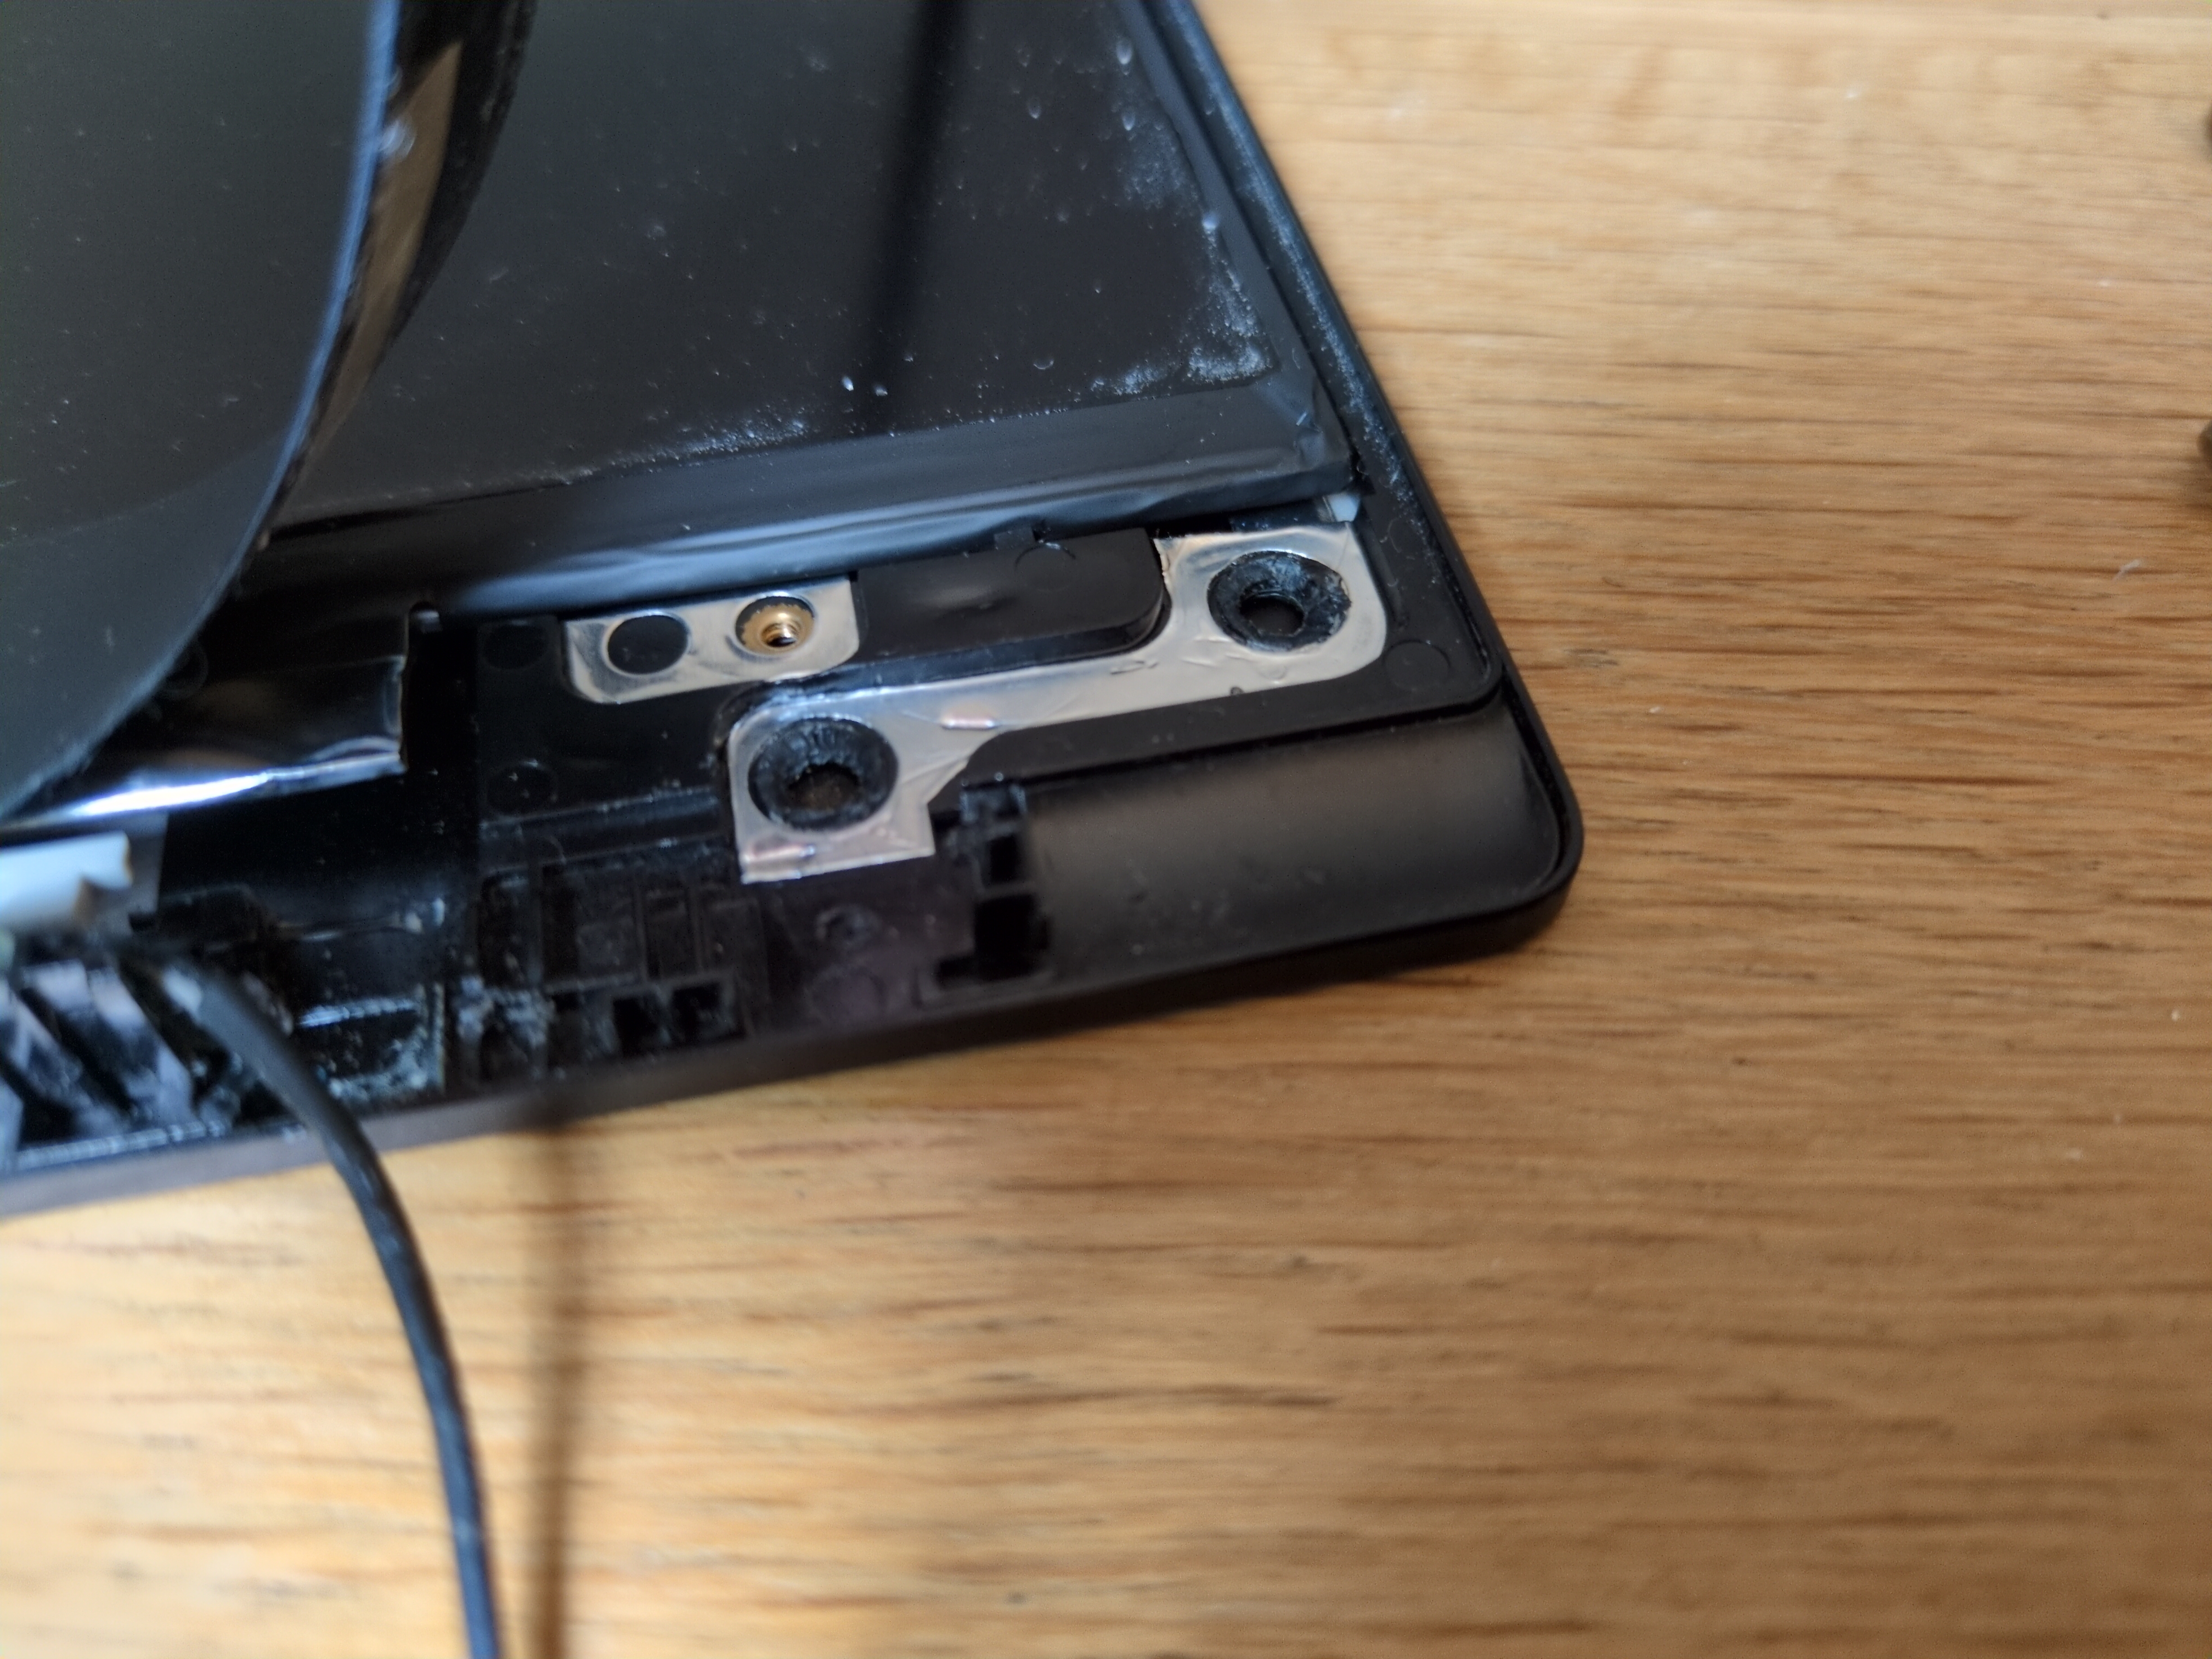
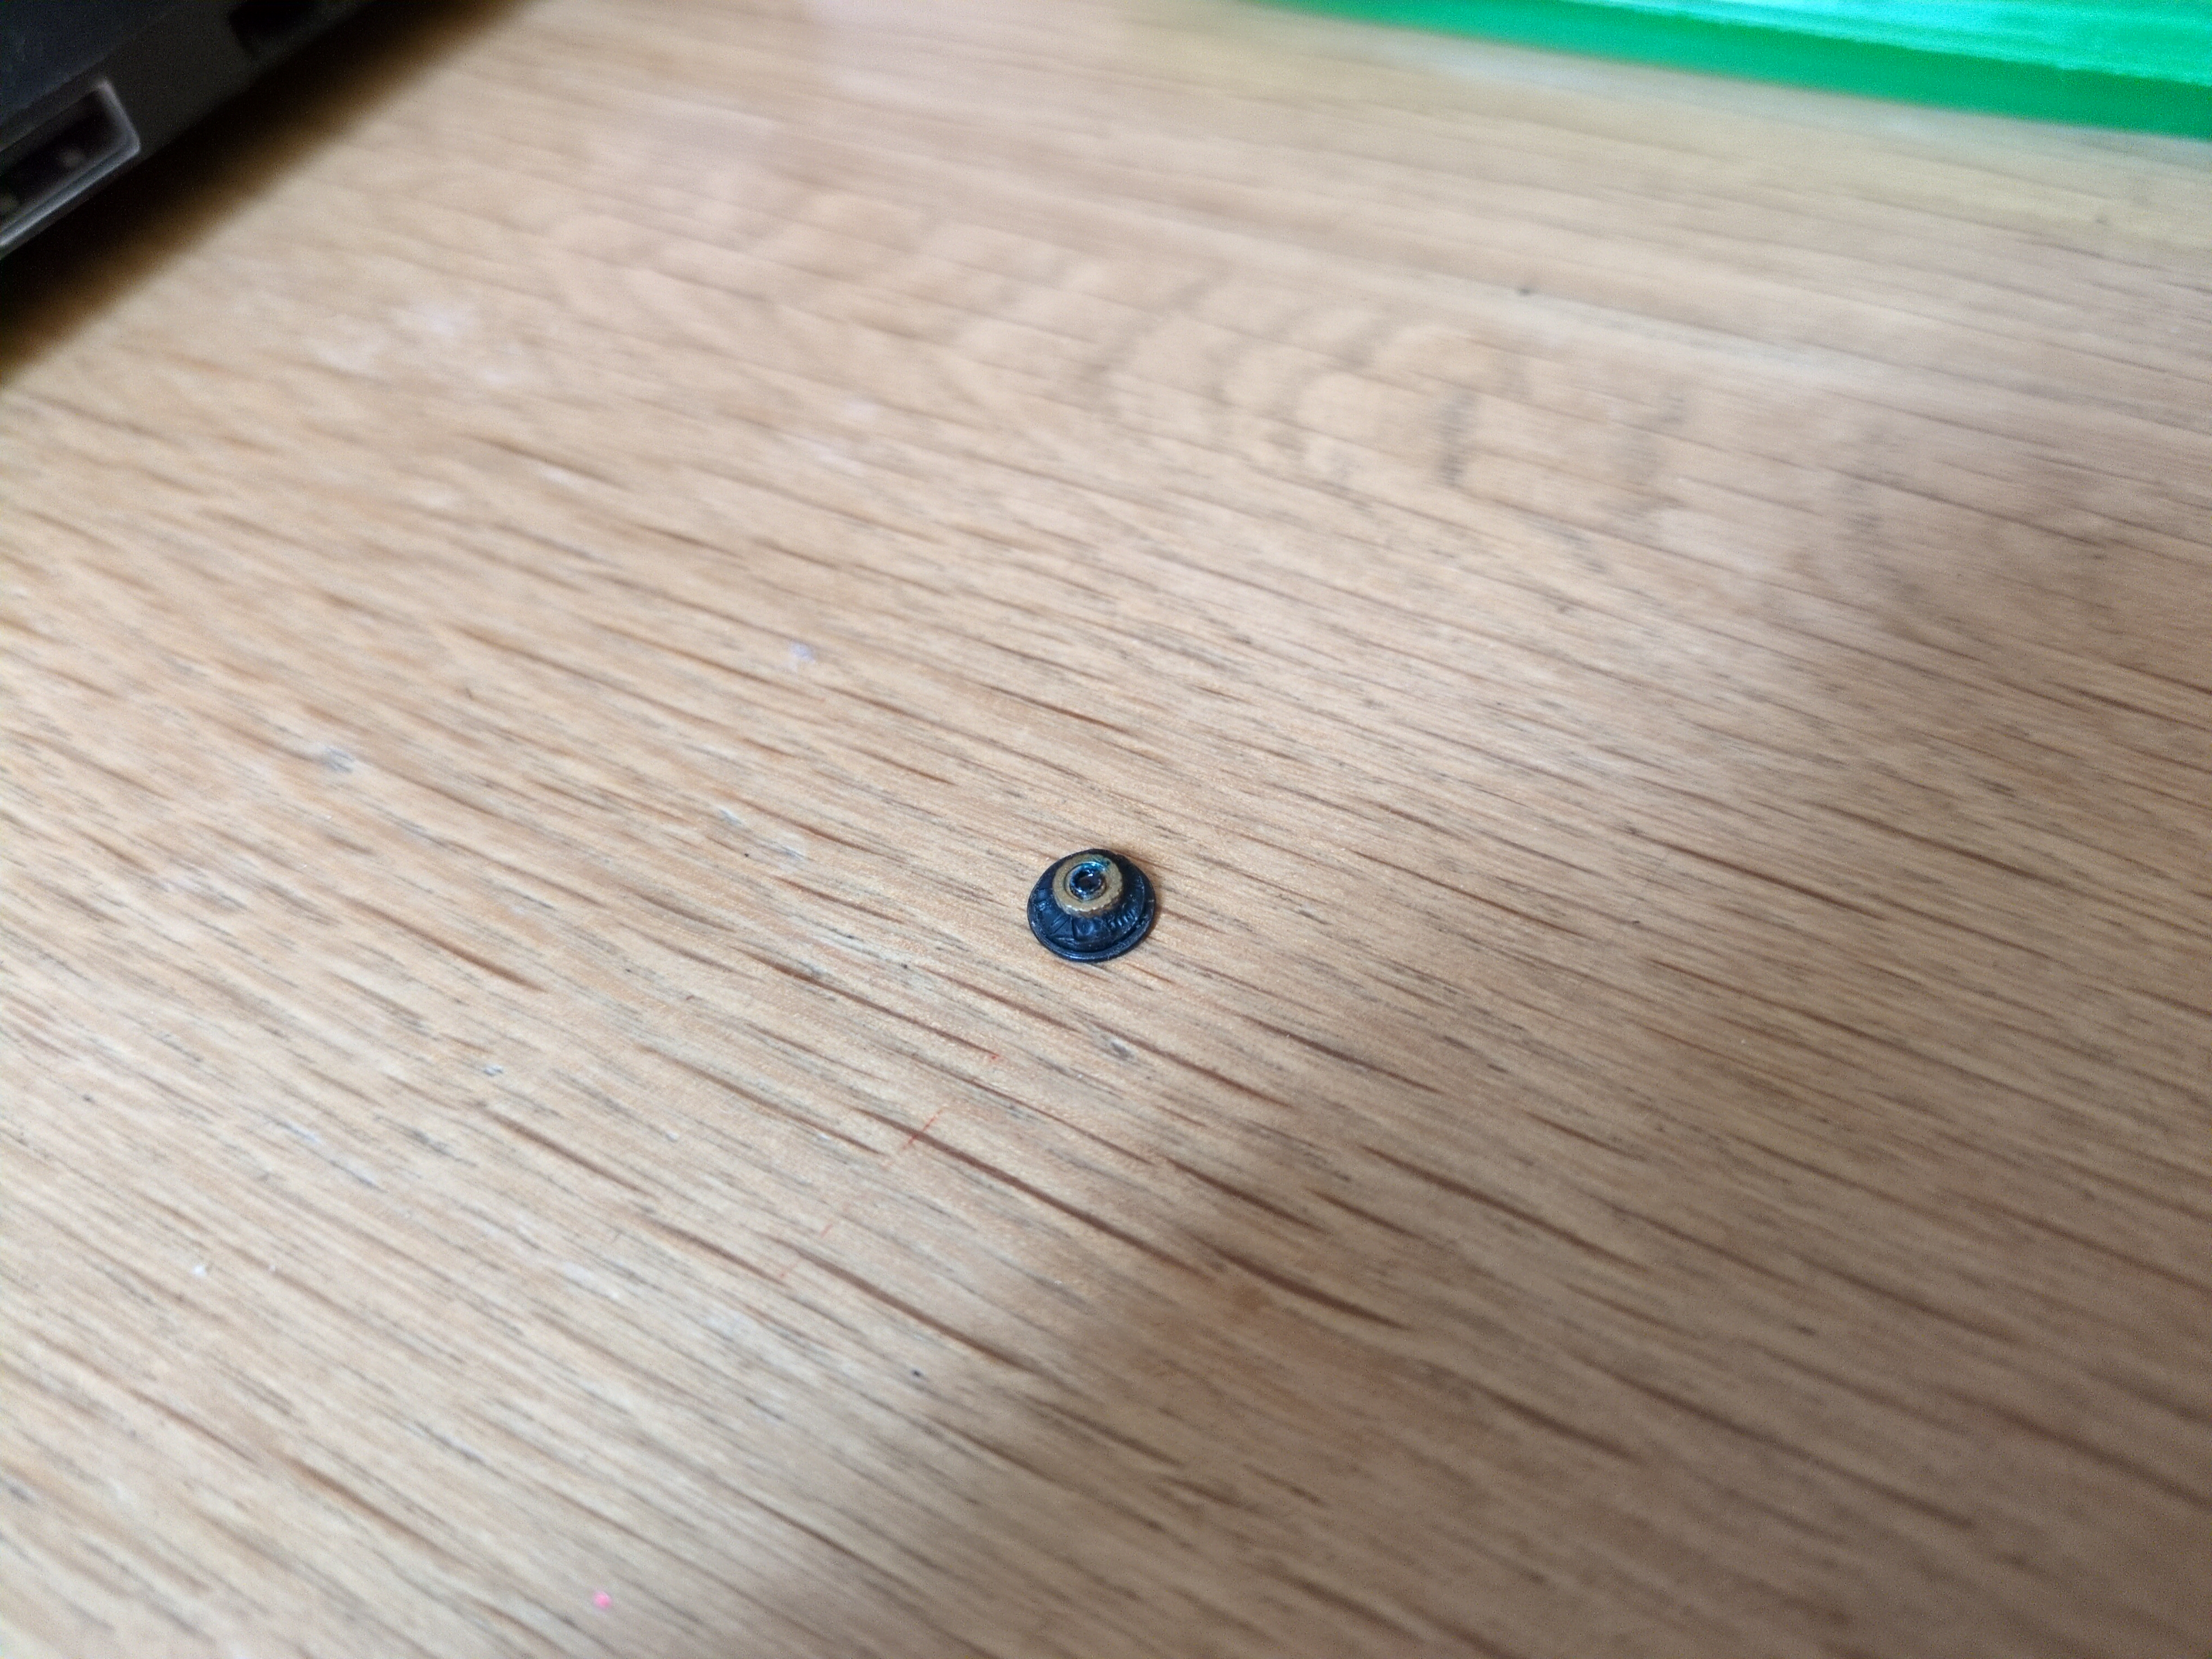
Assess the damages
The three inserts came off with the plastic holding them.
Add glue
I’m using bi-component glue: one part is a powder, the other part is the actual glue. Put together, the powder dries the glue almost instantly and turns into a hard solid.
The idea here is to put the metallic inserts back into place, then put the powder where the broken plastic was. And that’s where I got it wrong. For the two main inserts, the plastic part was only the size of the hinge hole. So the hinge would be around the insert, not above.
But I discovered that too late. The screws would not get in. They were way too short, given the hinge was supposed to be lower/closer to the frame. So I found longer screws, but not as large, so they would not hold the hinge, so I added washers. Making the whole thing much thicker than the original design.
Also, be cautious about not putting glue inside the inserts, as it will obviously prevent putting the screws back.


Screw everything back together
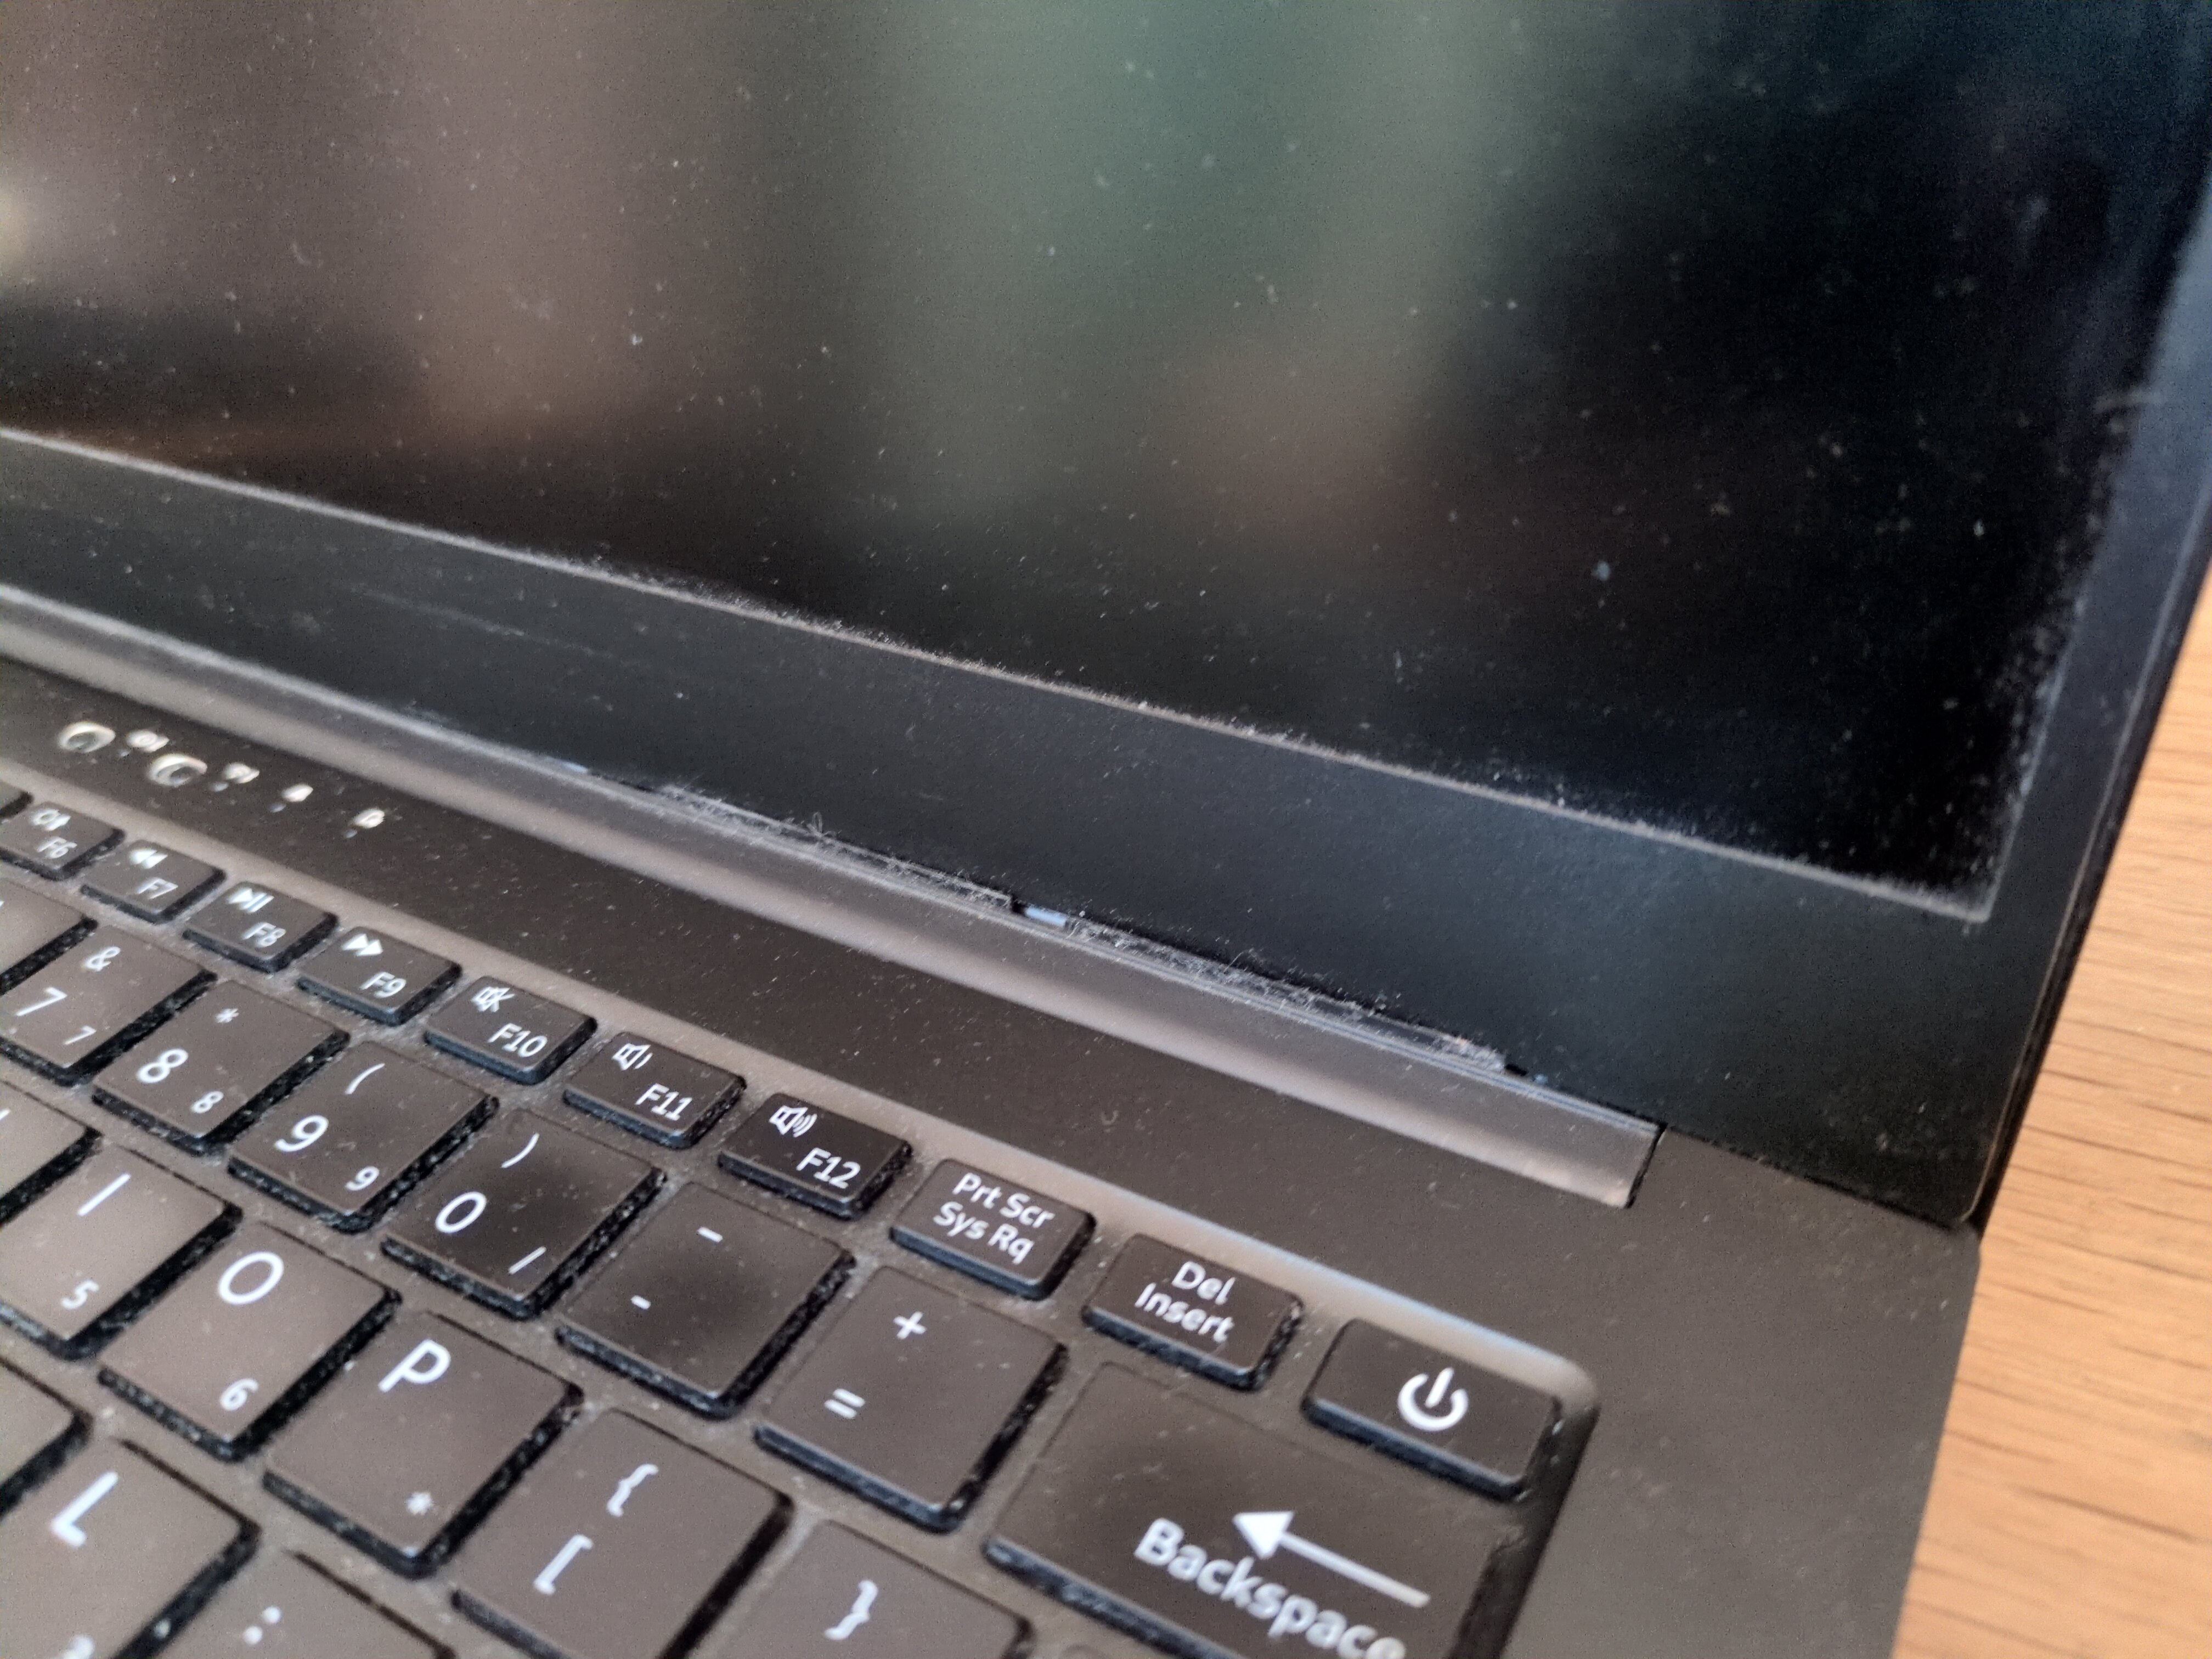
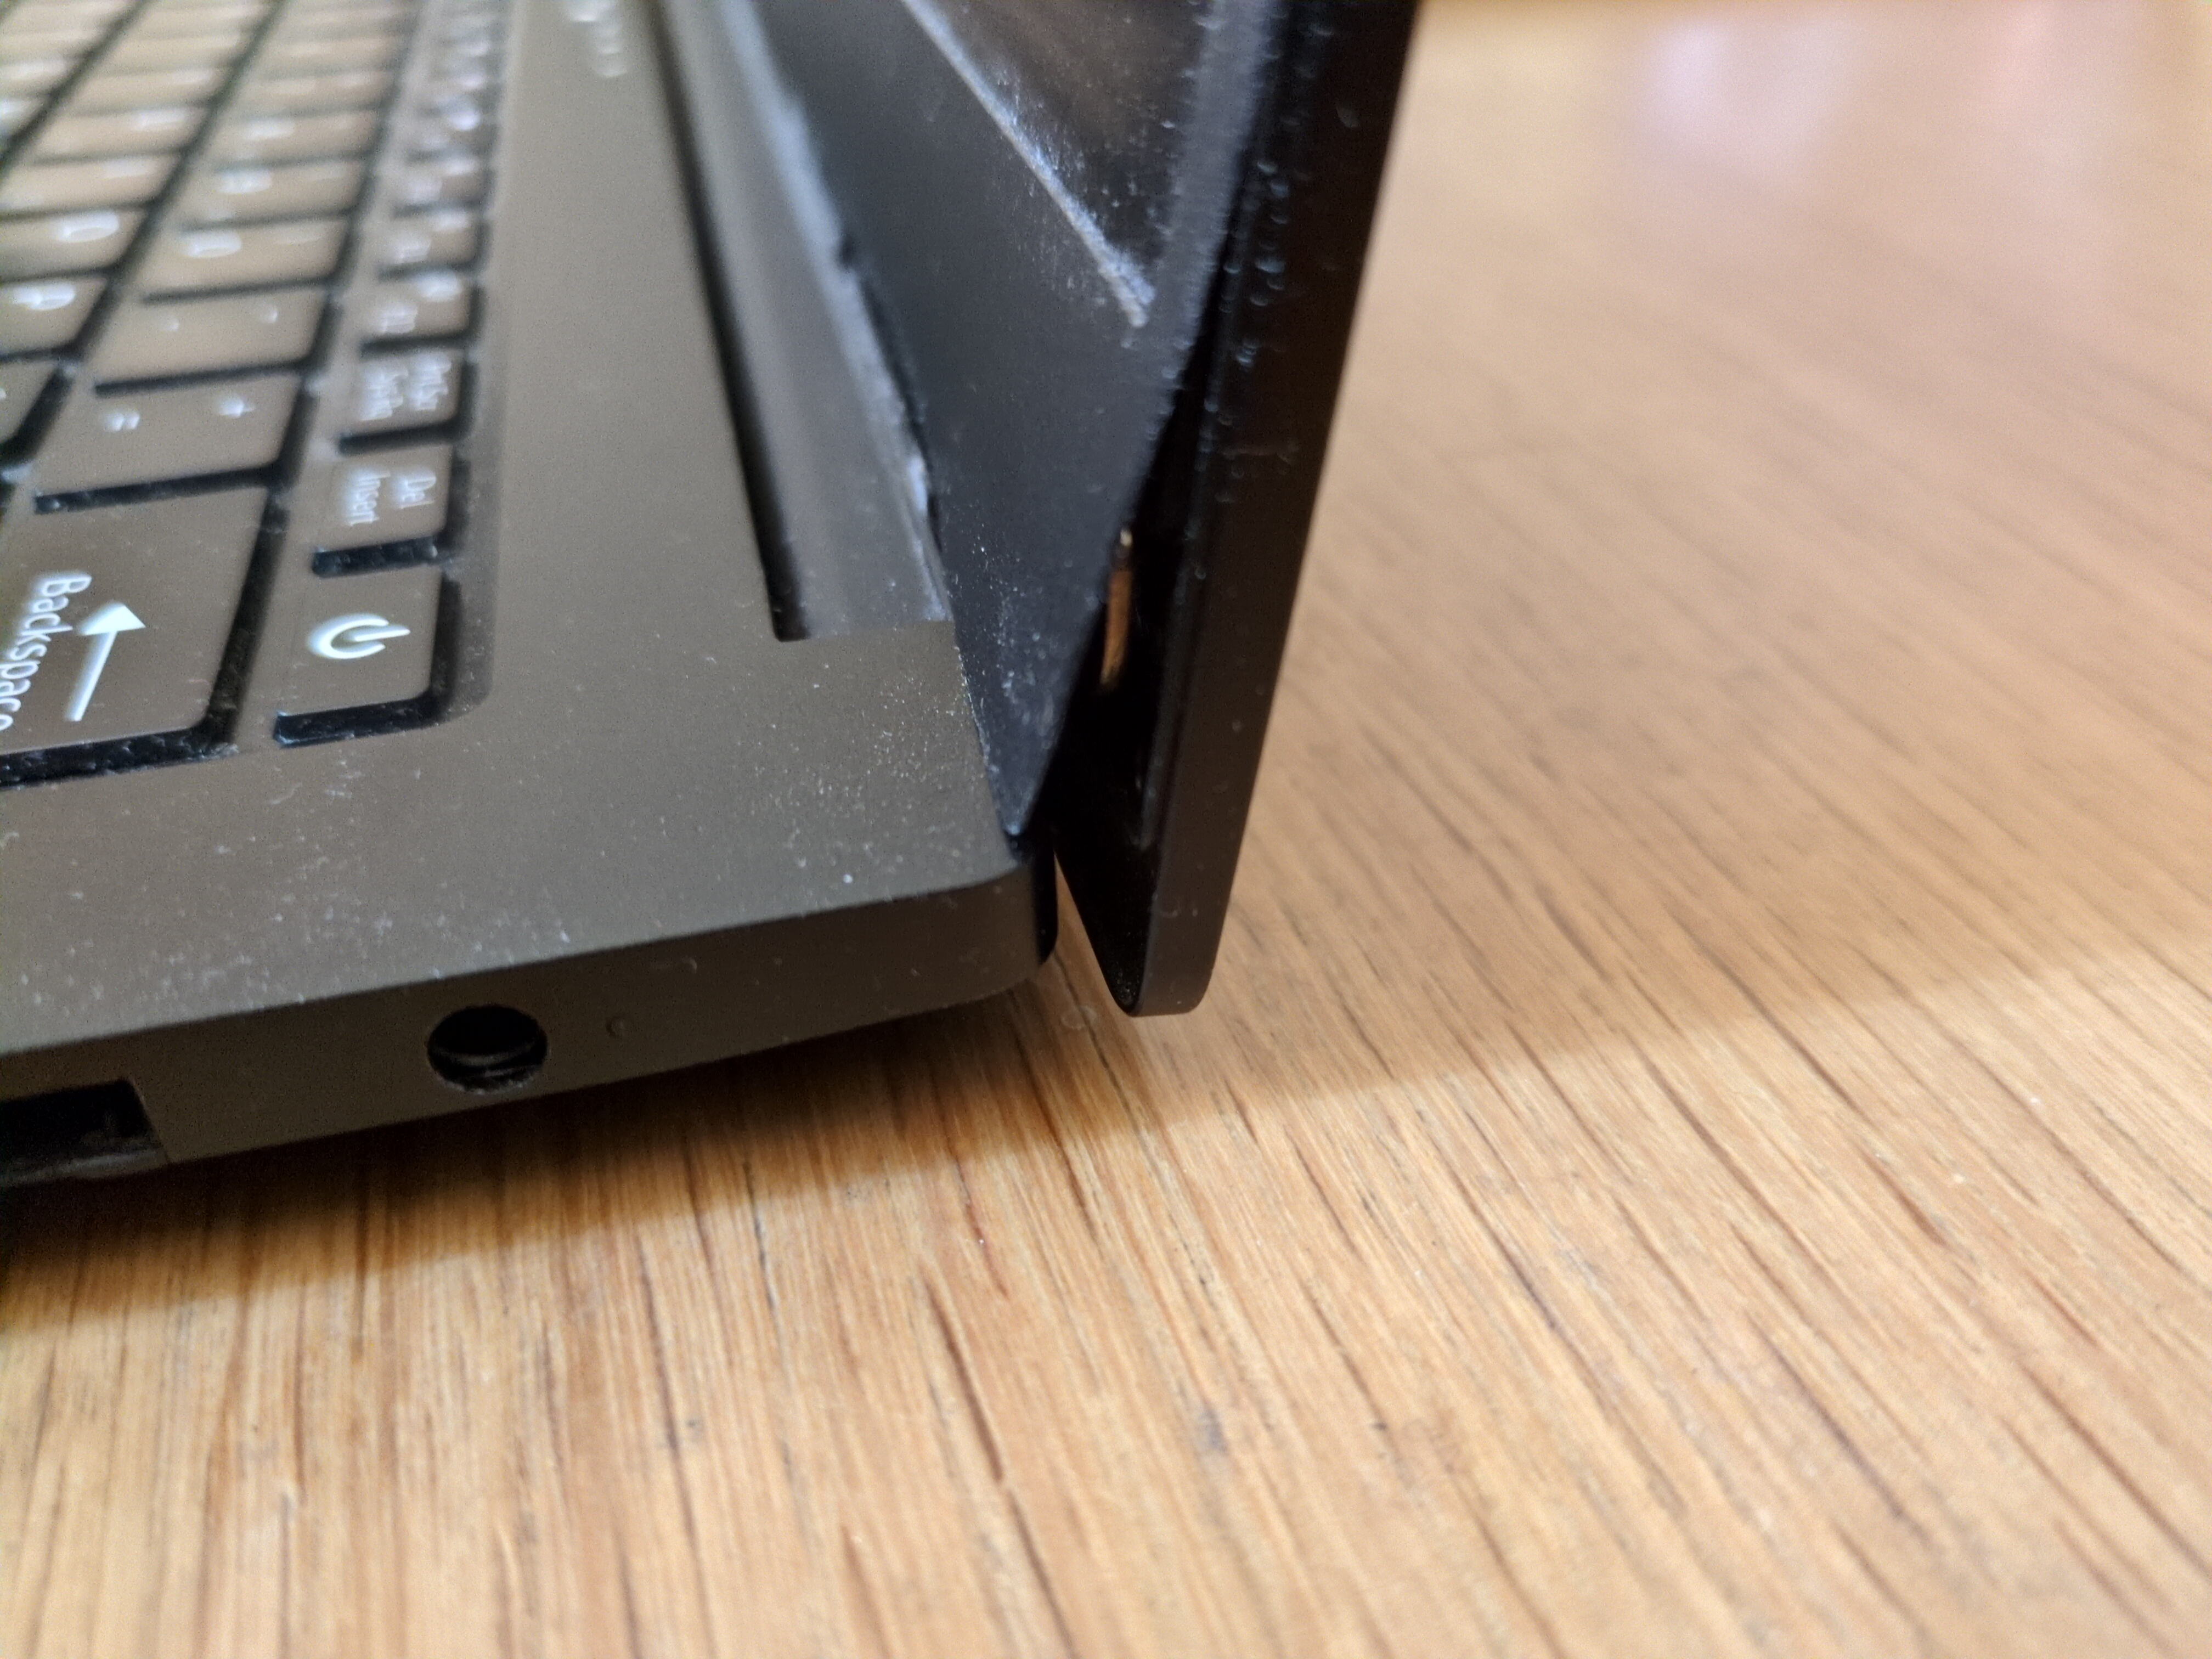
After assembling everything back, the hinge is a bit bent because it’s now thicker than before. But at least it works… so far.
Tip: always open a laptop lid by the middle (which I do) to reduce stress on the hinges. And even like that, they may break at some point. My 10-year-old MacBook Pro, with daily usage, did not break, but there were stress signs on one of the hinges.


 Comments
Add one by emailing me.
Comments
Add one by emailing me.