


DIY Rack mount
I have a small 19-inch rack cabinet to hold some of my network equipments. Given than most of that equipment is not really designed to be installed in that kind of cabinet, they are put on a shelf in it. In order to tidy all that a bit more, I decided to design and 3D print some rack mount for some of those equipments.
Items
I want to fit the following items in 1U:
- a Turris Omnia router;
- the router power supply;
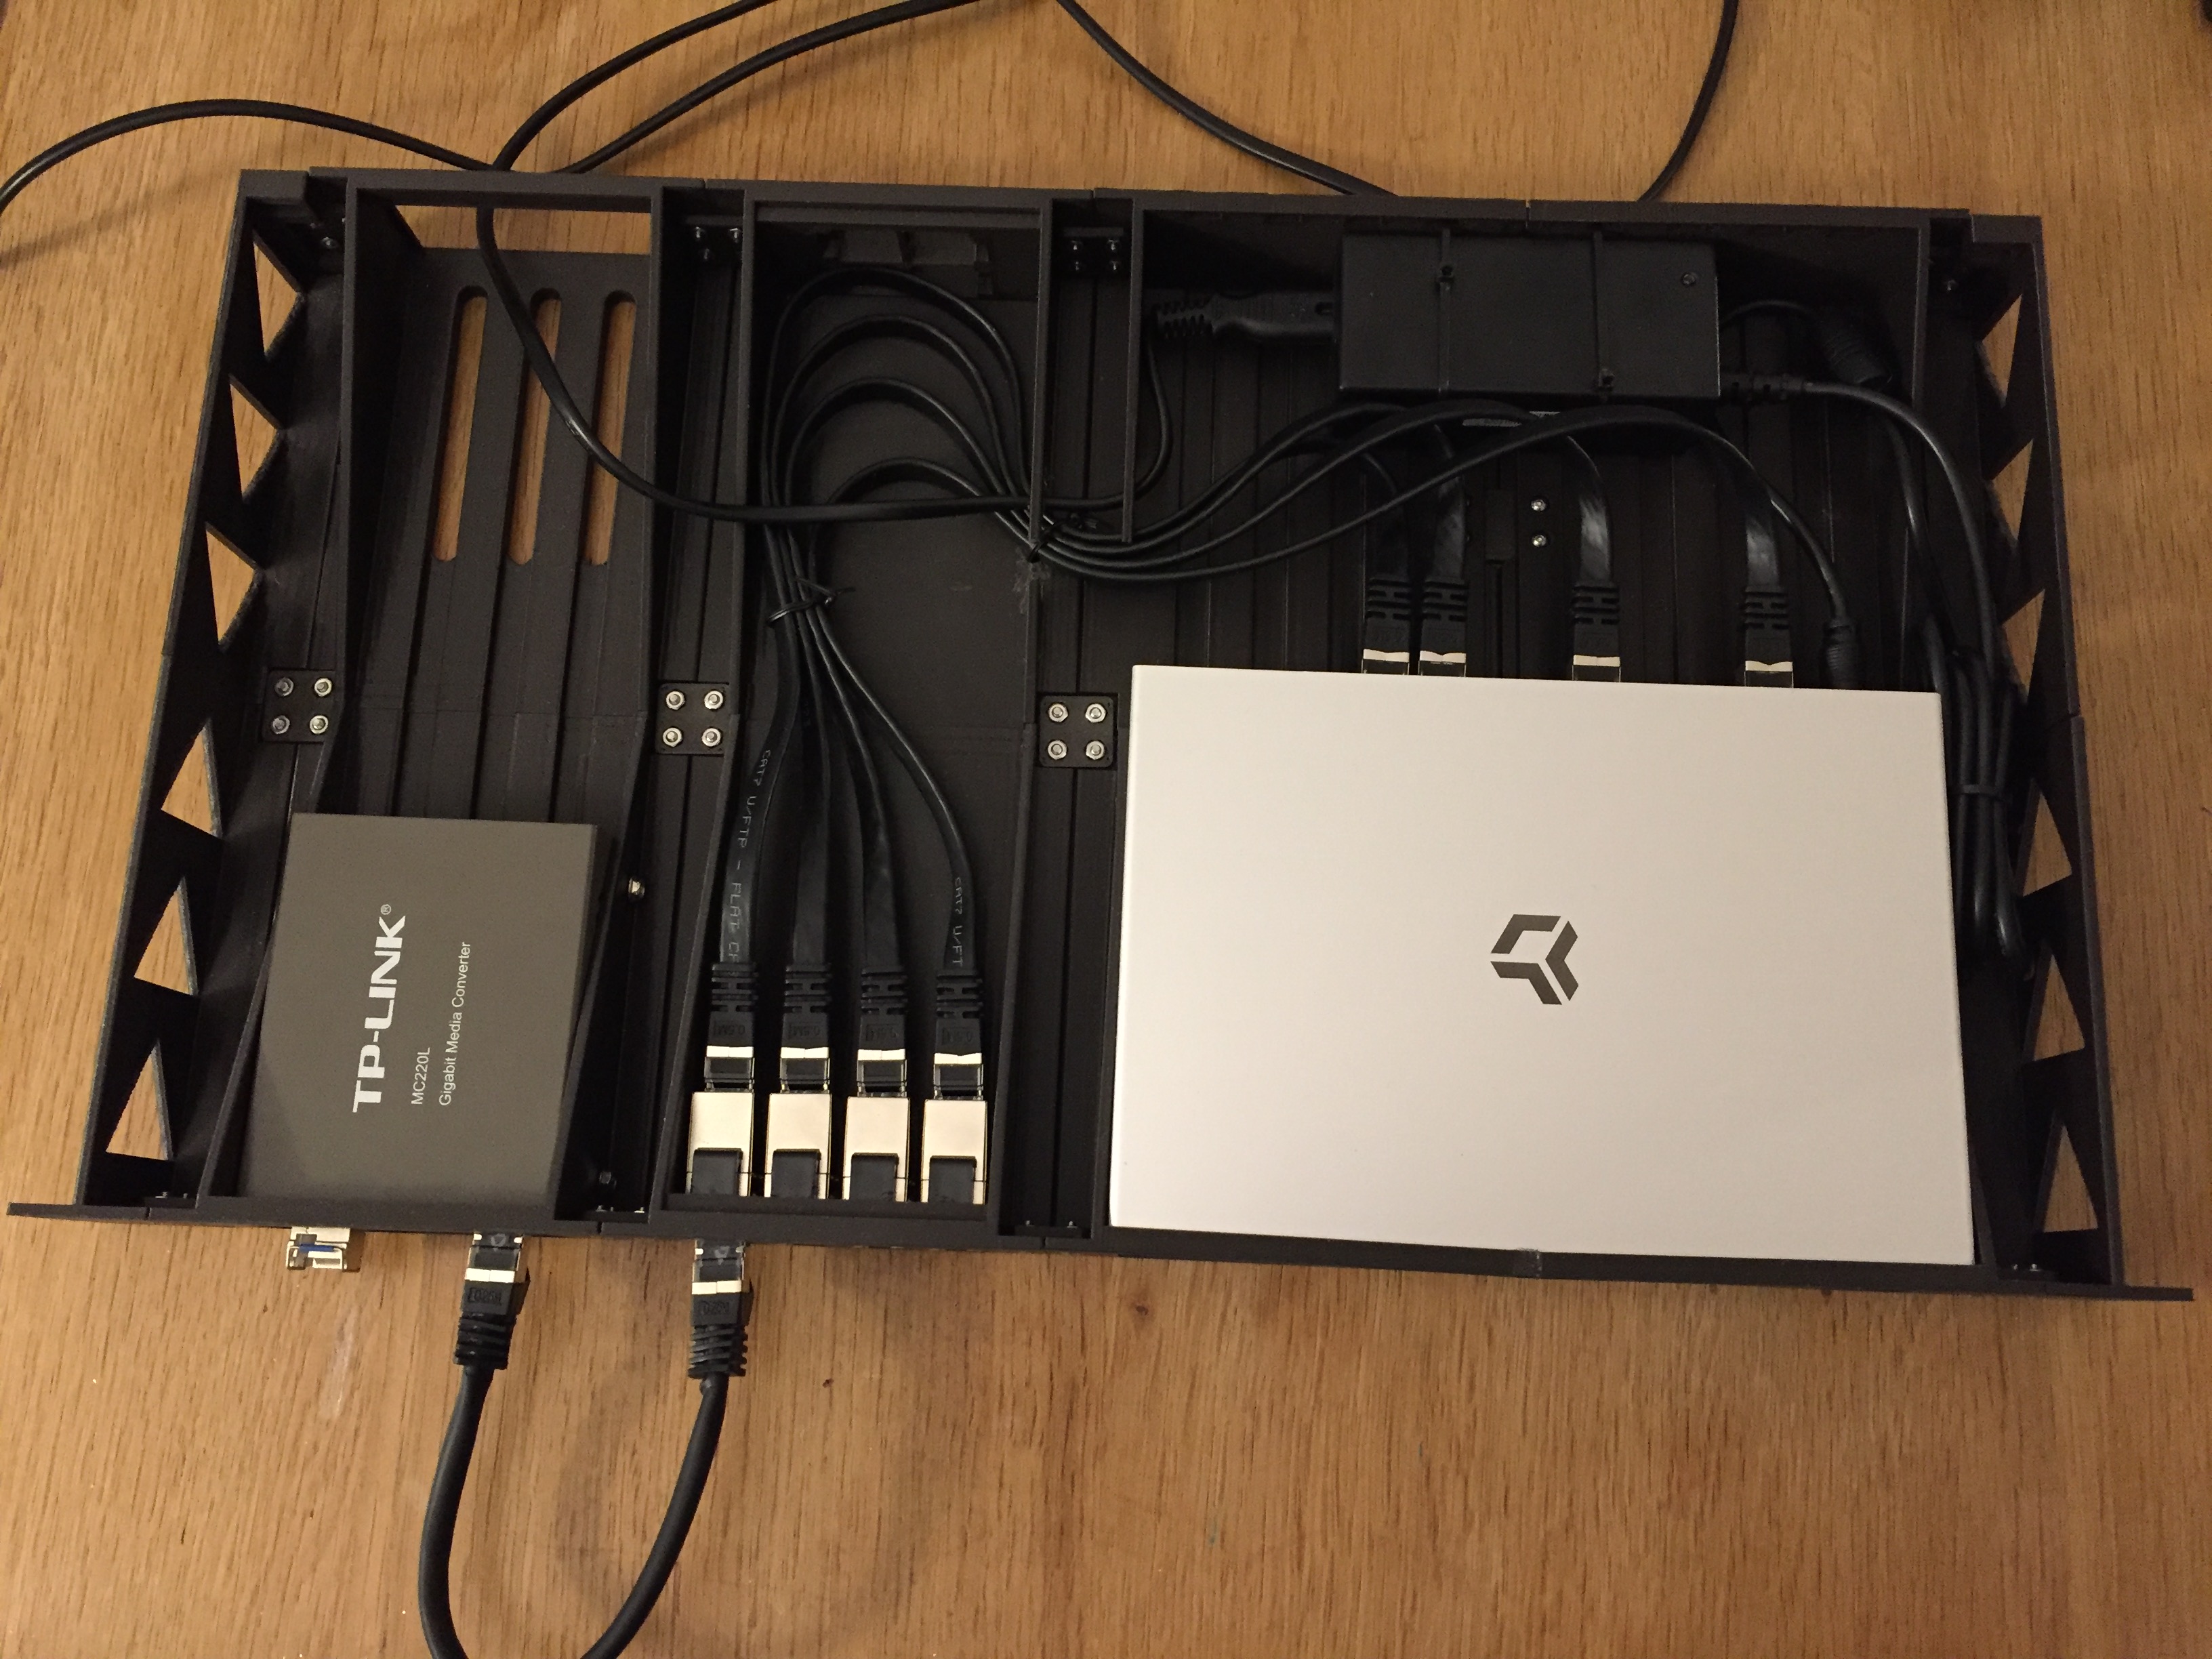
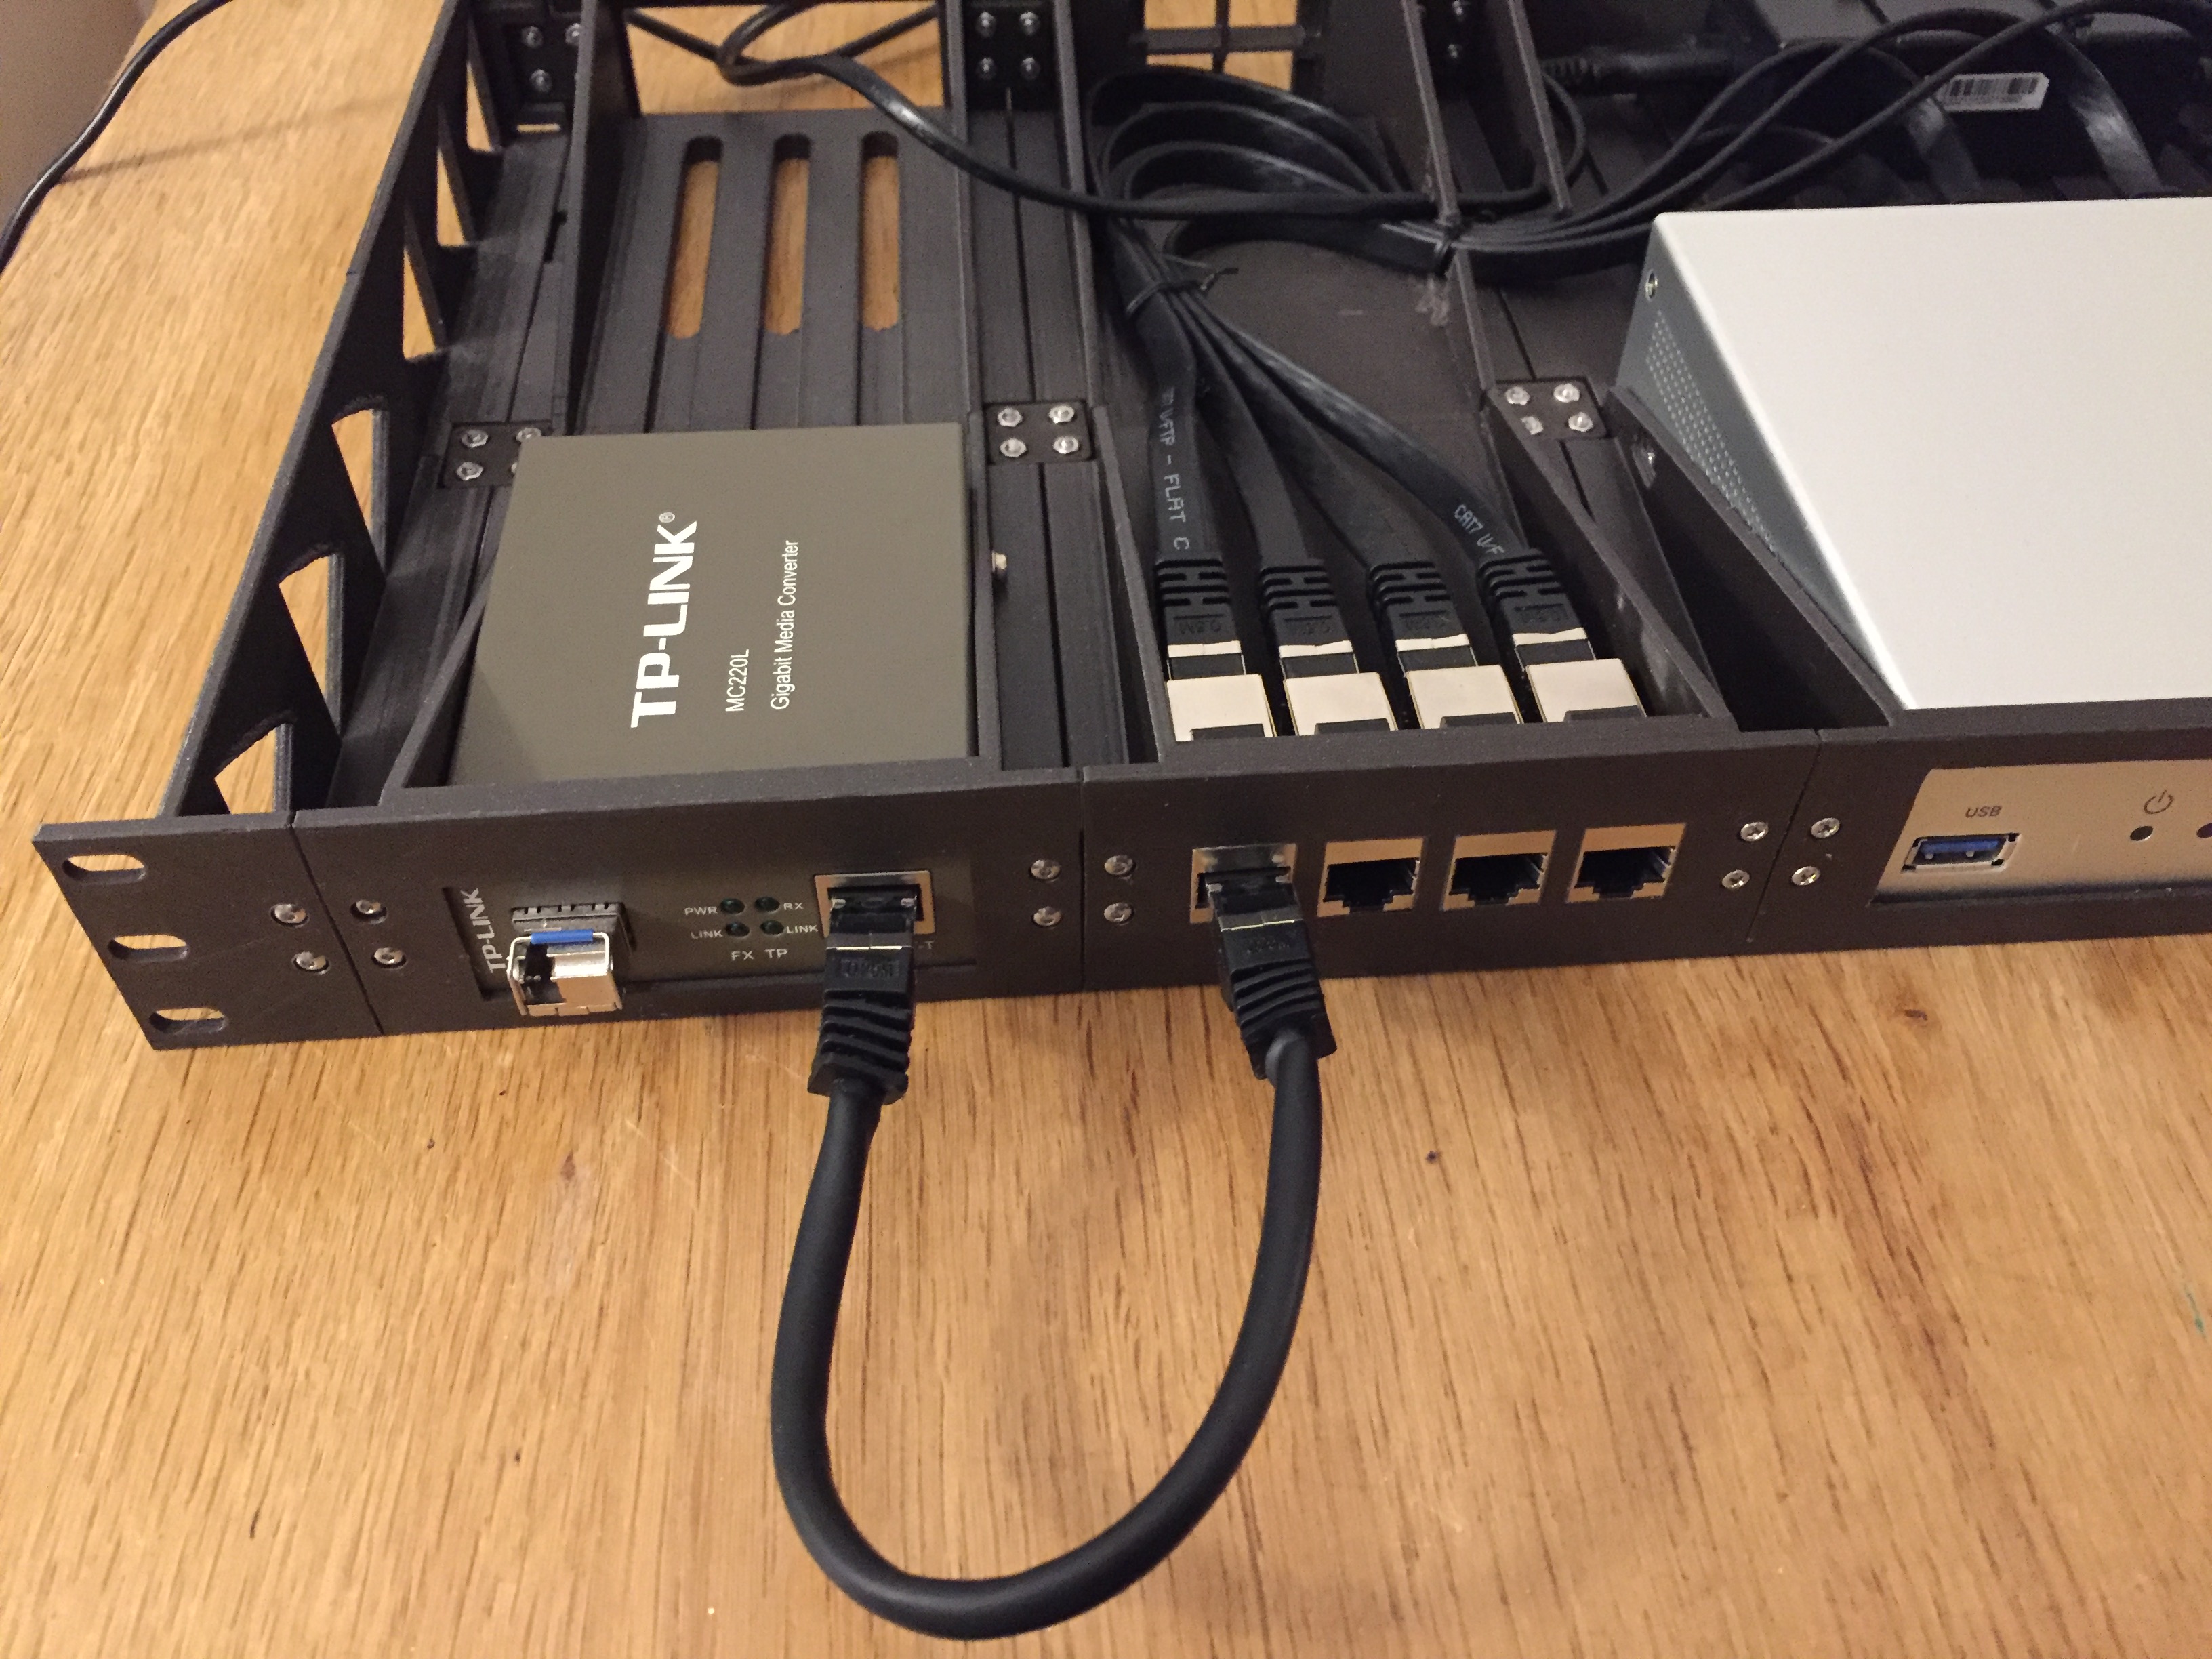
- an optical fiber to ethernet media converter;
- if possible, a USB power supply.
Design considerations
There are a few things I’d like to achieve:
- see the router’s LED indicators;
- connect the ethernet port from the front side;
- connect the optical fiber from the front side;
- the USB power supply should be facing the back, as it's used to power some fans in the cabinet.
One of the main issues is that the router has LEDs and ethernet ports on opposite sides, so I’ll have to put small patch cables linking the router to ethernet connectors.
Another issue is that obviously I can’t print the whole thing in one piece as it’s far too big to fit in my 3D printer. I’ll have to print several pieces and attach them together. And it has to be strong enough to not bend oo much in time (and because of components heat).
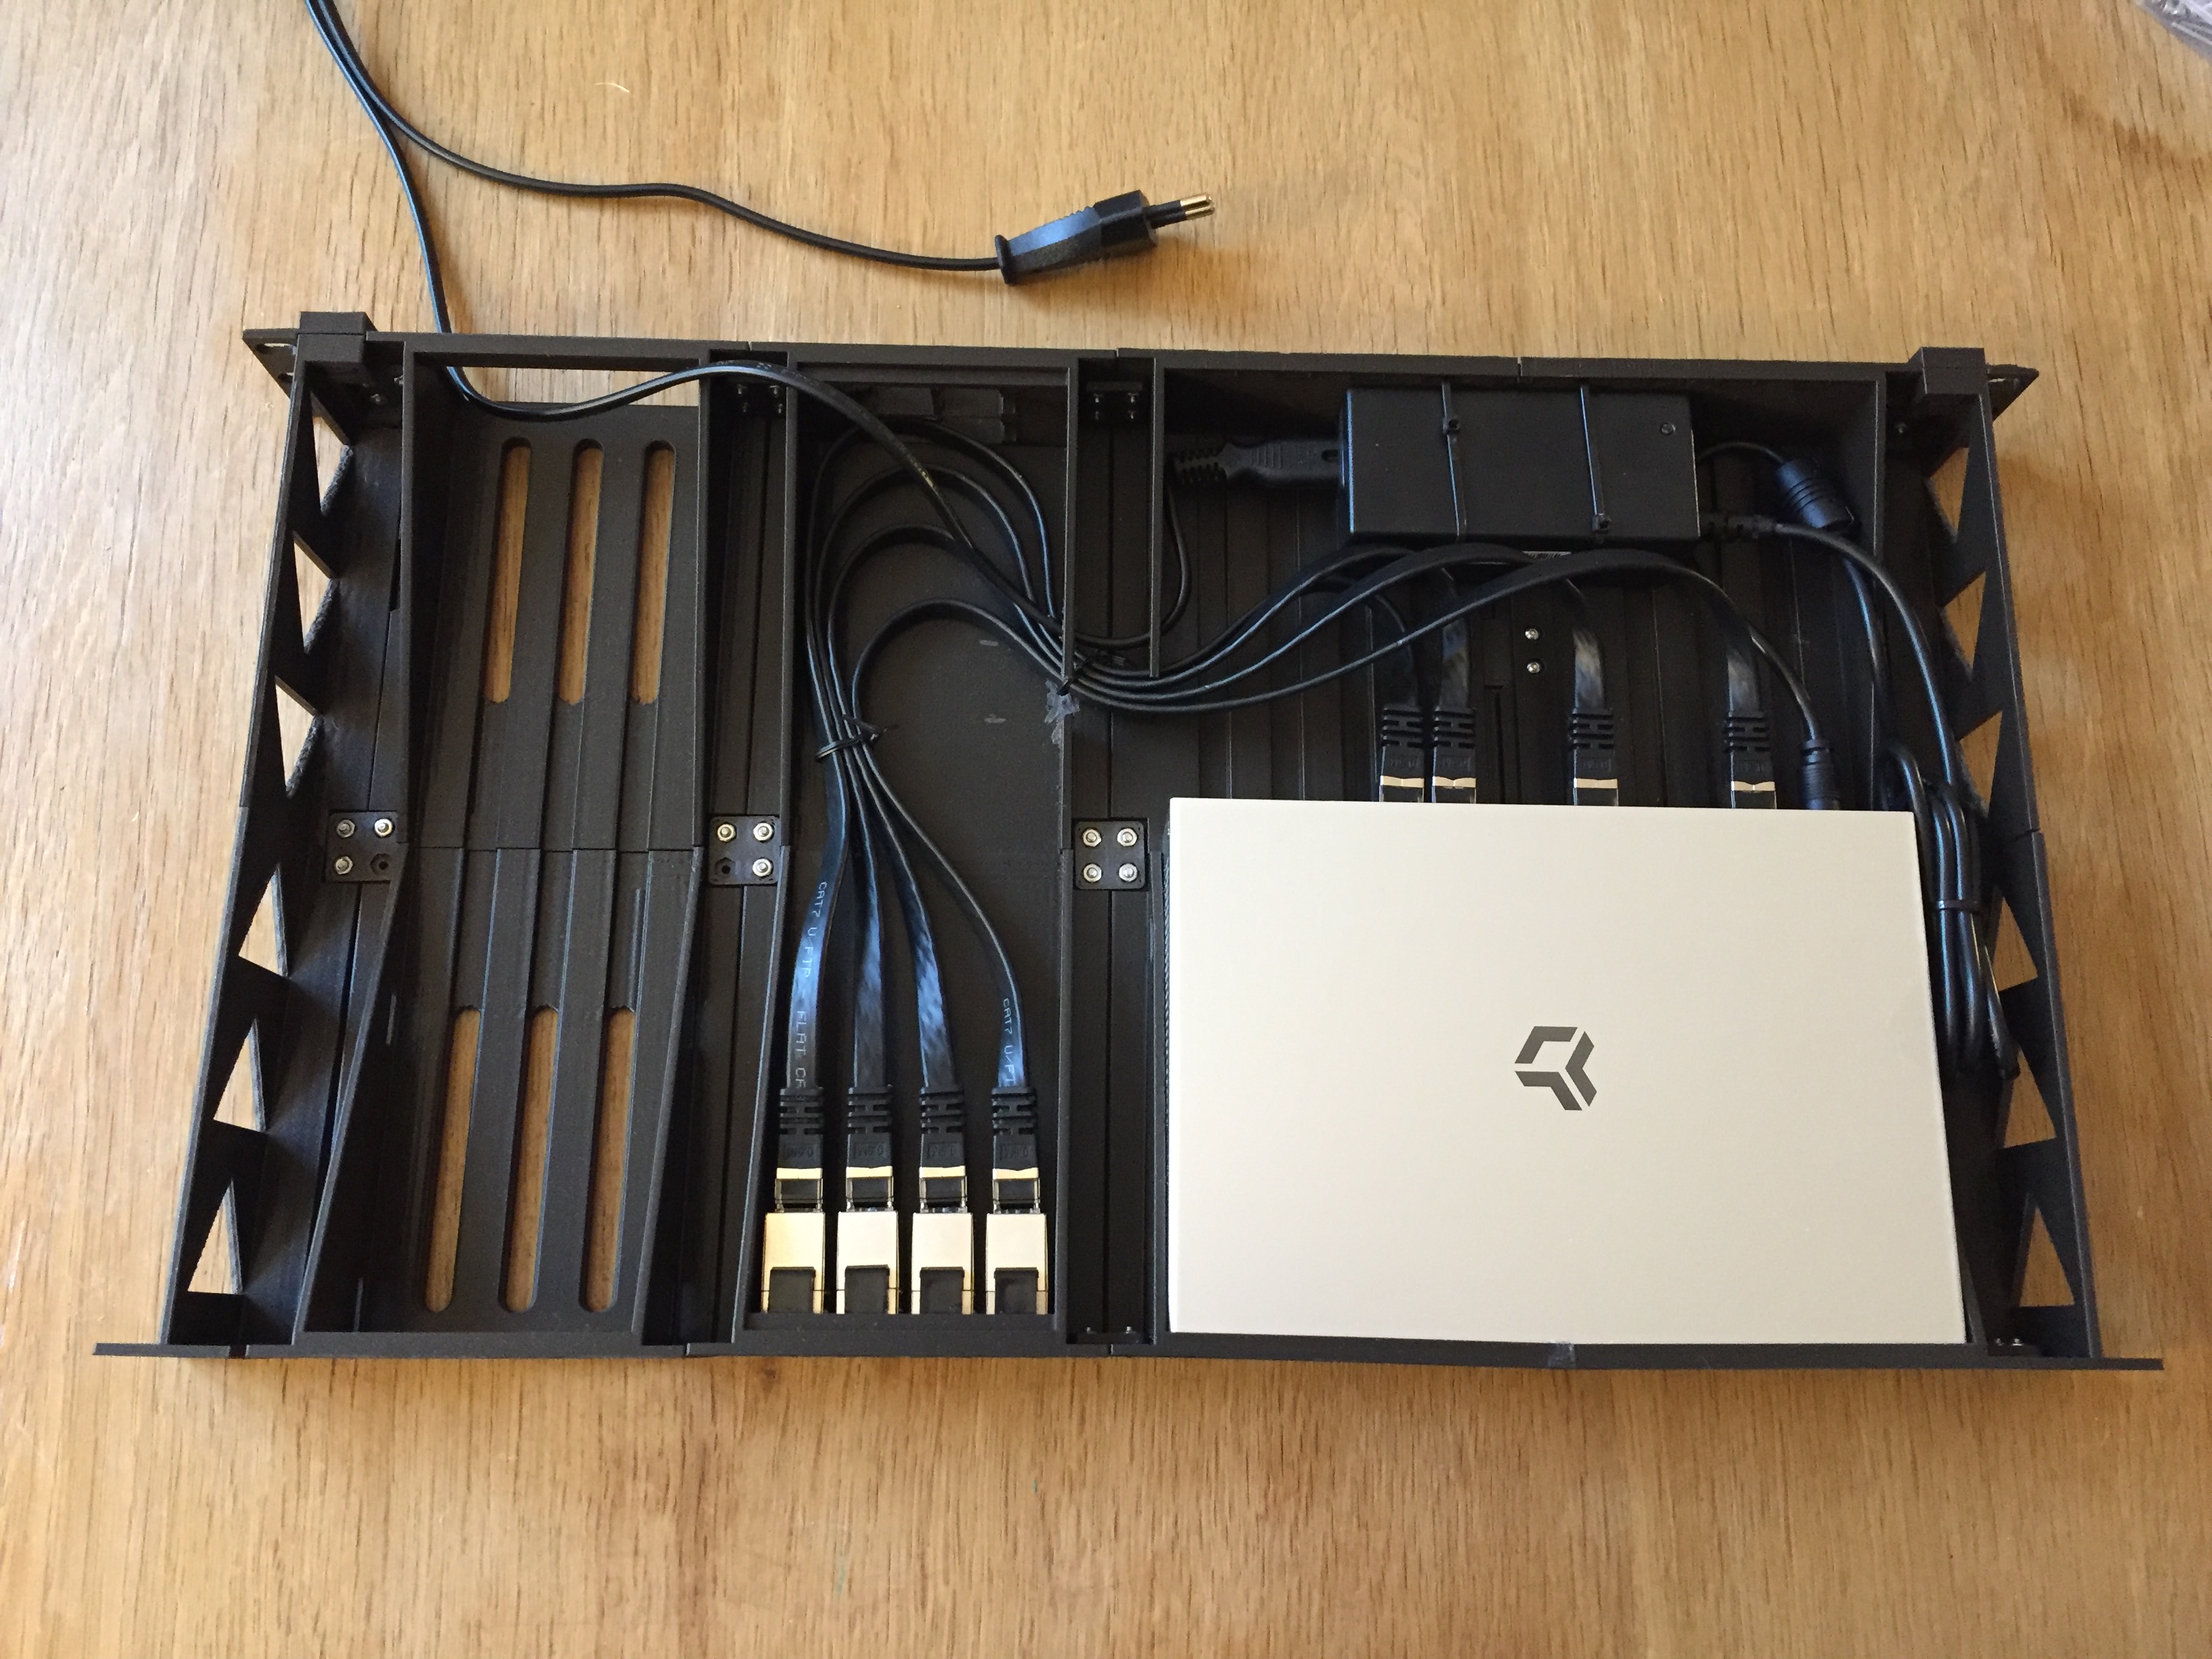
Result
A partial 3D rendering of the design:

The almost final result:

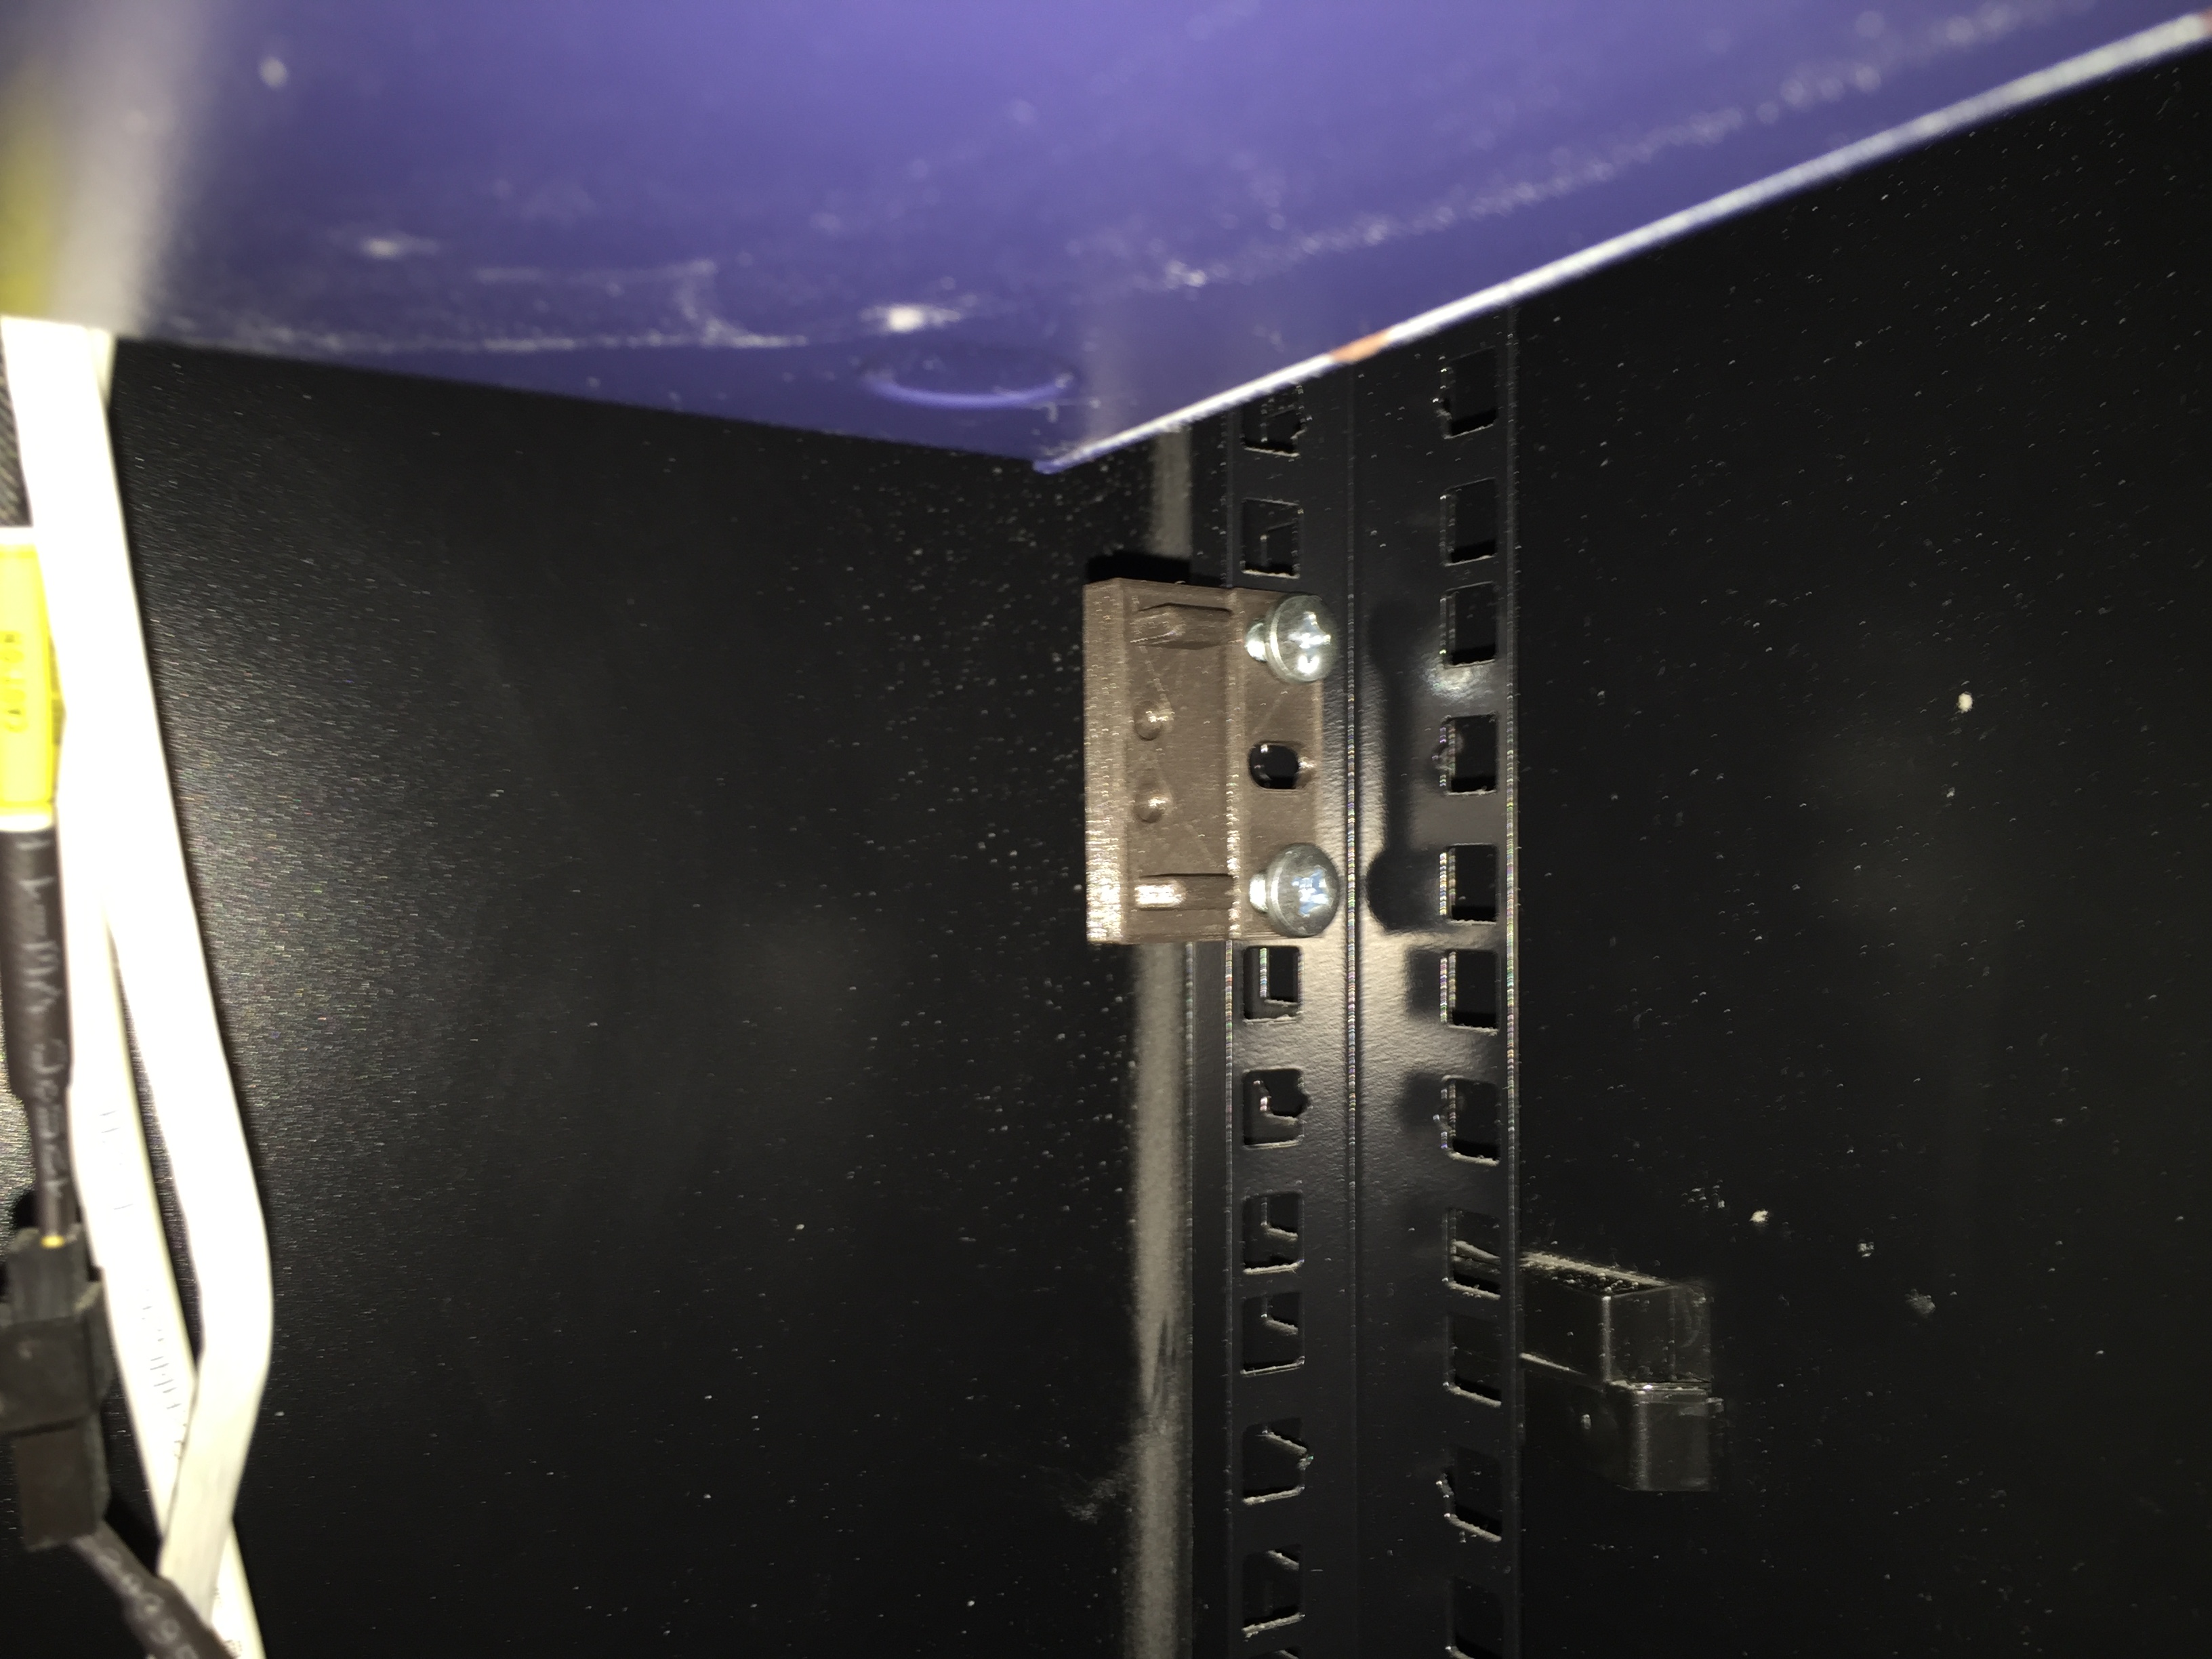
Given that it’s attached to the cabinet with screws on the front, there’s quite a lot of constraint there. So I designed small pieces to attach at on the cabinet’s back rails. When the printed rack mount is pushed into place, the bits of those pieces will slide in the rack mount and provide some support. The rack mount weight is now distributed on for 4 points (2 at the front and 2 at the back) instead of only 2 at the front.
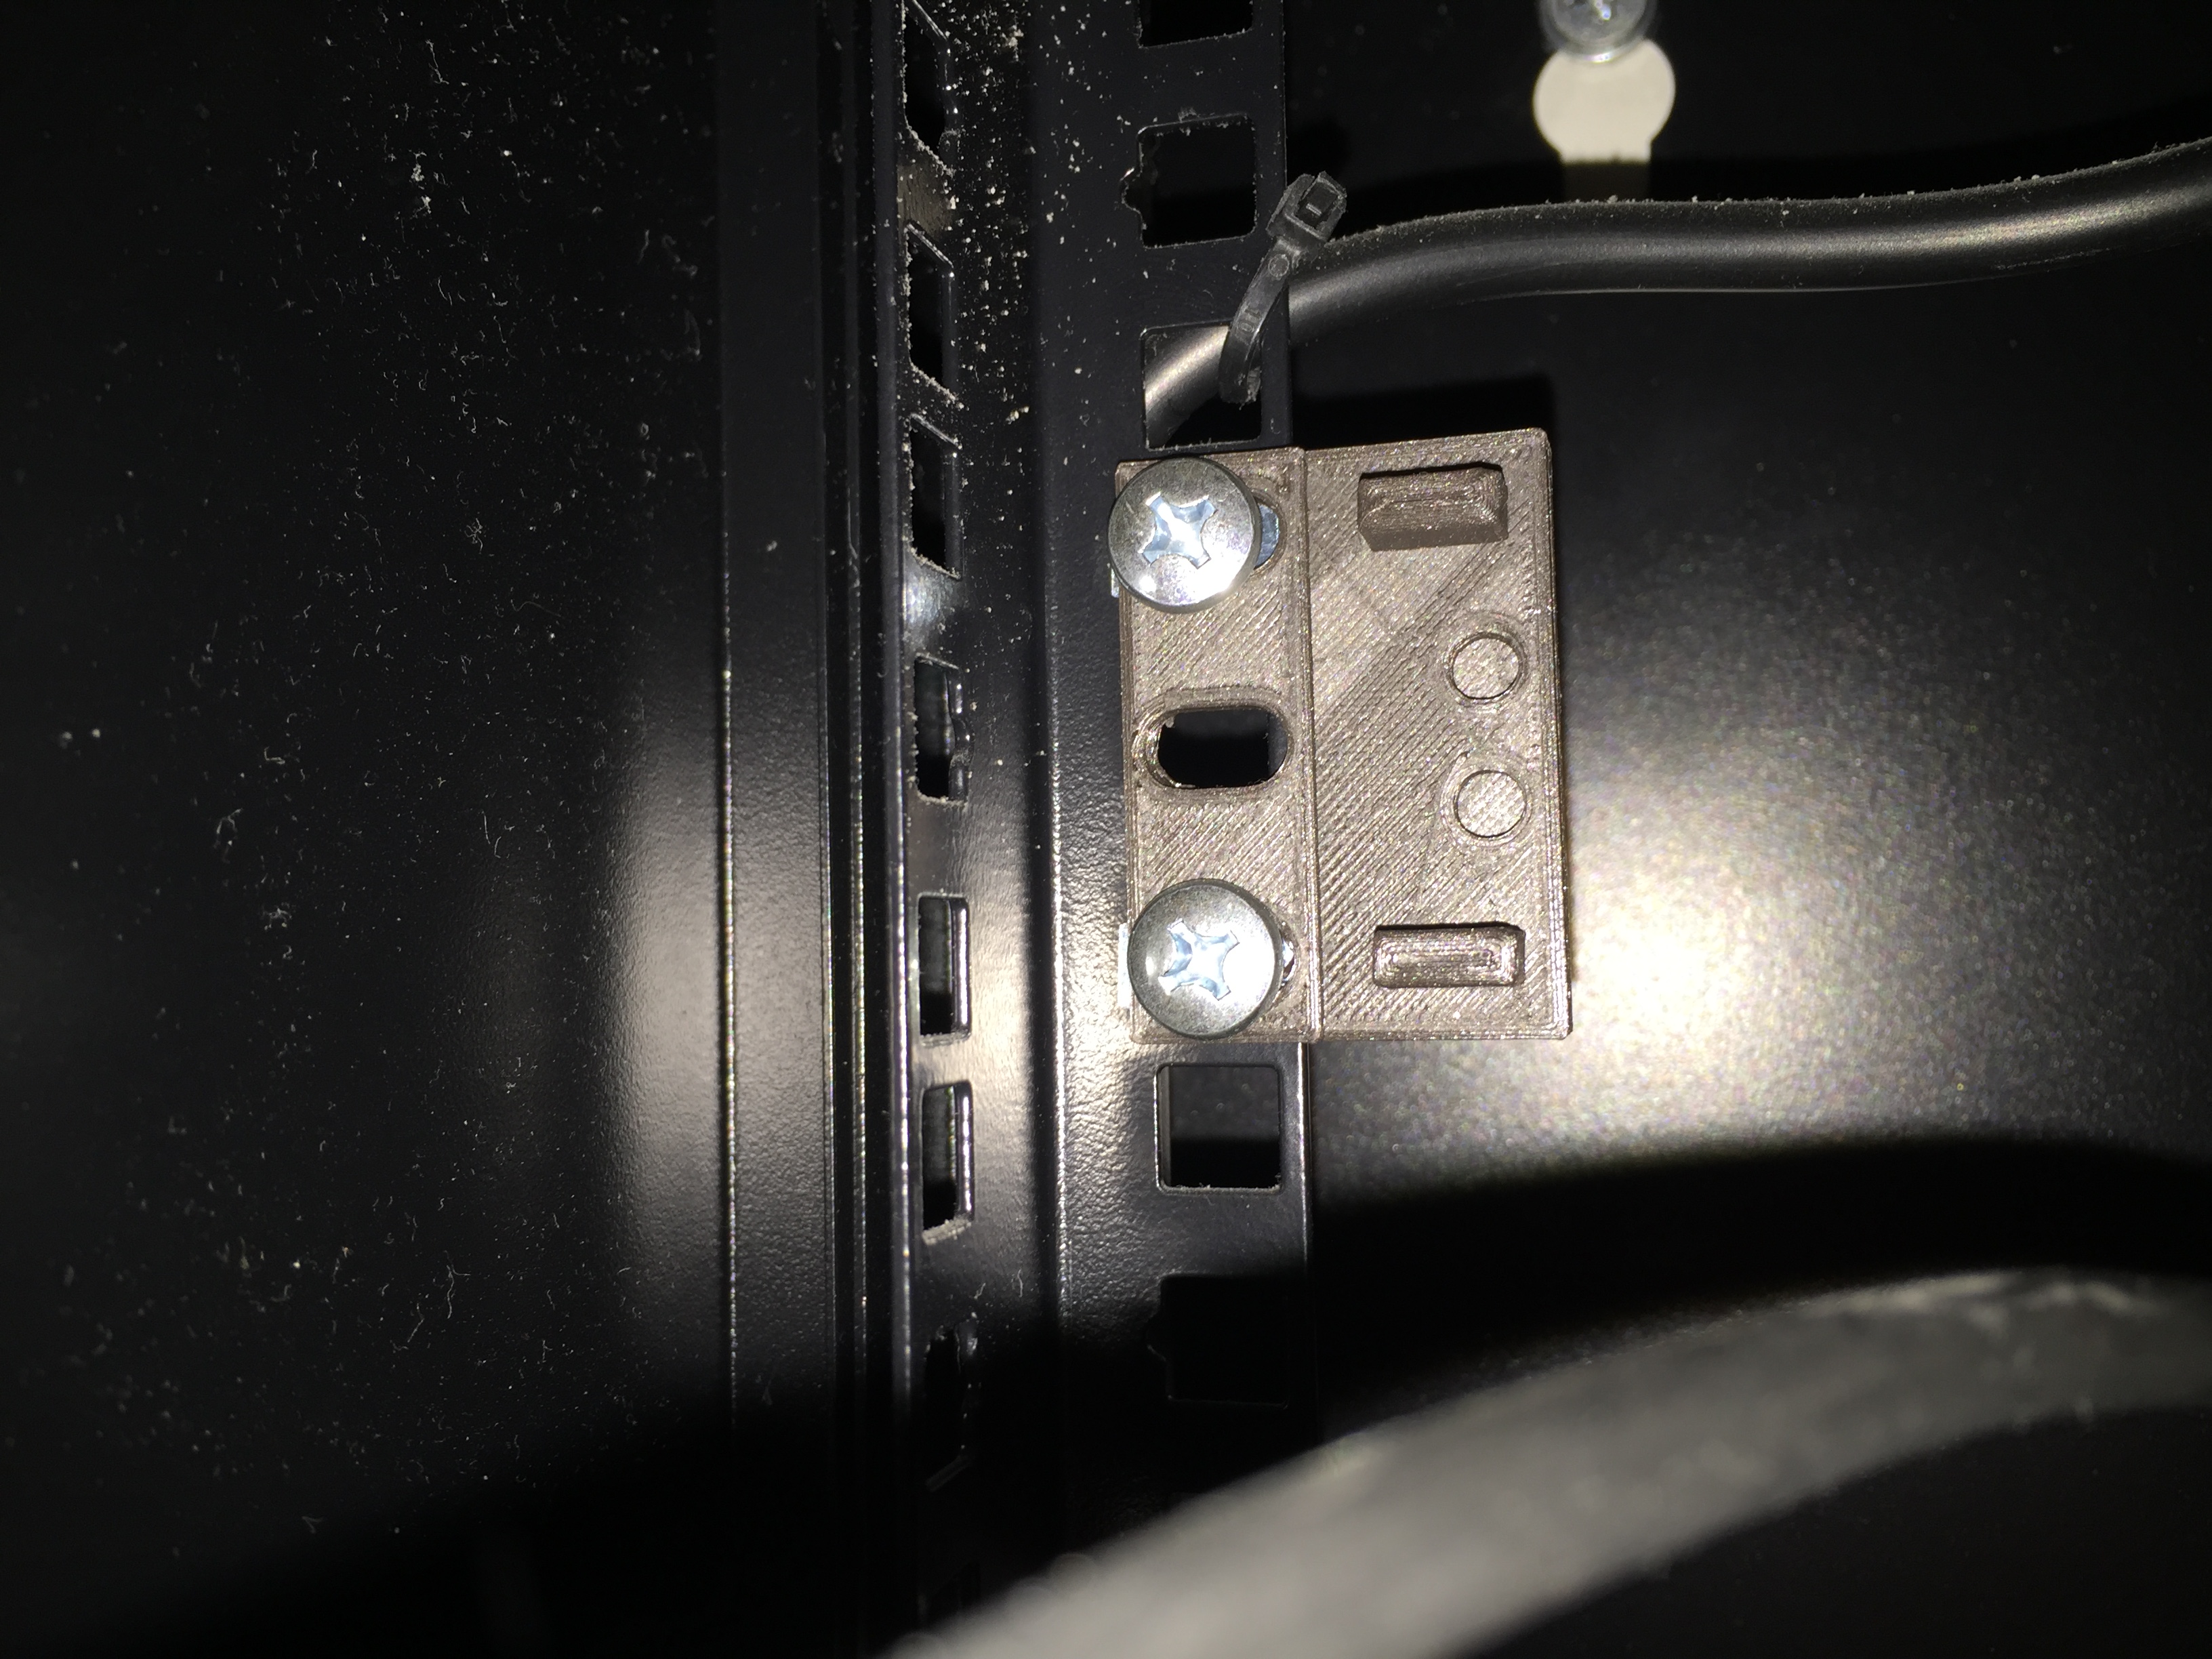
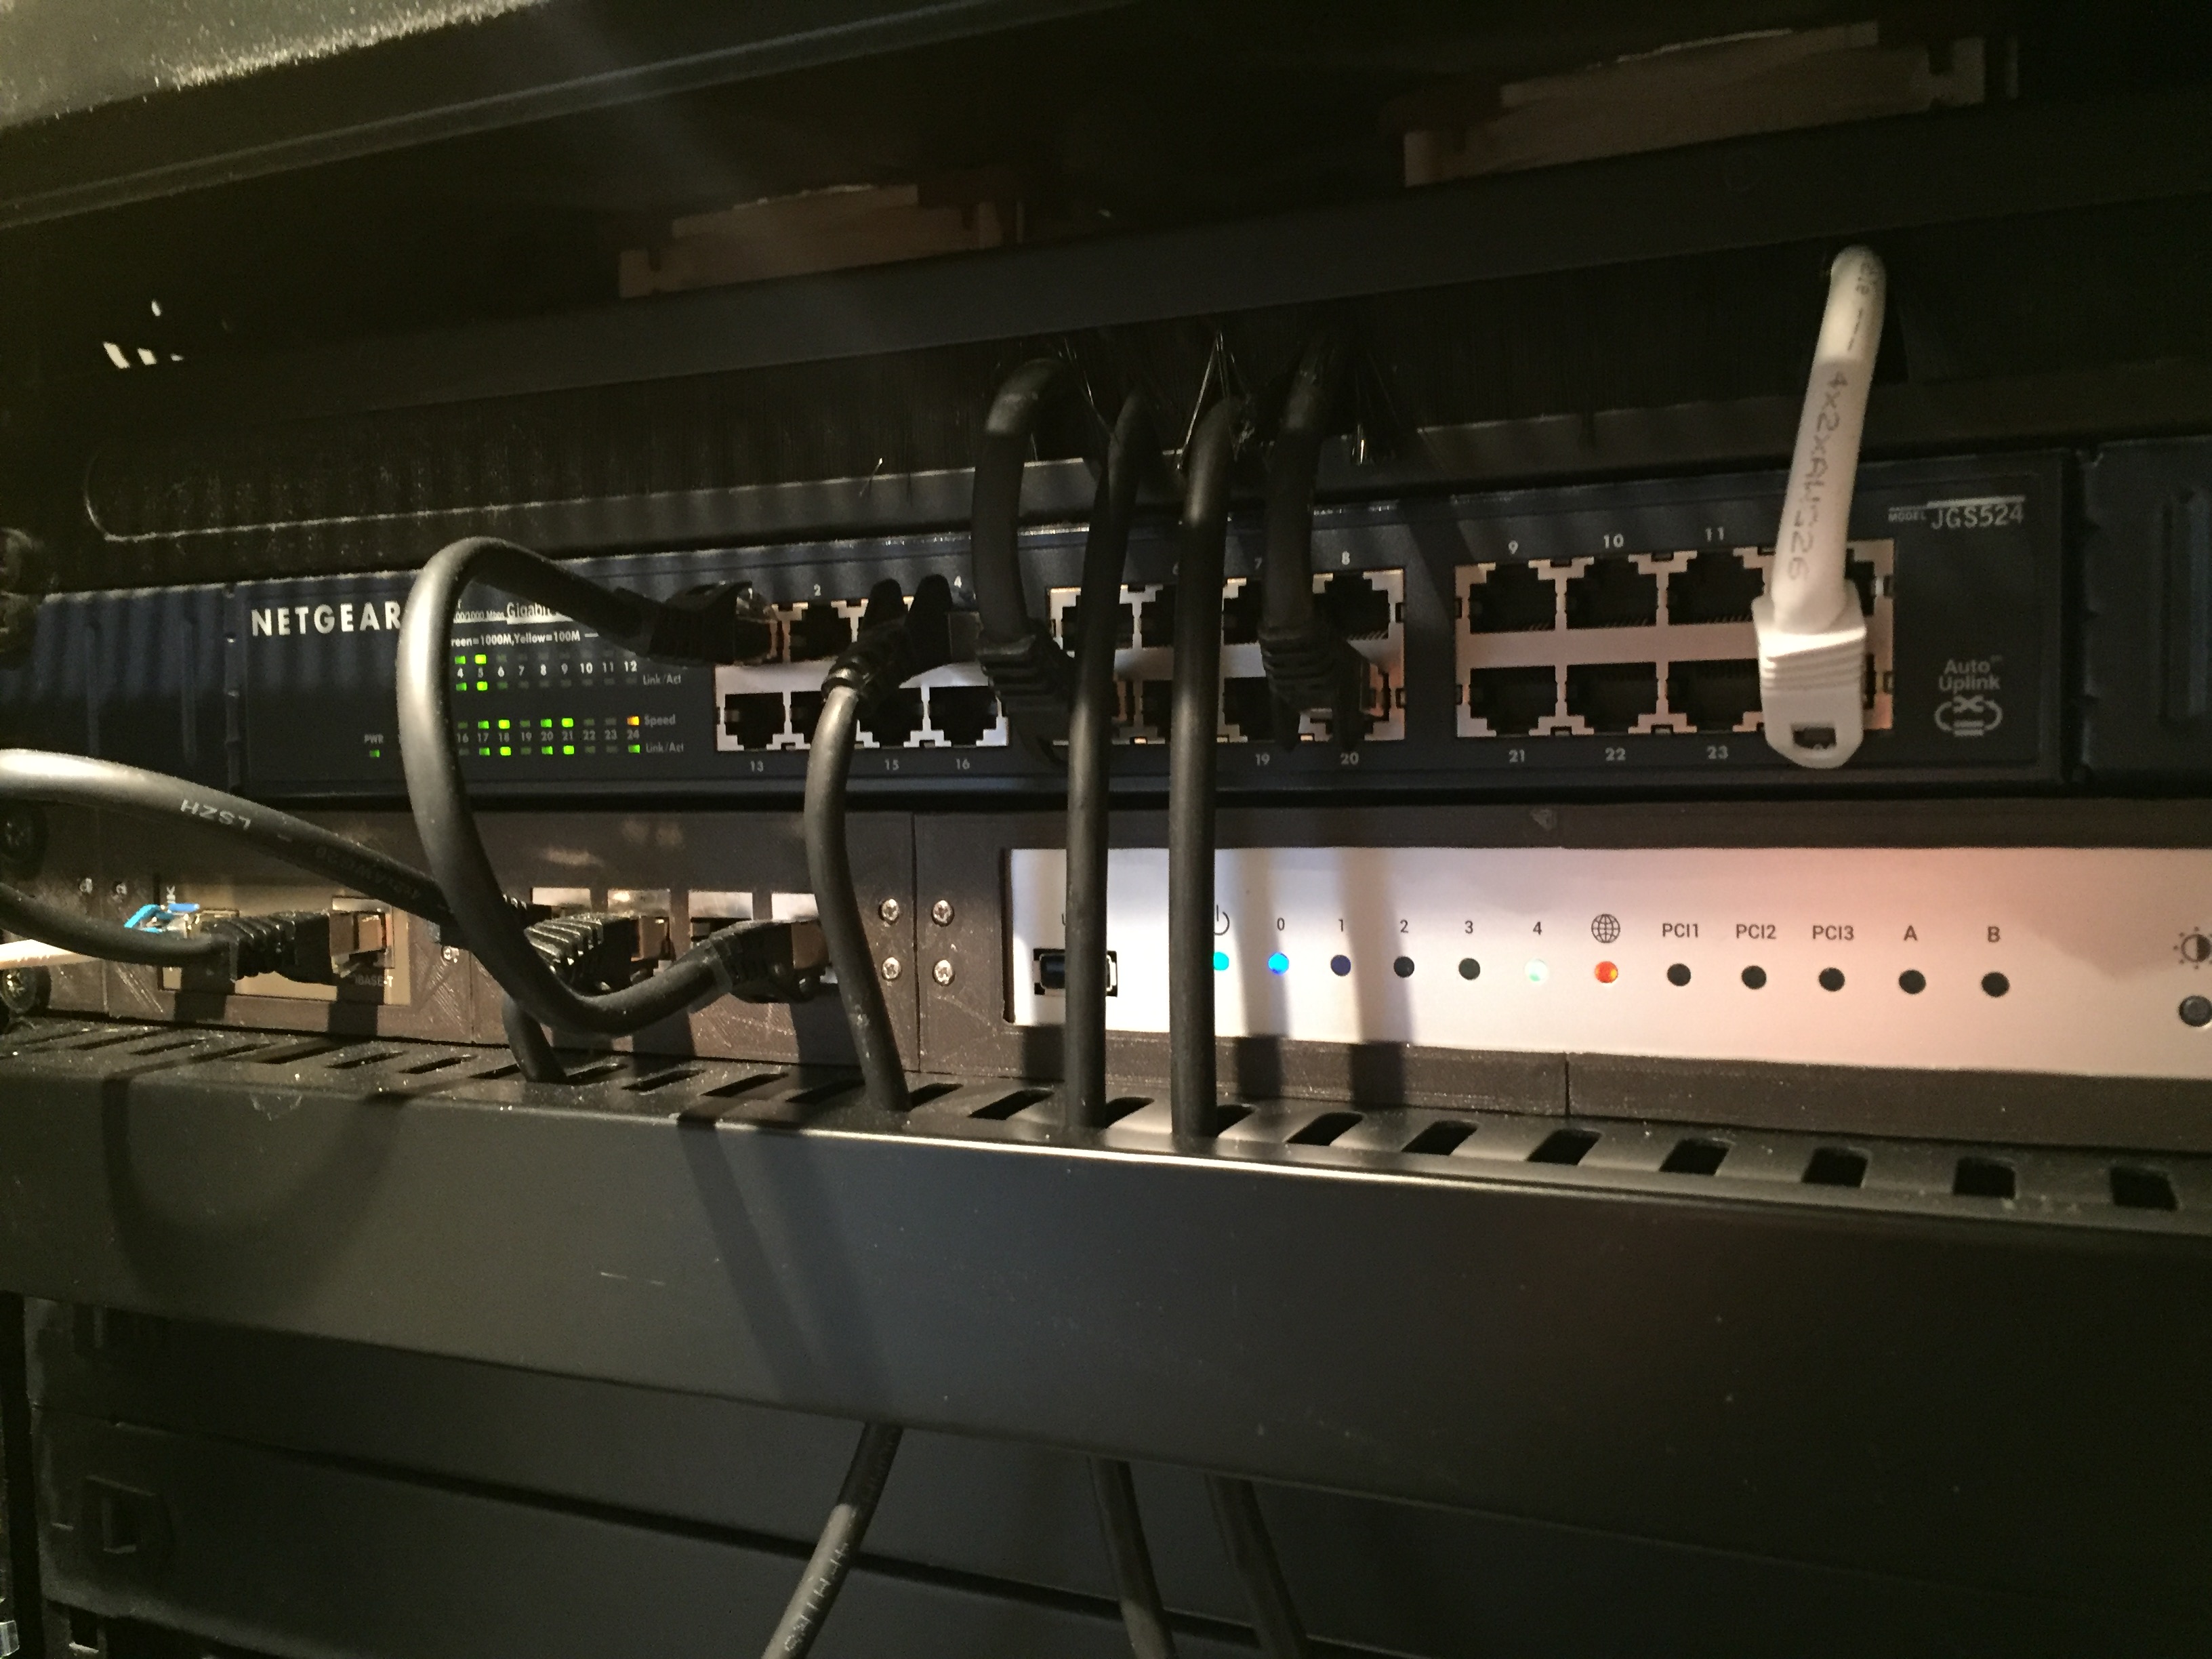
And finally installed:


 Comments
Add one by emailing me.
Comments
Add one by emailing me.