DIY Rackmount monitor
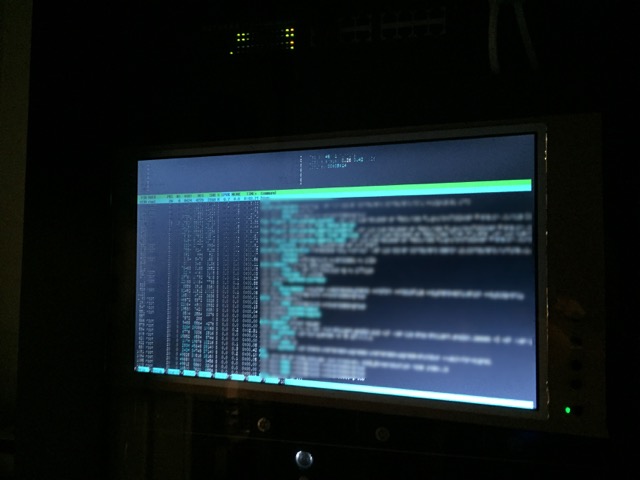
Given that the LCD panel I salvaged from an old laptop was not doing a good job as a photo frame, I decided to repurpose it as a 5U rackmount monitor.
Hardware
- an LCD panel (salvaged from an old broken laptop)
- a display driver (bought to drive the LCD panel)
- a USB C charger (already in the 19 inches rack, powering some USB devices)
- a USB power delivery trigger
The idea is to use the USB C charger to power the screen. Be careful when choosing a USB C charger, I have 2 of those, one is an Anker PowerPort Speed PD 5 and the other one is a Nekteck PDS75-4uT03. The Anker charger delivers power at 5, 9, 15 and 20 V (USB PD rev 2.0), while the Neckteck allows 5, 9, 12, 15 and 20 V (USB PD rev 1.0 + 2.0) (because the USB PD standard is a mess). The display driver requires 12 V, so I have to stick with a charger compliant with USB PD rev 1.0, the Neckteck in that case.
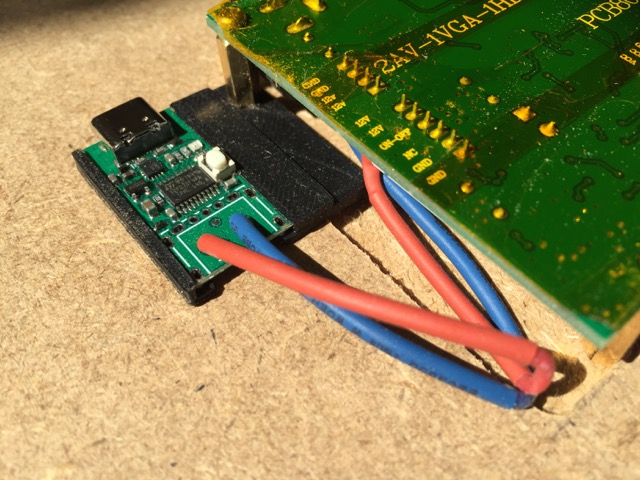
A USB trigger is a small device with a USB C plug. It’s function is to negotiate the voltage we want with the USB charger and deliver it. So I configured mine to ask for 12 V. And then it’s just a matter of wiring it to the display driver.
Assembly
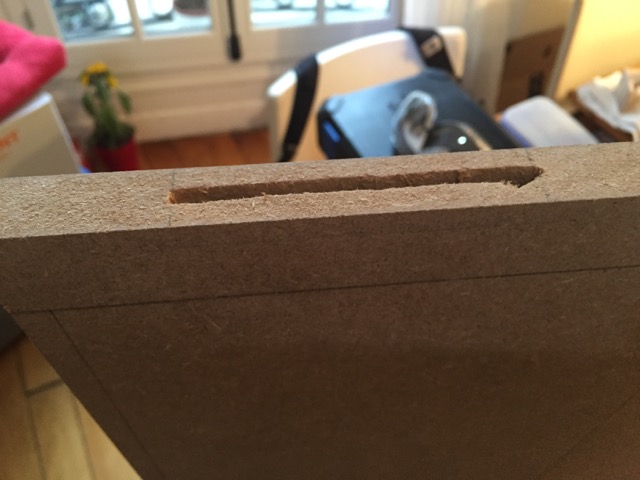
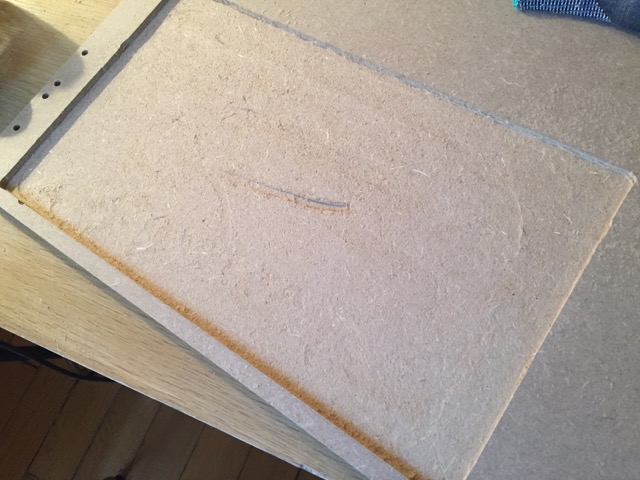
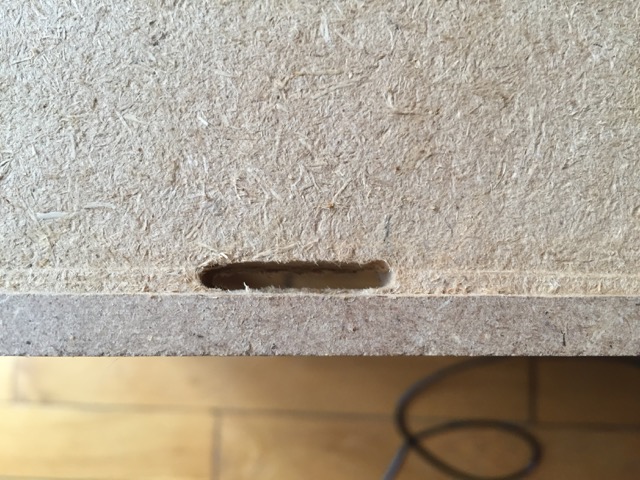
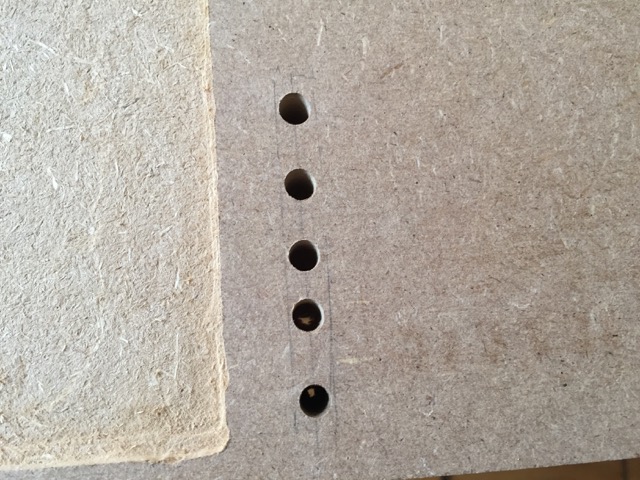
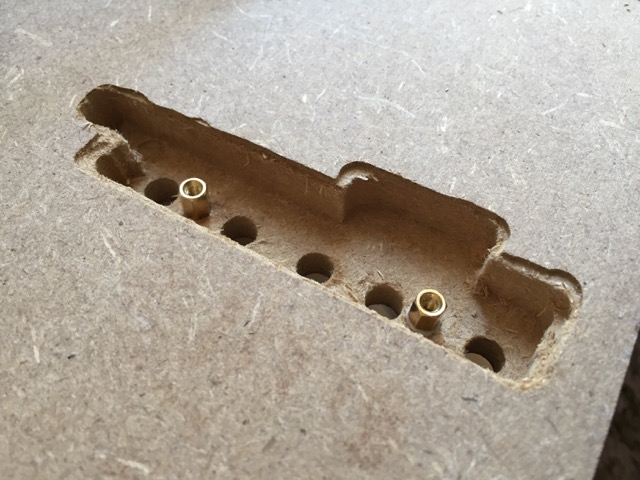
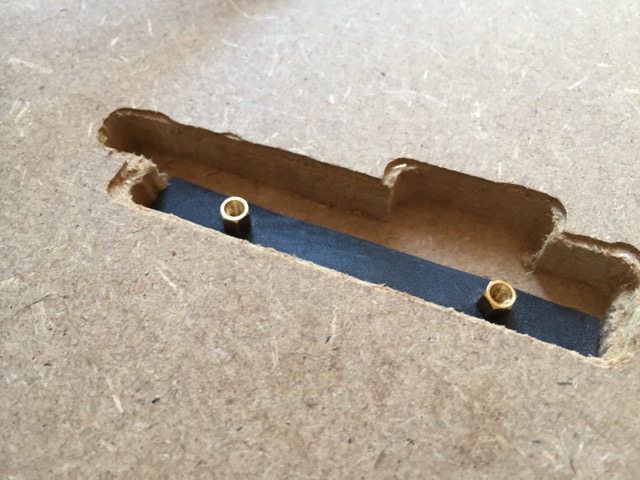
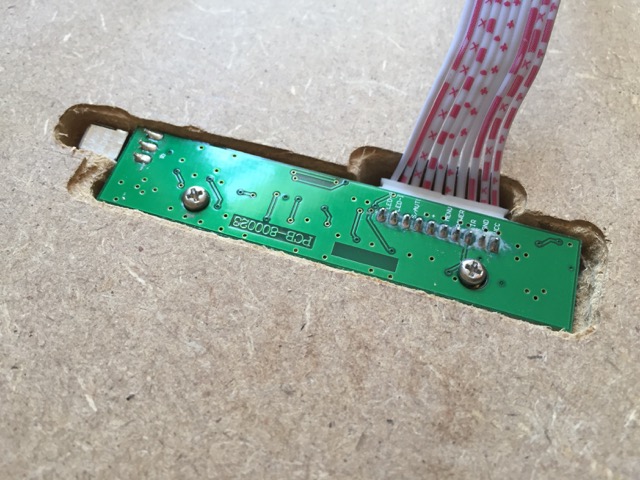
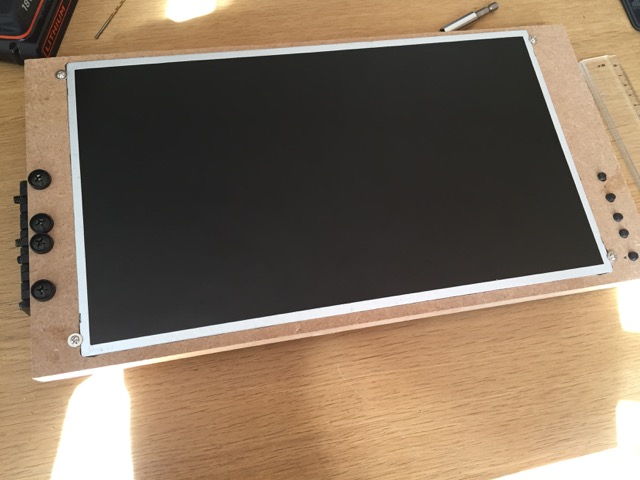
My 3D printer being way too small to print any kind of enclosure for the screen, I turned to some plank of wood I have left from a shelf. The idea is to carve the plank to fit the LCD panel in it, same for the display driver’s keyboard, add a hinge to fix the plank to the rack and screw the display driver on the back.
3D printed parts:
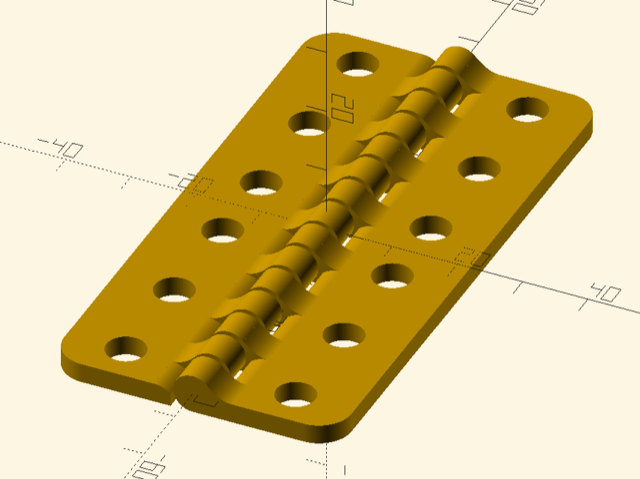
- a 2U hinge, based on Rohin Gosling’s parametric hinge, but I discovered mounting holes in racks are not all evenly spaced (and for symmetry I should have designed for a 3U one)
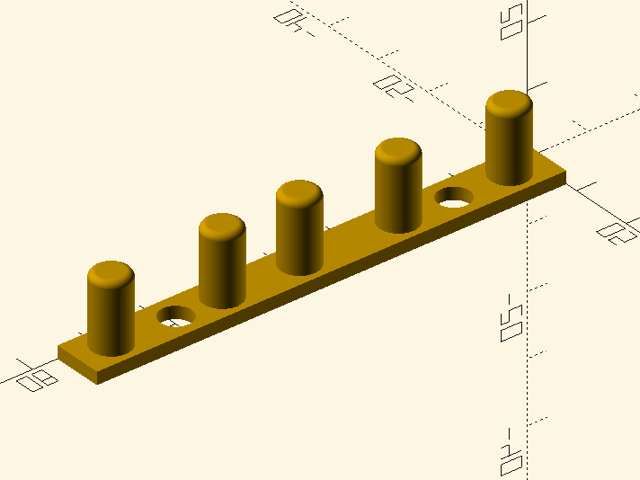
- buttons for the display driver’s keyboard, printed with soft filament
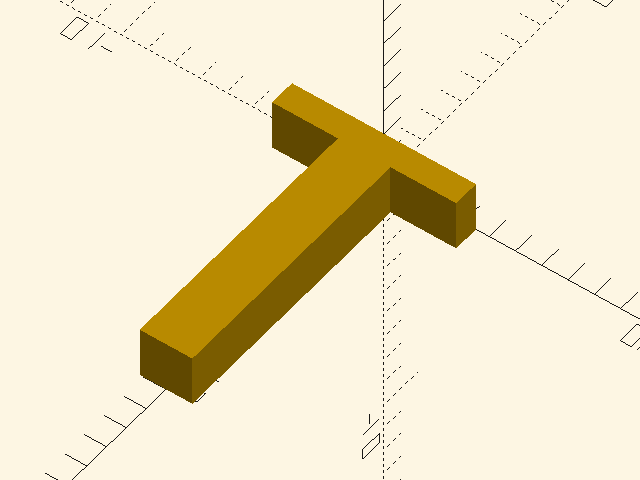
- a light pipe for the display driver’s status LED, printed with transparent filament
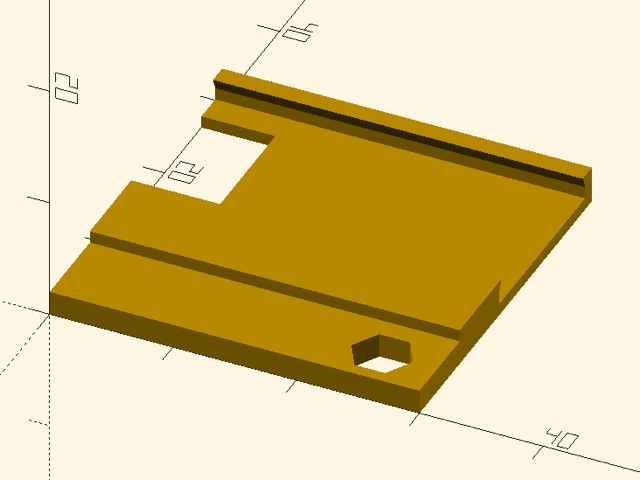
- an attachment system for the USB PD Trigger
Wood work and assembly:
It’s far from perfect, but it’s usable.

