


DIY Digital Photo Frame
Digital photo frames can be connected or not. Being not connected is safe but needs regular maintenance with physical access to the frame to update the photos. As far as I know, most connected photo frames rely on the vendor’s “cloud” which is a big “no go” for me for various reasons like:
- a third party has access to private photos
- is it secure enough?
- are the data located within European Union?
- are the vendor and/or hosting provider US companies?
- what happen when the vendor goes bankrupt or decide to “kill” your device because they don’t want to support it anymore or is not interested anymore?
- …
So I decided to see how complicated it is to create a digital photo frame connected to my Nextcloud server.
Hardware
- a screen, for better results use a panel with 4:3 aspect ratio and good viewing angle (for an LCD screen, use the IPS type): I salvaged one from an old laptop but it’s a TN 16:9 panel, so the result will be quite bad.
- a display driver, otherwise the display will be unusable. At the back of the screen you will find different numbers, one of them is the panel model, look it up on websites like panelook to find the main characteristics of the panel and check you have the right model number. From there go on ebay/amazon/aliexpress to find a driver for the screen.
- a Raspberry Pi Zero W, because it’s very well supported so it will be easy to prototype a photo frame with that (and I already have one).
- a microSD card big enough to contain all the pictures (I already have a 64 GB one).
- a motion sensor like adafruit's PIR sensor (and how to use a PIR).
- a power supply. There are 4 devices requiring power: the display, the driver, the Raspberry Pi Zero W and the PIR. The display is powered by the driver, the PIR is powered by the Pi Zero. Some drivers provide a 5 V power supply, in that case power up the Pi Zero from there, otherwise:
- there are some power supplies providing 12 V and 5 V (with a molex connector to power up a hard drive for instance)
- power the driver and panel from the Pi Zero by adding a boost converter on the Pi’s 5 V pin (first check that the driver and panel don’t use to much power).
- cables (HDMI, electrical…).


Software
Install Raspberry Pi OS (Raspbian)
Download Raspberry Pi OS 32-bit Lite then check the hash matches the one displayed on the website:
$ shasum -a 256 2020-08-20-raspios-buster-armhf-lite.zip
4522df4a29f9aac4b0166fbfee9f599dab55a997c855702bfe35329c13334668  2020-08-20-raspios-buster-armhf-lite.zip
Unzip the image then follow the installation guide to burn the image to the microSD card, so on macOS:
$ unzip 2020-08-20-raspios-buster-armhf-lite.zip
$ diskutil list # find out where the SD card is attached (/dev/disk2 in my case)
$ diskutil unmountDisk /dev/disk2 # detach the SD card
$ sudo dd bs=1m if=2020-08-20-raspios-buster-armhf-lite.img of=/dev/rdisk2
$ sync # make sure all data are finished being copied to the SD card
$ sudo diskutil eject /dev/rdisk2 # eject the SD card
Put the microSD card in the Raspberry Pi, connect it to a keyboard and a screen, power it up, then connect to it with the default login pi and password raspberry.
Configure Wi-Fi
Run sudo raspi-config > Network Options > Wireless LAN or edit the file /etc/wpa_supplicant/wpa_supplicant.conf:
ctrl_interface=DIR=/var/run/wpa_supplicant GROUP=netdev
update_config=1
country=YOUR_COUNTRY_CODE (FR for France, US for USA…)

network={
        ssid="YOUR_ACCESS_POINT_SSID"
        psk="YOUR_PASSWORD"
}
Remote access
With raspi-config I changed the hostname of the Raspberry Pi to photoframe-01 and my router automatically added it to it’s DNS so I can access it via SSH using ssh photoframe-01.
Otherwise I could have configured a static IP address in my router’s DHCP configuration, but in order to do that I need to retrieve the Pi’s Wi-Fi MAC address:
$ ip a
1: lo: <LOOPBACK,UP,LOWER_UP> mtu 65536 qdisc noqueue state UNKNOWN group default qlen 1000
    link/loopback 00:00:00:00:00:00 brd 00:00:00:00:00:00
    inet 127.0.0.1/8 scope host lo
       valid_lft forever preferred_lft forever
    inet6 ::1/128 scope host
       valid_lft forever preferred_lft forever
2: wlan0: <BROADCAST,MULTICAST,UP,LOWER_UP> mtu 1500 qdisc pfifo_fast state UP group default qlen 1000
    link/ether b8:27:eb:XX:XX:XX brd ff:ff:ff:ff:ff:ff
    inet 10.XX.YY.ZZ/24 brd 10.XX.YY.255 scope global dynamic noprefixroute wlan0
       valid_lft 2783sec preferred_lft 2333sec
    inet6 fe80::XXX:XXXX:XXXX:XXXX/64 scope link
       valid_lft forever preferred_lft forever
If the Raspberry Pi is on the same network as your computer, you can also find it with the arp command:
$ arp -a
(…)
photoframe-01.local (10.XX.YY.ZZ) at b8:27:eb:XX:XX:XX on en0 ifscope [ethernet]
(…)
Then enable and start the SSH server on the Raspberry Pi:
$ sudo systemctl enable ssh
$ sudo systemctl start ssh
Update Raspberry Pi OS
There might be some updates since the image has been created, lets apply them:
$ sudo apt update
$ sudo apt upgrade
Basic system hardening
The frame will be connected on the network, so lets not make it too easy to pwn it.
- Change the password:
$ passwd
- Put personal SSH public key into
~/.ssh/authorized_keysthen disable password authentication in SSH server:
$ sudo sed -i 's/#PasswordAuthentication no/PasswordAuthentication no/g' /etc/ssh/sshd_config
$ sudo systemctl restart ssh
- Install firewall and allow incoming connections on SSH port only:
$ sudo apt install ufw
$ sudo ufw allow ssh/tcp
$ sudo ufw enable
- Automatically install security updates (afterward you can edit
/etc/apt/apt.conf.d/50unattended-upgradesto adjust how you want the automatic updates to behave):
$ sudo apt install unattended-upgrades
The script that will run the slideshow will require some special permissions (read access to /dev/gpiomem and write access to /dev/tty1 and /dev/fb0), but I'd like it to run without full root access. So lets create a regular user, give it only the required permissions and lock it as we won’t need to use it directly:
$ sudo adduser photoframe
Adding user `slideshow' ...
Adding new group `slideshow' (1001) ...
Adding new user `slideshow' (1001) with group `slideshow' ...
Creating home directory `/home/slideshow' ...
Copying files from `/etc/skel' ...
New password:
Retype new password:
passwd: password updated successfully
Changing the user information for slideshow
Enter the new value, or press ENTER for the default
	Full Name []:
	Room Number []:
	Work Phone []:
	Home Phone []:
	Other []:
Is the information correct? [Y/n]
$ sudo usermod -a -G gpio,tty,video photoframe
$ sudo usermod -L photoframe
Synchronize folder from Nextcloud
First of all, on Nextcloud server create a new user (I called it photoframe) that will host the pictures, the frame will connect with that user account.
Don’t use a personal account as in case of an unauthorized access to the frame, the frame will be able to access all the account data (the account password is stored on the microSD card in ~/.config/rclone/rclone.conf (base64 encoded)).
2FA can also be activated for that new account and then create an “App password” in Settings (top right)/Security/Devices & sessions.
To synchronize the files I use rclone which works with plenty of different cloud providers, so this tutorial can also adapted for something other than Nextcloud.
On the frame user account, create a folder that will hold the pictures to synchronize, and share it with your personal account and with the persons that you want to be able to add pictures onto the frame.
In Files/Settings (bottom left), there’s the WebDAV URL to access the files.
Install rclone and add access to nextcloud:
$ sudo apt install rclone
$ sudo -u photoframe rclone config
No remotes found - make a new one
n) New remote
s) Set configuration password
q) Quit config
n/s/q> n
name> photos
Type of storage to configure.
Storage> webdav
URL of http host to connect to
url> # Put the Nextcloud files webdav url here
Name of the Webdav site/service/software you are using
vendor> nextcloud
User name
user> photoframe
Password.
y) Yes type in my own password
g) Generate random password
n) No leave this optional password blank
y/g/n> y
Enter the password:
password: # Enter the app password created earlier
Confirm the password:
password: # Enter the same password
Bearer token instead of user/pass (eg a Macaroon)
bearer_token> ⏎
y) Yes this is OK
e) Edit this remote
d) Delete this remote
y/e/d> y
e) Edit existing remote
n) New remote
d) Delete remote
r) Rename remote
c) Copy remote
s) Set configuration password
q) Quit config
e/n/d/r/c/s/q> q
List remote directories (note that current version of rclone in Raspberry Pi OS does not support TLS 1.3):
$ sudo -u photoframe rclone lsd photos:
Synchronize remote directory to local directory:
$ sudo -u photoframe mkdir /home/photoframe/photos
$ sudo -u photoframe rclone sync photos:Photos/ /home/photoframe/photos/
Play slideshow
A good tool to play a slideshow is fbi, the framebuffer imageviewer.
It can display images on the screen without requiring X Server or Wayland.
$ sudo apt install fbi
$ fbi -noverbose -autozoom -timeout 5 -random /home/photoframe/photos/*
But it looks like this tool is abandonware since 2004 and suffers from some limitations (it does not support recursive directories, files with spaces in their name…).
There’s also fim, as in fbi improved, it’s a fork of fbi and it seems to be a bit more supported (at least until 2018).
$ sudo apt install fim
$ fim --quiet --autozoom --slideshow 5 --random --no-commandline --recursive /home/photoframe/photos/
Note that fim will display each picture once and stop on the last picture when done.
Here is a way to do an infinite slideshow with fim:
$ fim --quiet --autozoom --random --no-commandline --recursive /home/photoframe/photos/ --execute-commands 'while(1){display;sleep "5";next;}'
Another issue is that the blinking cursor from the terminal is still showing:
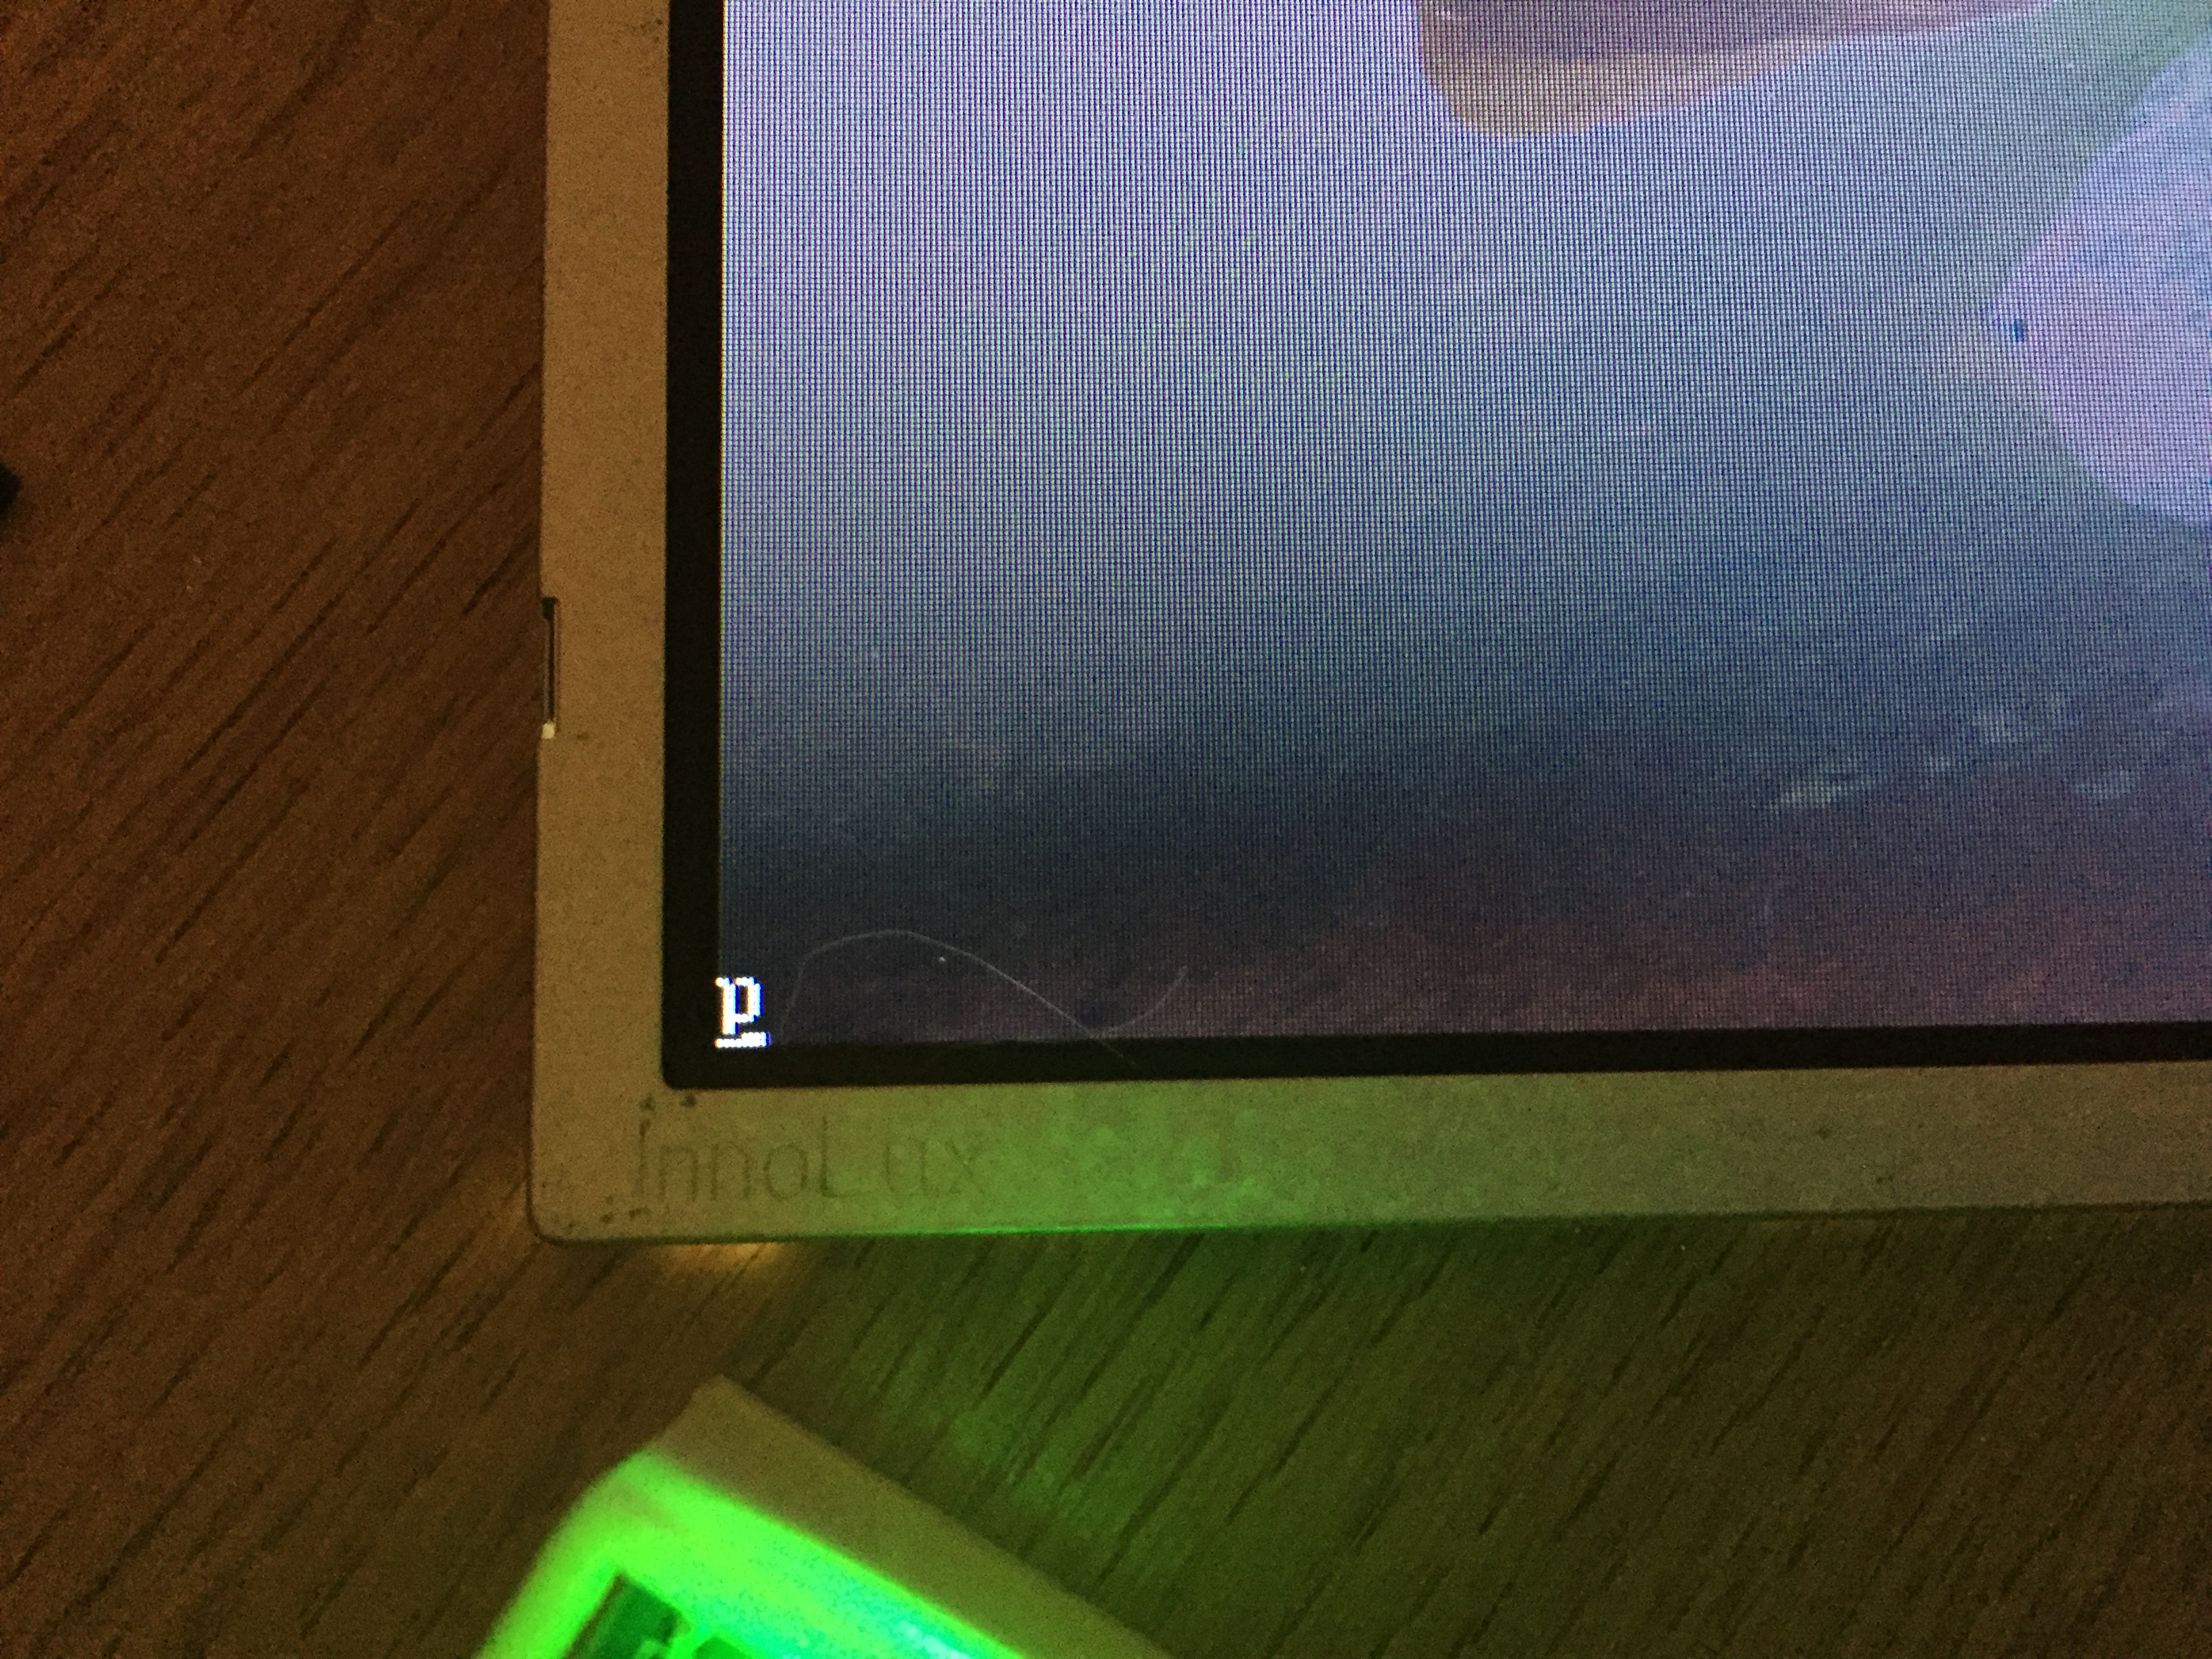
This can be turned off with the following command run as root:
# setterm -cursor off > /dev/tty1
Turn the screen off and on again
Turning the screen off and on can be done with the command tvservice:
$ tvservice --off
$ tvservice --preferred
Unfortunately it doesn’t seem to be very reliable, quite often the screen was blank when turning it back on.
A better alternative is to use the vcgencmd command:
$ vcgencmd display_power 0
$ vcgencmd display_power 1
Detect movements
Let’s try to read the GPIO pin 16 on which the PIR is plugged on with a small python 3 script. First a library to access the Raspberry Pi’s GPIO is required:
$ sudo apt install python3-rpi.gpio
Here is pir_test.py test script that will display “+” when the PIR has detected something and “-” otherwise (on the PIR module the retriggering is set on “high” and the timeout set to the maximum):
#!/usr/bin python3

from RPi import GPIO

PIR_PIN = 16  # That’s the GPIO pin

GPIO.setmode(GPIO.BCM)
GPIO.setup(PIR_PIN, GPIO.IN)

if GPIO.input(PIR_PIN):
    print("+")
else:
    print("-")
Make the script executable then run it:
$ chmod +x pir_test.py
$ ./pir_test.py
-
$ # Move in front of the PIR
$ ./pir_test.py
+
Putting all that together
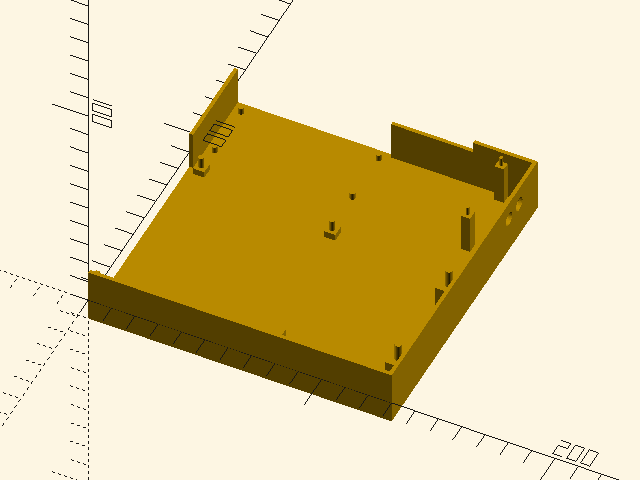
Hardware
This is a prototype, so I designed a quick box to hold all the boards and of course I was wrong in my measurements so nothing fits properly. Here it is:

Software
Synchronize pictures
First of all the pictures need to be synchronized on a regular basis, this can be done with a simple cron job like this one to run the synchronization command every hour:
$ sudo -u photoframe crontab -e
0 * * * * /usr/bin/rclone sync photos:Photos/ /home/photoframe/photos/
Listen to the PIR, then turn the screen on/off and start/stop the slideshow
At first I was thinking of relying on the PIR’s timeout but it proved to be too unreliable and too limited (5 minutes max) when testing so I did that in software instead (which is quite easy too).
Here is the photo-frame.py script:
#!/usr/bin/python3

import subprocess
import time

from RPi import GPIO

PIR_PIN = 16  # That’s the GPIO pin on which the PIR is plugged on
NO_MOTION_TIMEOUT = 600  # number of seconds to wait after last motion detection before stopping the slideshow
PICTURE_TIMEOUT = 10  # number of seconds a picture is displayed


def turn_off_cursor():
    terminal = open("/dev/tty1", "wb")
    subprocess.run(["setterm", "-cursor", "off"], stdout=terminal, env={"TERM": "xterm-256color"})


def start_slideshow():
    turn_off_cursor()
    slideshow = subprocess.Popen(
        ["fim", "--device", "/dev/fb0", "--vt", "1", "--autozoom", "--random", "--no-commandline", "--quiet",
         "--recursive", "/home/photoframe/photos/", "--execute-commands",
         'while(1){display;sleep "' + str(PICTURE_TIMEOUT) + '";next;}'])
    time.sleep(5)  # Give time for fim to start so when the screen is turned on there’s already a picture displayed
    subprocess.run(["vcgencmd", "display_power", "1"])
    return slideshow


def stop_slideshow(slideshow):
    subprocess.run(["vcgencmd", "display_power", "0"])
    if slideshow.poll() is None:
        slideshow.terminate()
    time.sleep(12)  # My screen waits 10 seconds before switching to sleep mode


def main():
    GPIO.setmode(GPIO.BCM)
    GPIO.setup(PIR_PIN, GPIO.IN)
    motion_detection_time = time.time()
    slideshow = None
    while True:
        if GPIO.input(PIR_PIN):
            motion_detection_time = time.time()
            if slideshow is None:
                slideshow = start_slideshow()
        elif slideshow is not None and time.time() > (motion_detection_time + NO_MOTION_TIMEOUT):
            stop_slideshow(slideshow)
            slideshow = None
        time.sleep(2)


if __name__ == "__main__":
    try:
        main()
    except KeyboardInterrupt:
        GPIO.cleanup()
Make the script executable and move it to the right place:
$ sudo chmod +x photo-frame.py
$ sudo cp photo-frame.py /usr/local/bin/
$ sudo chown root:root /usr/local/bin/photo-frame.py
Start the script at boot time
Now we need to run that script automatically when the Pi is booting. There are several ways to do that:
- configure an auto login (in
raspi-config>System Options>Boot / Auto Login>Console Autologin) and start the script with~/.bash_loginbut I'd like to not have a terminal opened on the device. - start it with
systemd.
With systemd we first need to create a service file photoframe.service:
[Unit]
Description=Photo frame slideshow service

[Service]
ExecStart=/usr/local/bin/photo-frame.py
Restart=always
RestartSec=1
User=photoframe

[Install]
WantedBy=default.target
Then move the service into place and enable it:
$ sudo mv photoframe.service /etc/systemd/system/
$ sudo chown root:root /etc/systemd/system/photoframe.service
$ sudo systemctl enable photoframe.service
Time to reboot and see the slideshow starting!
Not great, right? And given that the slideshow starts before the Raspberry Pi has finished booting, the blinking cursor is back 😞.
Fine tuning
It takes a minute to boot, lets make the raspberry pi boot faster. Some commands that are quite useful to know where Raspbian is spending time:
$ sudo systemd-analyze blame
         10.543s dev-mmcblk0p2.device
         10.490s dhcpcd.service
          6.417s ufw.service
(…)
$ sudo systemd-analyze critical-chain
The time after the unit is active or started is printed after the "@" character.
The time the unit takes to start is printed after the "+" character.

graphical.target @34.245s
└─multi-user.target @34.229s
  └─ssh.service @33.108s +1.079s
    └─network.target @33.000s
      └─dhcpcd.service @22.479s +10.490s
(…)
Disable some unwanted hardware features in /boot/config.txt:
# Number of seconds to wait before booting, default is 1, can be useful if the SD card need a bit of time to be initialized
boot_delay=0
# Disable splash screen (rainbow displayed when booting)
disable_splash=1
# Disable audio
dtparam=audio=off
# Disable bluetooth
dtoverlay=disable-bt
# Overclock the SD card (requires at least UHS Class 1 card)
dtoverlay=sdtweak,overclock_50=100
Disable cursor, redirect boot output to tty2 and make Linux kernel quiet by modifying /boot/cmdline.txt:
vt.global_cursor_default=0 console=tty2 root=PARTUUID=ae9ca6e0-02 rootfstype=ext4 elevator=deadline fsck.repair=yes quiet rootwait
Disable and remove some unused services:
$ sudo systemctl disable alsa-utils.service
$ sudo systemctl disable avahi-daemon.service
$ sudo systemctl disable bluetooth.service
$ sudo systemctl disable dphys-swapfile.service
$ sudo systemctl disable exim4.service
$ sudo systemctl disable hciuart.service
$ sudo systemctl disable keyboard-setup.service
$ sudo systemctl disable remote-fs.target
$ sudo systemctl disable nfs-config.service
$ sudo systemctl disable triggerhappy.service
$ sudo apt purge alsa-utils avahi-daemon bluez dphys-swapfile exim4* isc-dhcp-* keyboard-configuration nfs-common triggerhappy
$ sudo apt autoremove --purge
$ sudo apt clean
Don’t display the login prompt by adding the file /etc/systemd/system/getty@tty1.service.d/noprompt.conf (I’m cheating a bit here, I’m replacing the login program with a 10 years pause):
[Service]
ExecStart=
ExecStart=-/sbin/agetty --nonewline --noissue --noclear --skip-login --login-program "/bin/sleep 3650d" %I $TERM
Unfortunately a lot of wasted time is network related (SSH, firewall, DHCP).
You can speed it up by setting a static IP address and removing dhcpcd5 or make dhcpcd5 faster by not checking duplicate IP addresses.
For this, add the noarp option in /etc/dhcpcd.conf.
In the end I saved about 20 seconds in total (I didn’t measure that rigorously). I’m open to advices on how to make that better, I didn’t overclock the Pi as I don’t want to increase the power consumption.
Power consumption
- During slideshow: between 9 and 10 W
- Screen off: less than 1 W (my wattmeter is not precise enough for small values)
The power used by the screen is much higher than during my first measures when it was not connected and just displaying the OSD menu (less than 2 W). With almost 10 W now, the boost converter is getting quite warm (but still within normal function range). This also means that in fact the driver is using most of the power, not the screen.
Conclusion
That was an interesting prototype to build, I learned quite a few things. If I manage to source a better screen I will try to make a (wooden?) frame and assemble all that and have a properly usable digital photo frame.
When researching for this project I come across Samuel Clay’s blog post on on how to build a photoframe and it’s the main starting point I used for all the questions I had. But I still have plenty of questions like:
- Can the Pi drive the screen “directly” without a driver board (and for much less power)?
- Other Raspberry Pi models have a DSI port and there are some DSI to LVDS adapters.
- Use the GPIO to drive an LVDS adapter?
- Or an HDMI to LVDS adapter?
- How to do that with Yocto?
- Are there single board computers I could use do the same thing but completely powered by PoE?


 Comments
Add one by emailing me.
Comments
Add one by emailing me.