


DIY night cam
When I got my 3D printer a year ago, one of my first projects was to make a night cam. So basically, a normal camera sensor, without infrared filter, and infrared LEDs to light up the room.
For that project I already had:
- an old Raspberry Pi 1 Model B with an SD card
- a Wi-Fi dongle
- a USB power adapter and cable
And I had to get:
- a Raspberry Pi NoIR camera
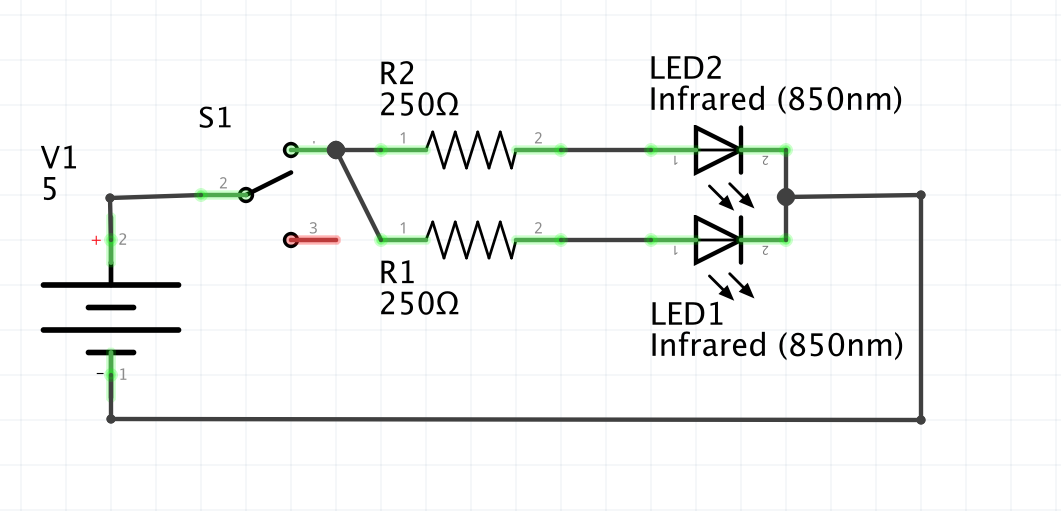
- IR LEDs (850 nm, 20 mA)
- resistors (250 Ω)
- and a switch to turn on/off the LEDs
Electronic
On the small electronic side of this project, the 5 V is coming from Raspberry Pi’s pin number 2 and ground is on pin 9. The LED’s being rated for 20 mA, they need a 250 Ω resistor (thanks to Ohm’s law):
Case
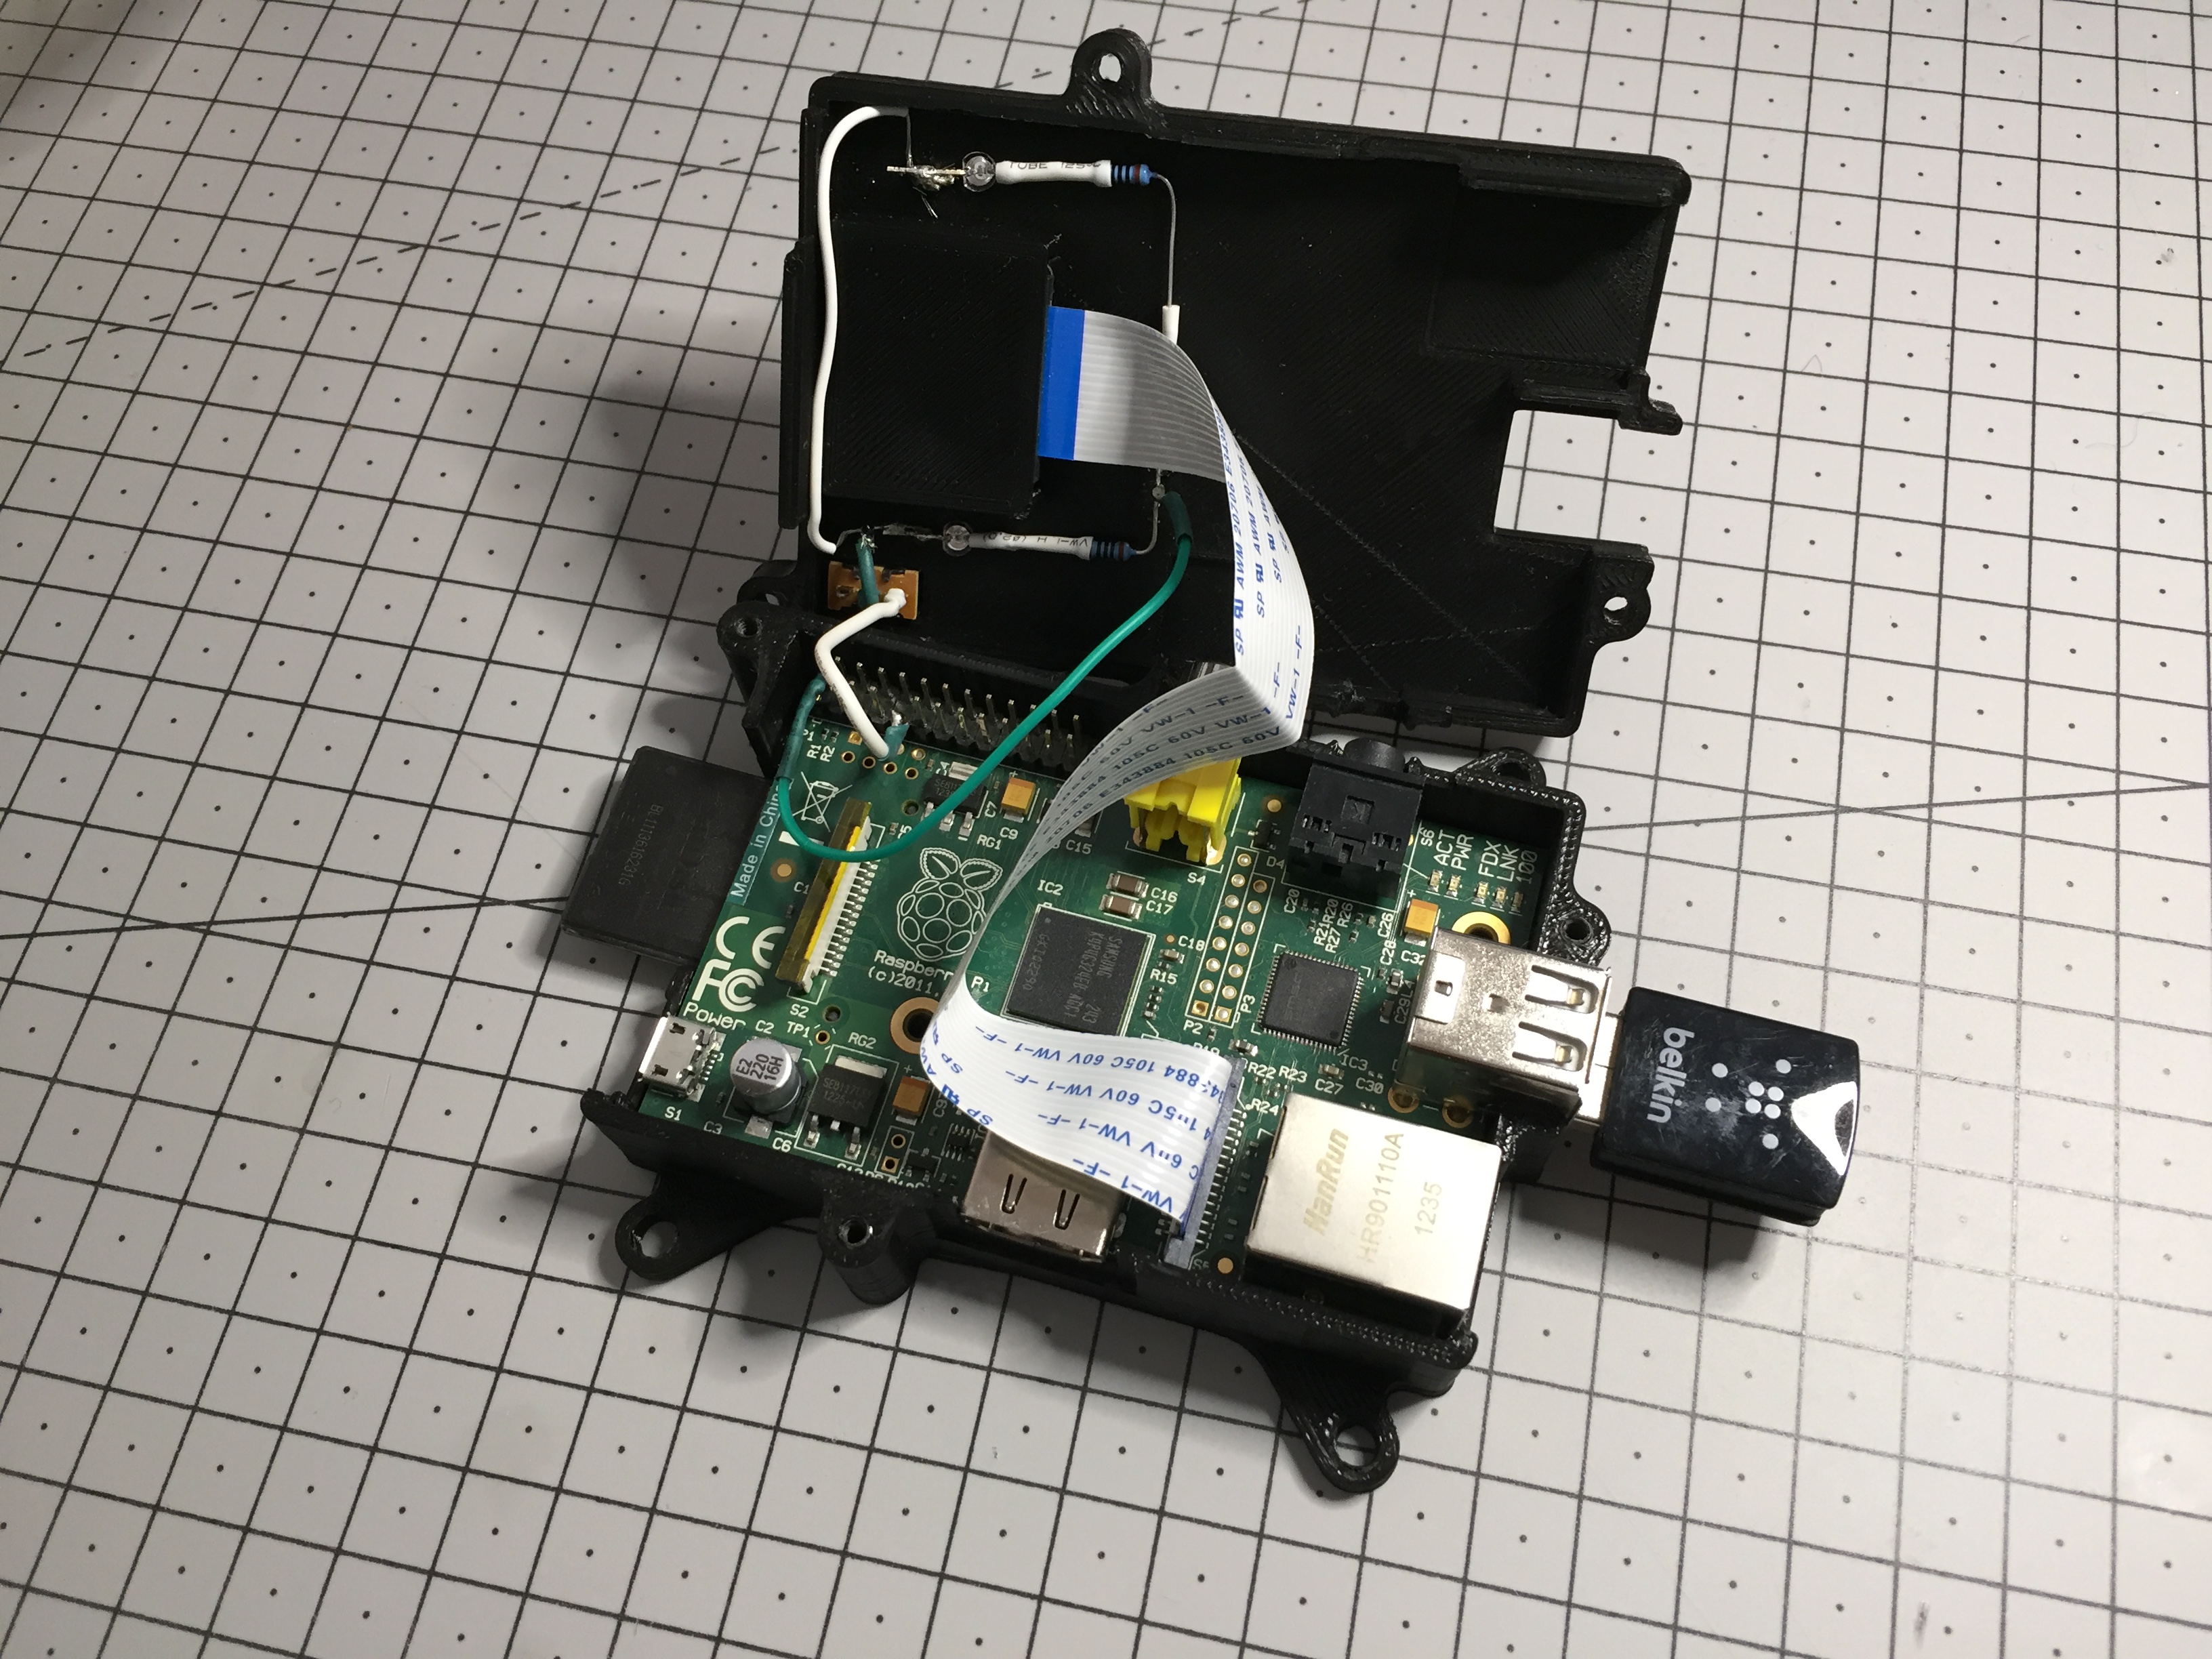
I started with the Raspberry Pi case from 0110-M-P, which feature a VESA mount that could be useful, and modified the top cover with OpenSCAD in order to integrate holes for the camera, LEDs and switch and a system to hold the camera:

Here is the STL file of the modified cover.
Assembly

Software
Now that the hardware is ready, I need some software to capture the video, I tried a couple of them and ended-up using motionEyeOS, a Linux distribution pre-configured with motion and motionEye.
Here are the result with:
- light on, IR LEDs off
- light on, IR LEDs on
- light off, IR LEDs on
- light off, IR LEDs off
(Those capture were done at quite close range, the LEDs are a bit too strong at such short distance.)


No Rockoon were harmed in the making of this blog post.


 Comments
Add one by emailing me.
Comments
Add one by emailing me.