


DIY soldering fumes extractor
When soldering on electronic boards, fumes are produced and they are not quite healthy. Since I’m starting to do some electronic projects and that I have a 3D printer, I thought about making myself a fumes extractor (also I remembered watching Heliox making one), that could be a good exercise to start learning 3D modeling software.
So I need to design a box that will contain:
an active charcoal filter: there are plenty of carbon filter sheets available but most of the time they don’t provide how much carbon they contain (usually not much). So I decided to make my own, raw active charcoal being quite cheap (~15 €/kg).
a fan: my 3D printer printing surface being quite small, from the most common fan sizes, I can go up to a 92 mm fan. I also want a fan that is quiet, working on 5 V and with a good enough static pressure to push/pull the air through the active charcoal filter. I quite like the fans from Noctua (except for their color) so I took the NF-A9 5V:
- 92 × 92 × 25 mm
- 22.8 dB
- 78.9 m³/h
- 2.28 mmH₂O
- 5V (USB adapter included)
a battery with its electronic board. I happen to have an old power bank that’s composed of a 18650 battery cell and a USB charging circuit:


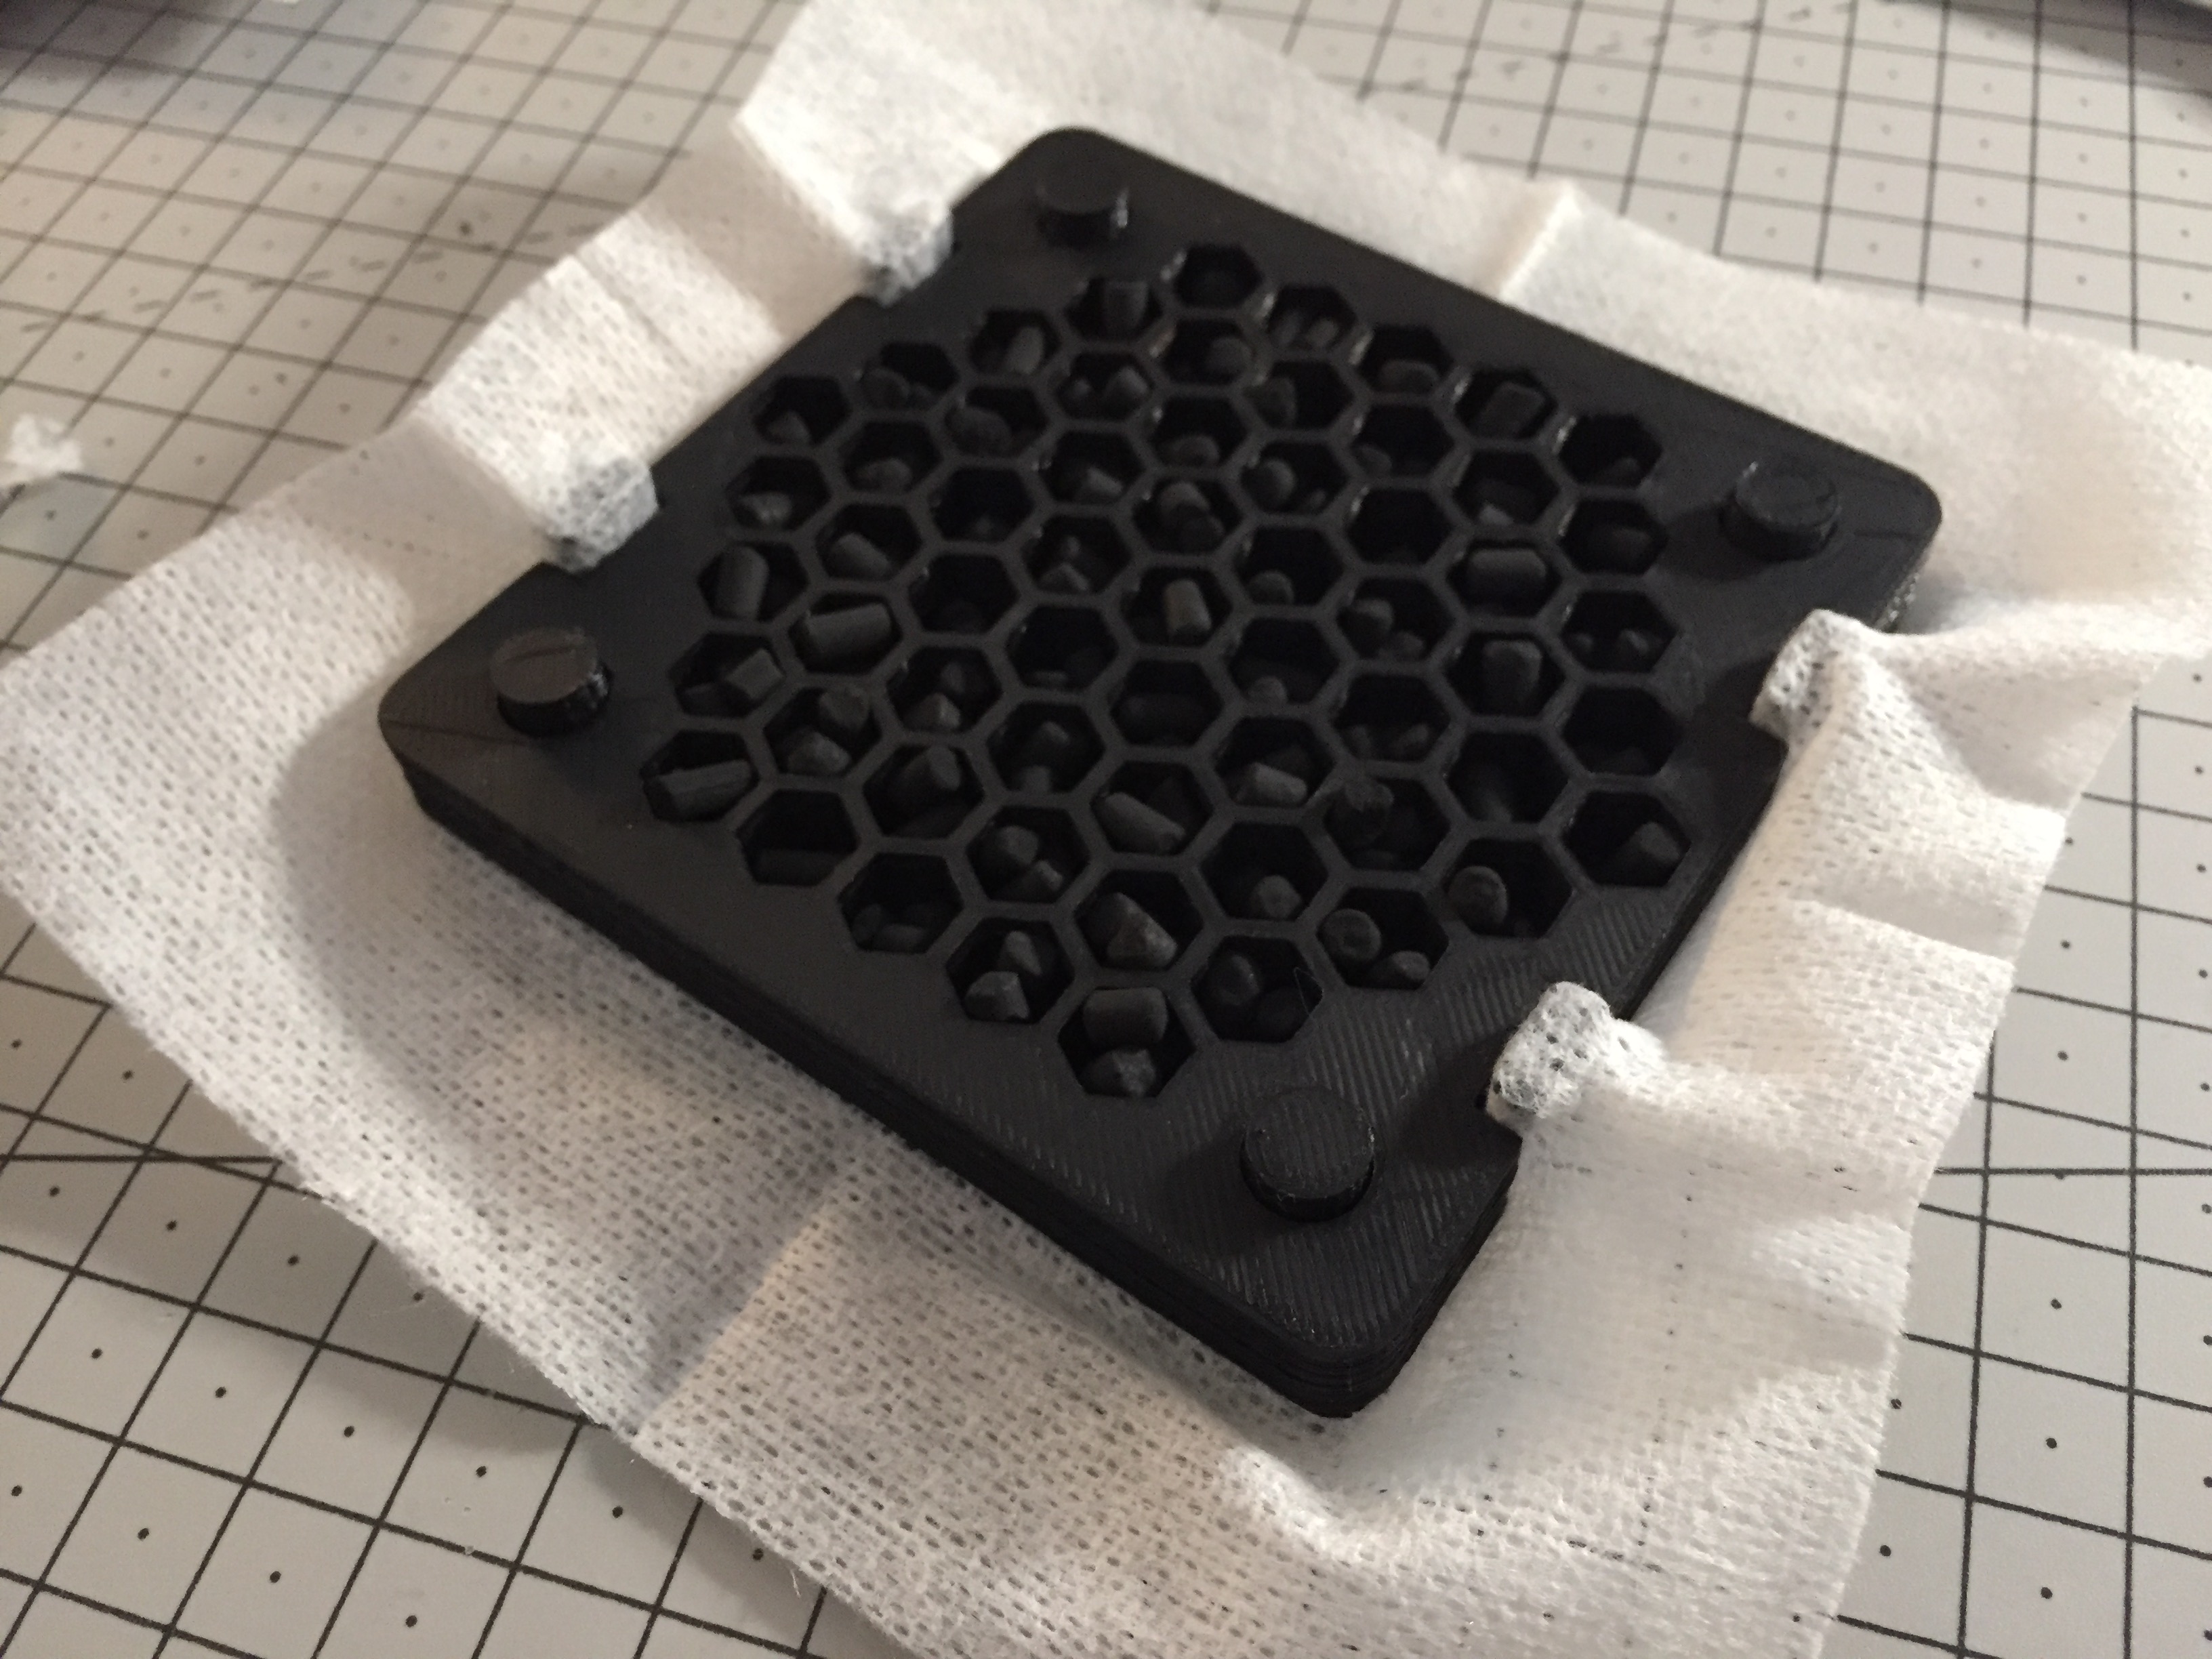
Active charcoal filter
The idea is to hold small charcoal pellets between 2 layers of some kind of thin cloth with low air resistance but able prevent coal dust from falling out of the fumes extractor. I designed a frame to hold all that.


Battery
- take the battery apart
- unsolder the USB A port (only need the micro USB port for charging)
- solder the fan’s 5 V adapter
- got a 18650 battery holder, so solder that too


Assembly
I used FreeCAD to design the case:
- one emplacement for the fan and charcoal filter
- one emplacement with notches to slide the charging circuit in (I did a small plate to insert behind it to keep it in place), there are 3 holes in the box:
- one for the micro USB charging port
- one for the on/off button
- one for the 2 LEDs showing the circuit status (powered on and/or charging), one small piece has to be printed with transparent filament to be used as a light pipe and inserted in that hole
- one emplacement for the cables and the battery and battery holder


After printing it I realized that some improvements were required, I did some but not all of them. Anyway, here is the FreeCAD fumes extractor 3D model.
Test
I did different tests and as I suspected, it’s far more efficient to have the fan push the air through the charcoal filter than having it pull the air from it.


 Comments
Add one by emailing me.
Comments
Add one by emailing me.